August 3, 2026
Adorable Amigurumi Donut – Beginner-Friendly Crochet Pattern
A quick, satisfying, and highly customizable amigurumi donut perfect for beginners. Learn basic spiral shaping, seamless color changes, and fun surface embroidery or appliqué techniques to create your own sweet, squishy treat!
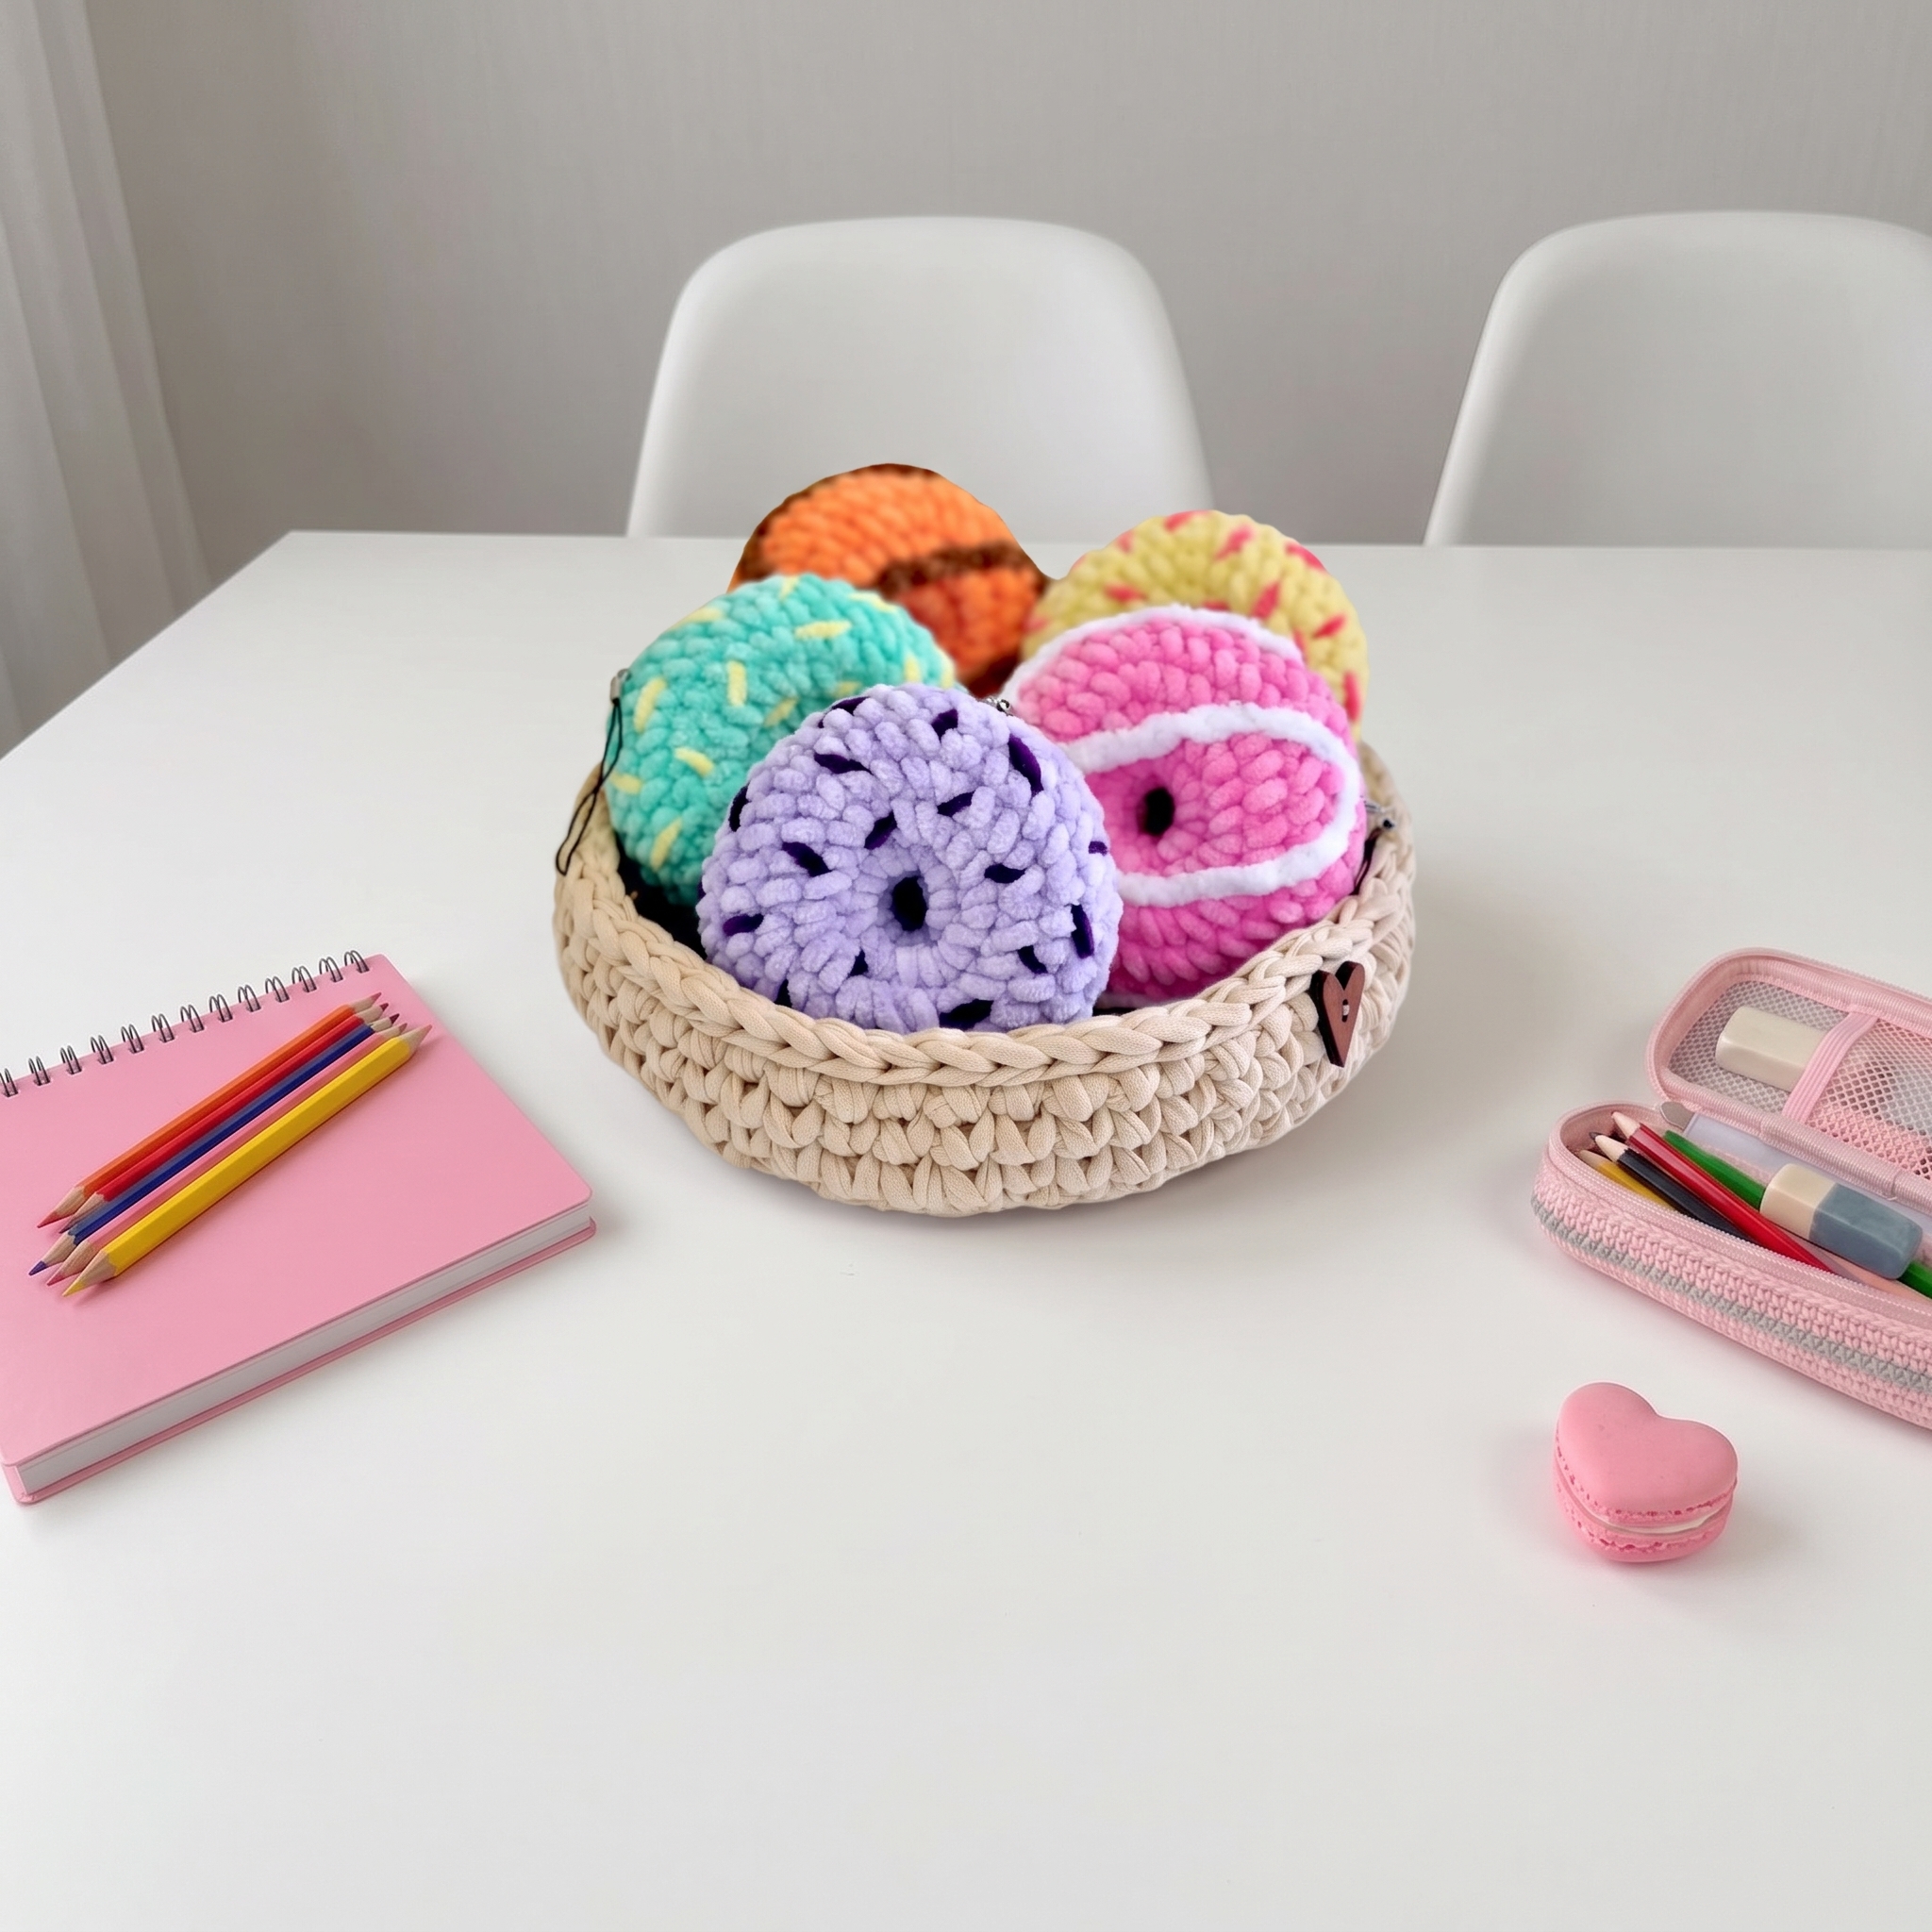
Adorable Amigurumi Donut – Complete Step-by-Step Pattern
1. Materials & Abbreviations
This section covers everything you need to gather before beginning. Using the recommended plush yarn ensures a soft, huggable finish, while the correct hook size maintains a tight, stuff-proof gauge.
- Yarn: Himalaya Dolphin Baby or similar plush yarn (approx. 10g each of two main colors, e.g., colors 302 and 365), plus a small amount of contrasting color for sprinkles.
- Hook: 4.0 mm (or size appropriate to achieve a tight gauge with your chosen plush yarn).
- Notions: Large-eye tapestry needle, scissors, poly-fil stuffing.
- Abbreviations:
- ch – chain
- sc – single crochet
- sl st – slip stitch
- inc – increase (2 sc in one stitch)
- dec – decrease (2 sc crocheted together)
- BLO – back loop only
What it teaches: Proper tool selection for plush yarns, gauge management, and familiarization with standard international crochet abbreviations.
2. Donut Top (Main Body)
The donut is worked in a continuous spiral starting from a chain ring, building up to a flat base, then decreasing to form the classic torus shape. A mid-project color change creates the "icing" effect.
- R1: Chain 12, join with a sl st to form a ring. (12)
- R2: 12 sc (12)
- R3: 12 inc (24)
- R4: (4 sc, inc) x 6 (30)
- [Editor’s Note: The original pattern stated "(3 sc, inc) x 6 (30)", which mathematically yields 24 stitches. Corrected to "(4 sc, inc) x 6" to achieve the stated 30-stitch count.]
- R5: (5 sc, inc) x 6 (36)
- [Editor’s Note: The original pattern stated "(4 sc, inc) x 6 (36)", which mathematically yields 30 stitches. Corrected to "(5 sc, inc) x 6" to achieve the stated 36-stitch count.]
- R6-7: 36 sc (36) [2 rows]
- Change yarn color.
- R8: 36 sc in BLO (36) [This creates a defined edge for the "icing" line.]
- R9: 36 sc (36)
- R10: (4 sc, dec) x 6 (30)
- R11: (3 sc, dec) x 6 (24)
- R12: (2 sc, dec) x 6 (18)
- R13: (1 sc, dec) x 6 (12)
- Finishing: Sl st into the next stitch, fasten off, and leave a long tail for sewing.
What it teaches: Spiral increase sequences, seamless mid-project color changes, utilizing BLO for structural definition, and structured decreasing for 3D shaping.
3. Assembly & Stuffing
Proper assembly ensures the donut holds its classic, evenly rounded shape without lopsided bulges.
- Step 1: Fold the crocheted piece perfectly in half, aligning the starting edge with the finishing edge.
- Step 2: Using the long tail and a tapestry needle, sew exactly half of the opening closed with a neat mattress stitch or whip stitch.
- Step 3: Turn the piece right-side out (if necessary) and begin stuffing firmly and evenly with poly-fil. Distribute the stuffing uniformly to maintain a perfect circle.
- Step 4: Once fully stuffed, sew the remaining opening closed, pulling the yarn tight to seal the hole. Weave in the final end securely.
What it teaches: Precision folding, invisible seaming techniques, and uniform stuffing distribution for symmetrical amigurumi.
4. Sprinkles (Customization)
Add the final playful touch to your donut using one of two simple methods.
- Option 1 (Embroidery): Thread a tapestry needle with contrasting yarn. Randomly embroider short, straight "sprinkle" stitches across the top "icing" section of the donut. Vary the angles and colors for a realistic, festive look.
- Option 2 (Crochet Chain Appliqué): Chain 60–65 stitches with contrasting yarn. Drape the chain over the donut in a zigzag or circular drizzle pattern. Pin it in place, then carefully sew the chain to the surface of the donut, trimming any excess yarn.
What it teaches: Surface embroidery basics, yarn appliqué techniques, and creative customization of simple patterns.
Final Section: Where to Go from Here
Congratulations! By completing this amigurumi donut, you have mastered foundational spiral shaping, mathematical stitch tracking, and clean assembly techniques. This project is an excellent confidence-builder. From here, try experimenting with different yarn weights to create a "jumbo" donut pillow, or adapt the sprinkle technique to decorate other baked-good amigurumi like cupcakes, cookies, or macarons. Happy crocheting!