August 12, 2026
Adorable Amigurumi Elephant – Beginner-Friendly Crochet Pattern
Bring this sweet, floppy-eared elephant to life with this easy-to-follow amigurumi pattern. Perfect for beginners, it features clever integrated limb construction, simple shaping, and cute embroidered details for a professional, huggable finish.
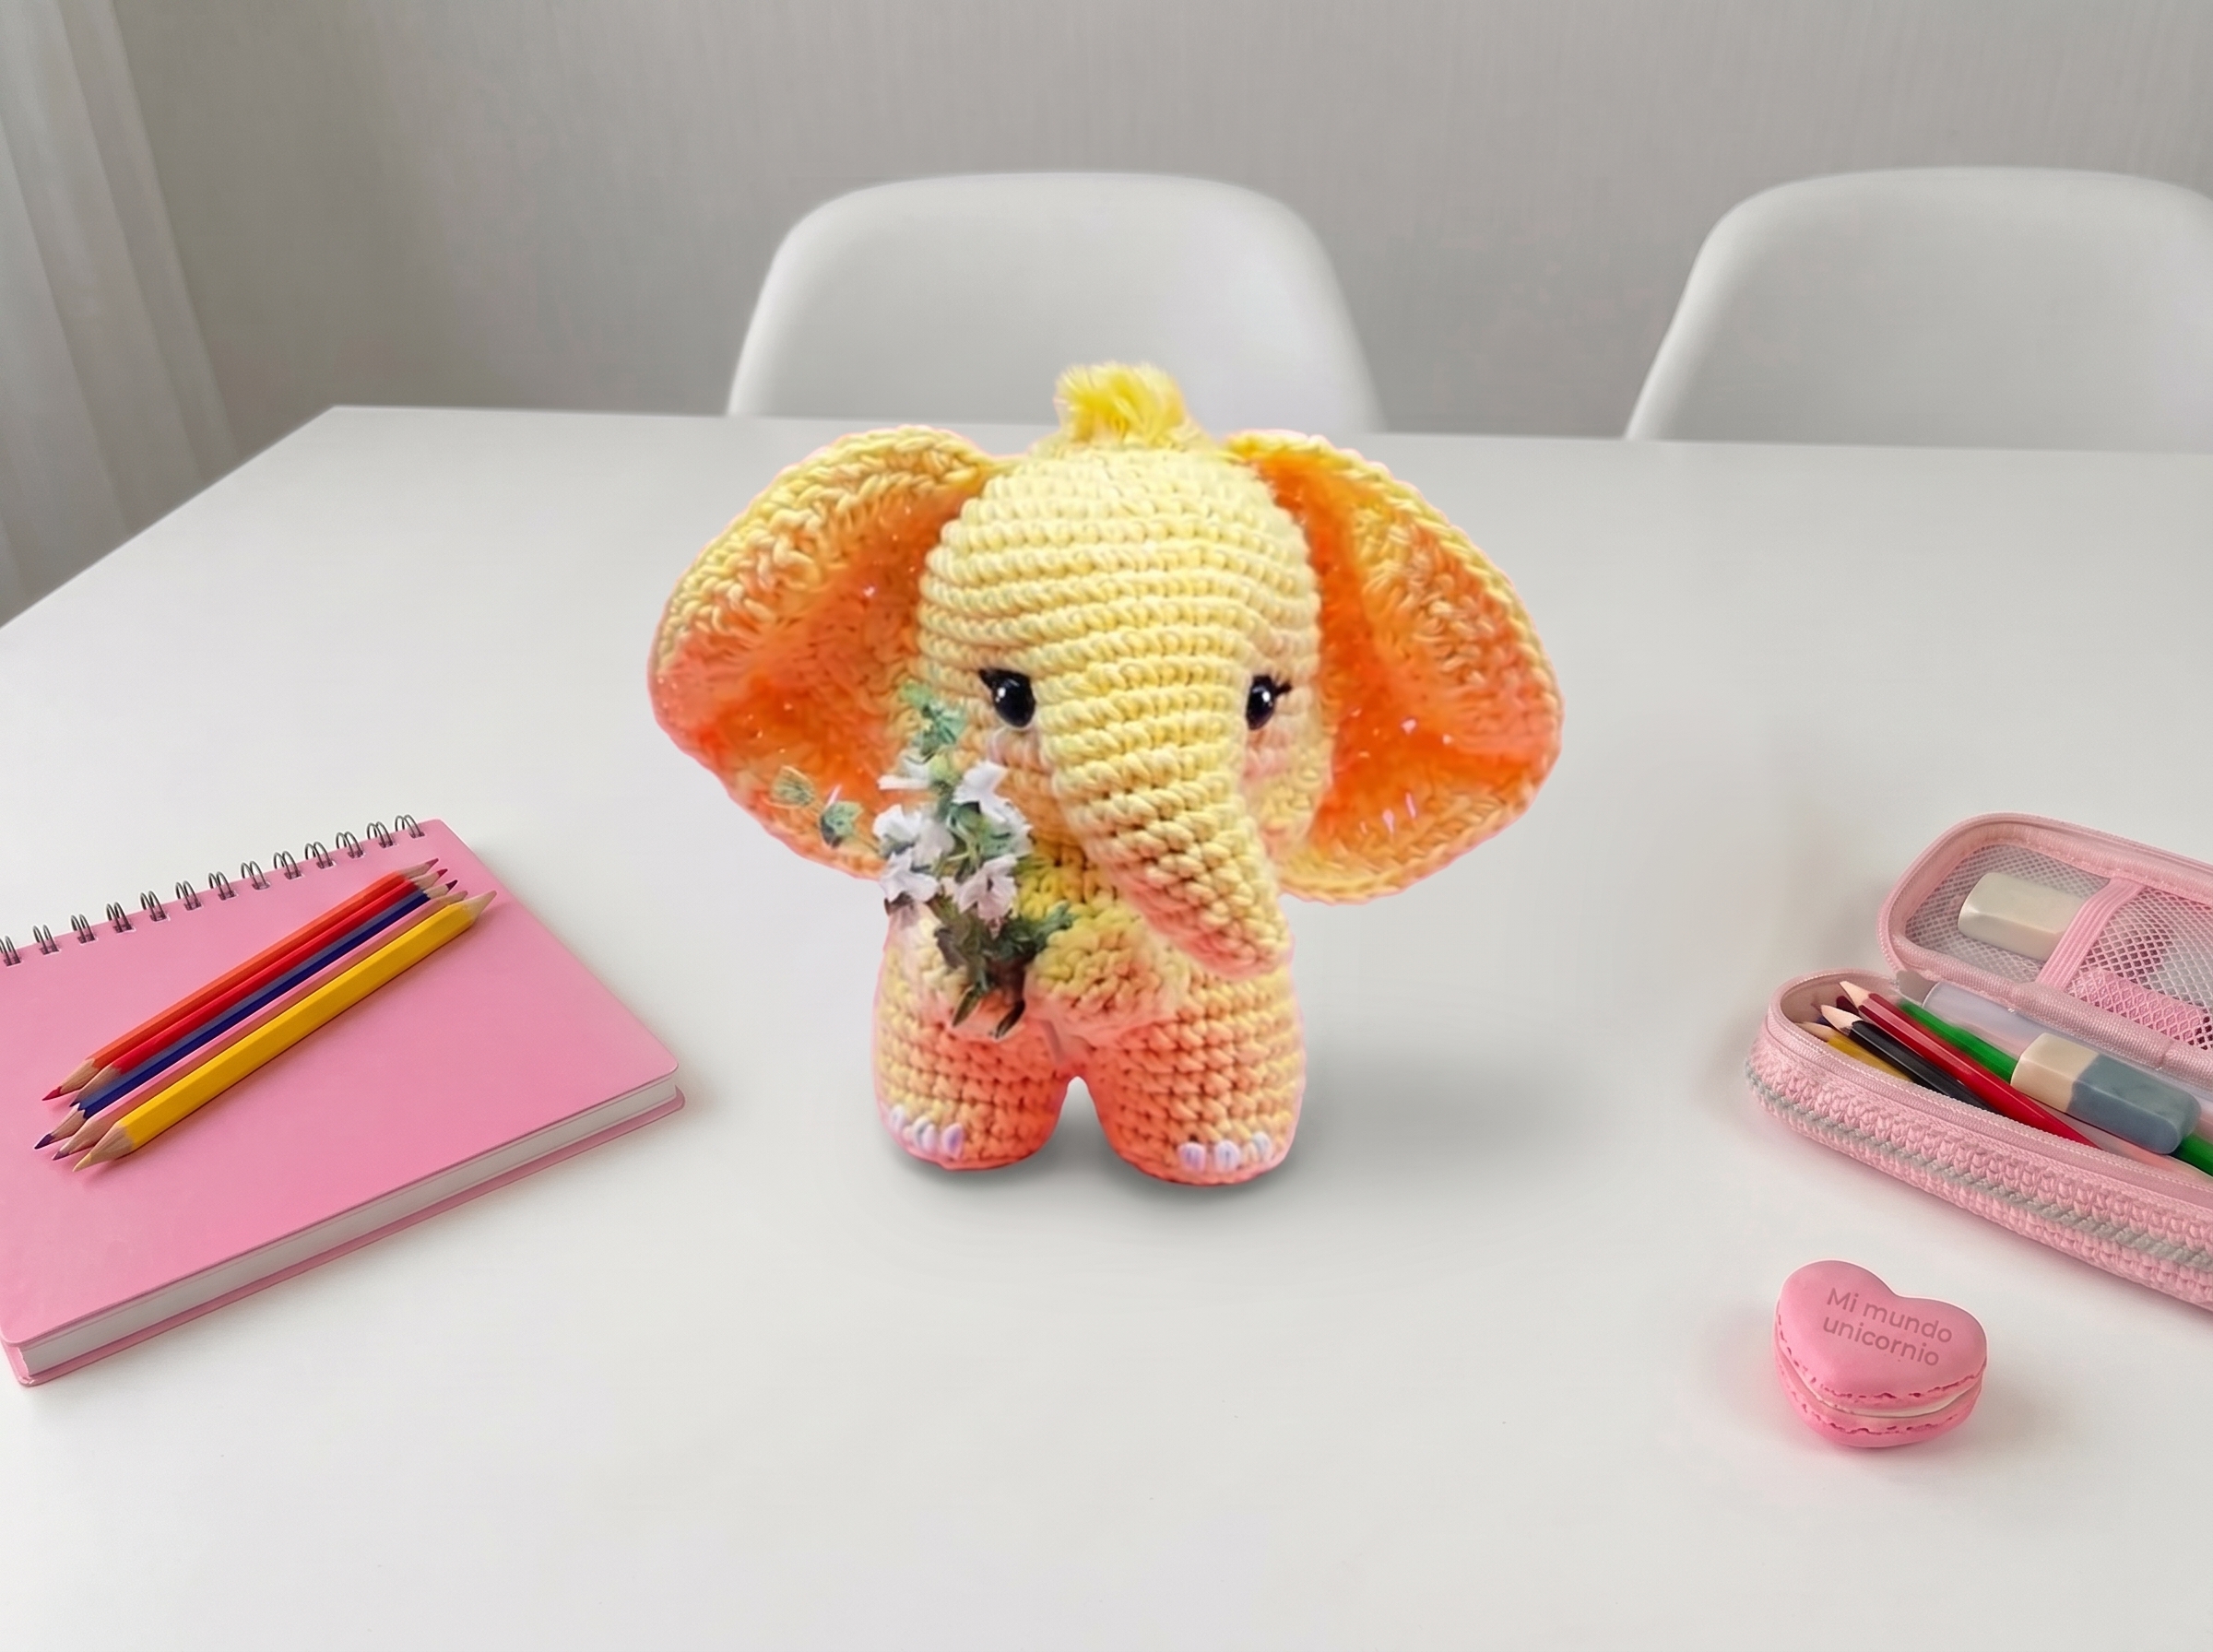
Adorable Amigurumi Elephant – Complete Step-by-Step Pattern
1. Materials & Abbreviations
This section covers everything you need to gather before beginning. Using the recommended materials ensures the correct gauge and a professional, durable finish.
- Yarn: Cotton yarn in your choice of colors (plus small amounts of contrasting colors for details).
- Hook: Size appropriate for your chosen yarn (typically 2.5 mm - 3.5 mm for cotton).
- Notions: Safety eyes, poly-fil stuffing, sewing needle, scissors, stitch markers.
- Abbreviations:
- MR – magic ring
- ch – chain
- sc – single crochet
- hdc – half double crochet
- dc – double crochet
- sl st – slip stitch
- inc – increase (2 sc in one stitch)
- dec – decrease (2 sc crocheted together)
- BLO – back loop only
- FLO – front loop only
What it teaches: Proper tool selection, gauge management, and familiarization with standard international crochet abbreviations.
2. Head
The head is worked in a continuous spiral, featuring a clever chain-skip technique to create the opening for the trunk, followed by structured decreases to shape the face.
- R1: 6 sc in MR (6)
- R2: 6 inc (12)
- R3: (1 sc, inc) x 6 (18)
- R4: (2 sc, inc) x 6 (24)
- R5: (3 sc, inc) x 6 (30)
- R6: (4 sc, inc) x 6 (36)
- R7: (5 sc, inc) x 6 (42)
- R8: (6 sc, inc) x 6 (48)
- R9-13: 48 sc (48) [5 rows]
- R14: 19 sc, 4 ch, skip 10 sts, 19 sc (42) [This creates the opening for the trunk.]
- R15: 19 sc, 4 sc in the 4 ch spaces, 19 sc (42)
- R16: 42 sc (42)
- R17: (5 sc, dec) x 6 (36)
- R18: (4 sc, dec) x 6 (30)
- Important detail: Insert safety eyes between R12 and R13, positioned on either side of the trunk opening.
- R19: BLO: (3 sc, dec) x 6 (24)
- R20: (2 sc, dec) x 6 (18)
- R21: (1 sc, dec) x 6 (12)
- R22: 6 dec (6)
- Finishing: Stuff the head firmly. Use a tapestry needle to weave the tail through the front loops of the remaining 6 stitches and pull tight to close the hole.
What it teaches: Spiral increase sequences, creating intentional openings with chain spaces, and structured decreasing for spherical shaping.
3. Body & Legs
The body is worked seamlessly from the head, and the legs are ingeniously constructed directly from the bottom of the body, eliminating the need for separate sewing.
- R1: Attach yarn to the unworked FLO of Head R19. Work 24 sc (24).
- R2: (3 sc, inc) x 6 (30)
- R3: (4 sc, inc) x 6 (36)
- R4: (5 sc, inc) x 6 (42)
- R5-7: 42 sc (42) [3 rows]
- R8: (5 sc, dec) x 6 (36)
- Important detail: Stuff the body firmly before proceeding to the legs.
- Leg 1 Setup: Divide the 36 body stitches in half. Starting from the center front (below the trunk), crochet 18 sc, then turn your work.
- Leg 1 R1-4: 18 sc, turn [4 rows]
- Leg 1 R5: BLO: (1 sc, dec) x 6 (12)
- Leg 1 R6: 6 dec (6)
- Leg 1 Finishing: Stuff the leg, then use a tapestry needle to weave the tail through the remaining loops and pull tight to close.
- Leg 2: Attach yarn to the remaining 18 unworked stitches of Body R8. Repeat Leg 1, Rows 1 through 6 exactly as written.
What it teaches: Seamless multi-piece joining, utilizing unworked loops for structural continuity, and integrated limb construction.
4. Trunk
The trunk is worked directly into the opening created in the head, tapering down to a cute, rounded tip.
- Setup: Attach yarn to the 14 stitches of the trunk opening (the 10 skipped stitches from R14 + the 4 chain stitches).
- R1: 14 sc (14)
- R2: 1 dec, 12 sc (13)
- R3: 1 dec, 11 sc (12)
- R4: 1 dec, 10 sc (11)
- R5: 1 dec, 9 sc (10)
- R6: 1 dec, 8 sc (9)
- R7: 9 sc (9)
- R8: BLO: (1 sc, dec) x 3 (6)
- Finishing: Stuff the trunk lightly to keep it floppy, then use a tapestry needle to close the hole securely.
What it teaches: Working into chain spaces and skipped stitches, and progressive decreasing for tapered appendages.
5. Ears & Arms
The ears feature a beautiful, flared shape using mixed stitch heights, while the arms are simple, flat tubes that drape naturally.
Ears (Make 2, worked in turning rows):
- R1: 3 sc in MR, 1 ch, turn (3)
- R2: 3 inc, 1 ch, turn (6)
- R3: 6 inc, 1 ch, turn (12)
- R4: (1 sc, inc) x 6 (18)
- R5: (2 hdc, 1 hdc inc) x 6 (24)
- R6: 3 hdc, 1 hdc inc, (3 dc, 1 dc inc) x 4, 3 hdc, 1 hdc inc (30)
- Finishing: Work 1 round of sc evenly around the entire outer edge of the ear. Fasten off, leaving a long tail for sewing.
Arms (Make 2):
- R1: 6 sc in MR (6)
- R2: (1 sc, inc) x 3 (9)
- R3-5: 9 sc (9) [3 rows]
- Finishing: Stuff the arm lightly. Fold the piece in half and work 4-5 sc through both layers simultaneously to close the top flat. Leave a long tail for sewing.
What it teaches: Working flat pieces with turning chains, utilizing mixed stitch heights (sc, hdc, dc) for flared shaping, and flat-folding techniques for seamless closures.
6. Tail & Assembly
These final details bring the elephant's personality to life and complete the construction.
Tail:
- Chain 4. Fasten off, leaving a long tail. Attach a few loose strands of yarn to the end and gently fluff them out to create a cute, hairy tail tip.
Assembly:
- Ears: Sew the ears to the sides of the head, positioning them just above the eyes.
- Arms: Sew the arms to the upper sides of the body, just below the neck join.
- Tail: Sew the tail to the lower back of the body.
- Embroidery: Using contrasting embroidery floss, add cute eyelashes to the safety eyes, rosy cheeks, and tiny toenails on the feet.
- Head Tuft: Attach a few loose strands of yarn to the very top of the head and gently fluff them out for a playful, messy-hair look.
What it teaches: Multi-step structural assembly, surface embroidery for expressive facial features, and professional finishing techniques.
Final Section: Where to Go from Here
Congratulations! By completing this adorable amigurumi elephant, you have mastered foundational spiral shaping, clever integrated limb construction, and expressive surface embroidery. This project is a fantastic confidence-builder for working with cotton yarns. From here, try experimenting with different yarn weights to create a "jumbo" nursery elephant, or adapt the ear-shaping technique to design your own unique animal variations, like a floppy-eared bunny or a sweet little mouse. Happy crocheting!