August 7, 2026
Adorable Panda Baby – Beginner-Friendly Amigurumi Crochet Pattern
Bring this sweet, round panda baby to life with this easy-to-follow amigurumi pattern. Perfect for beginners, it features simple shaping, integrated limb attachment, and cute embroidered details for a professional, huggable finish.
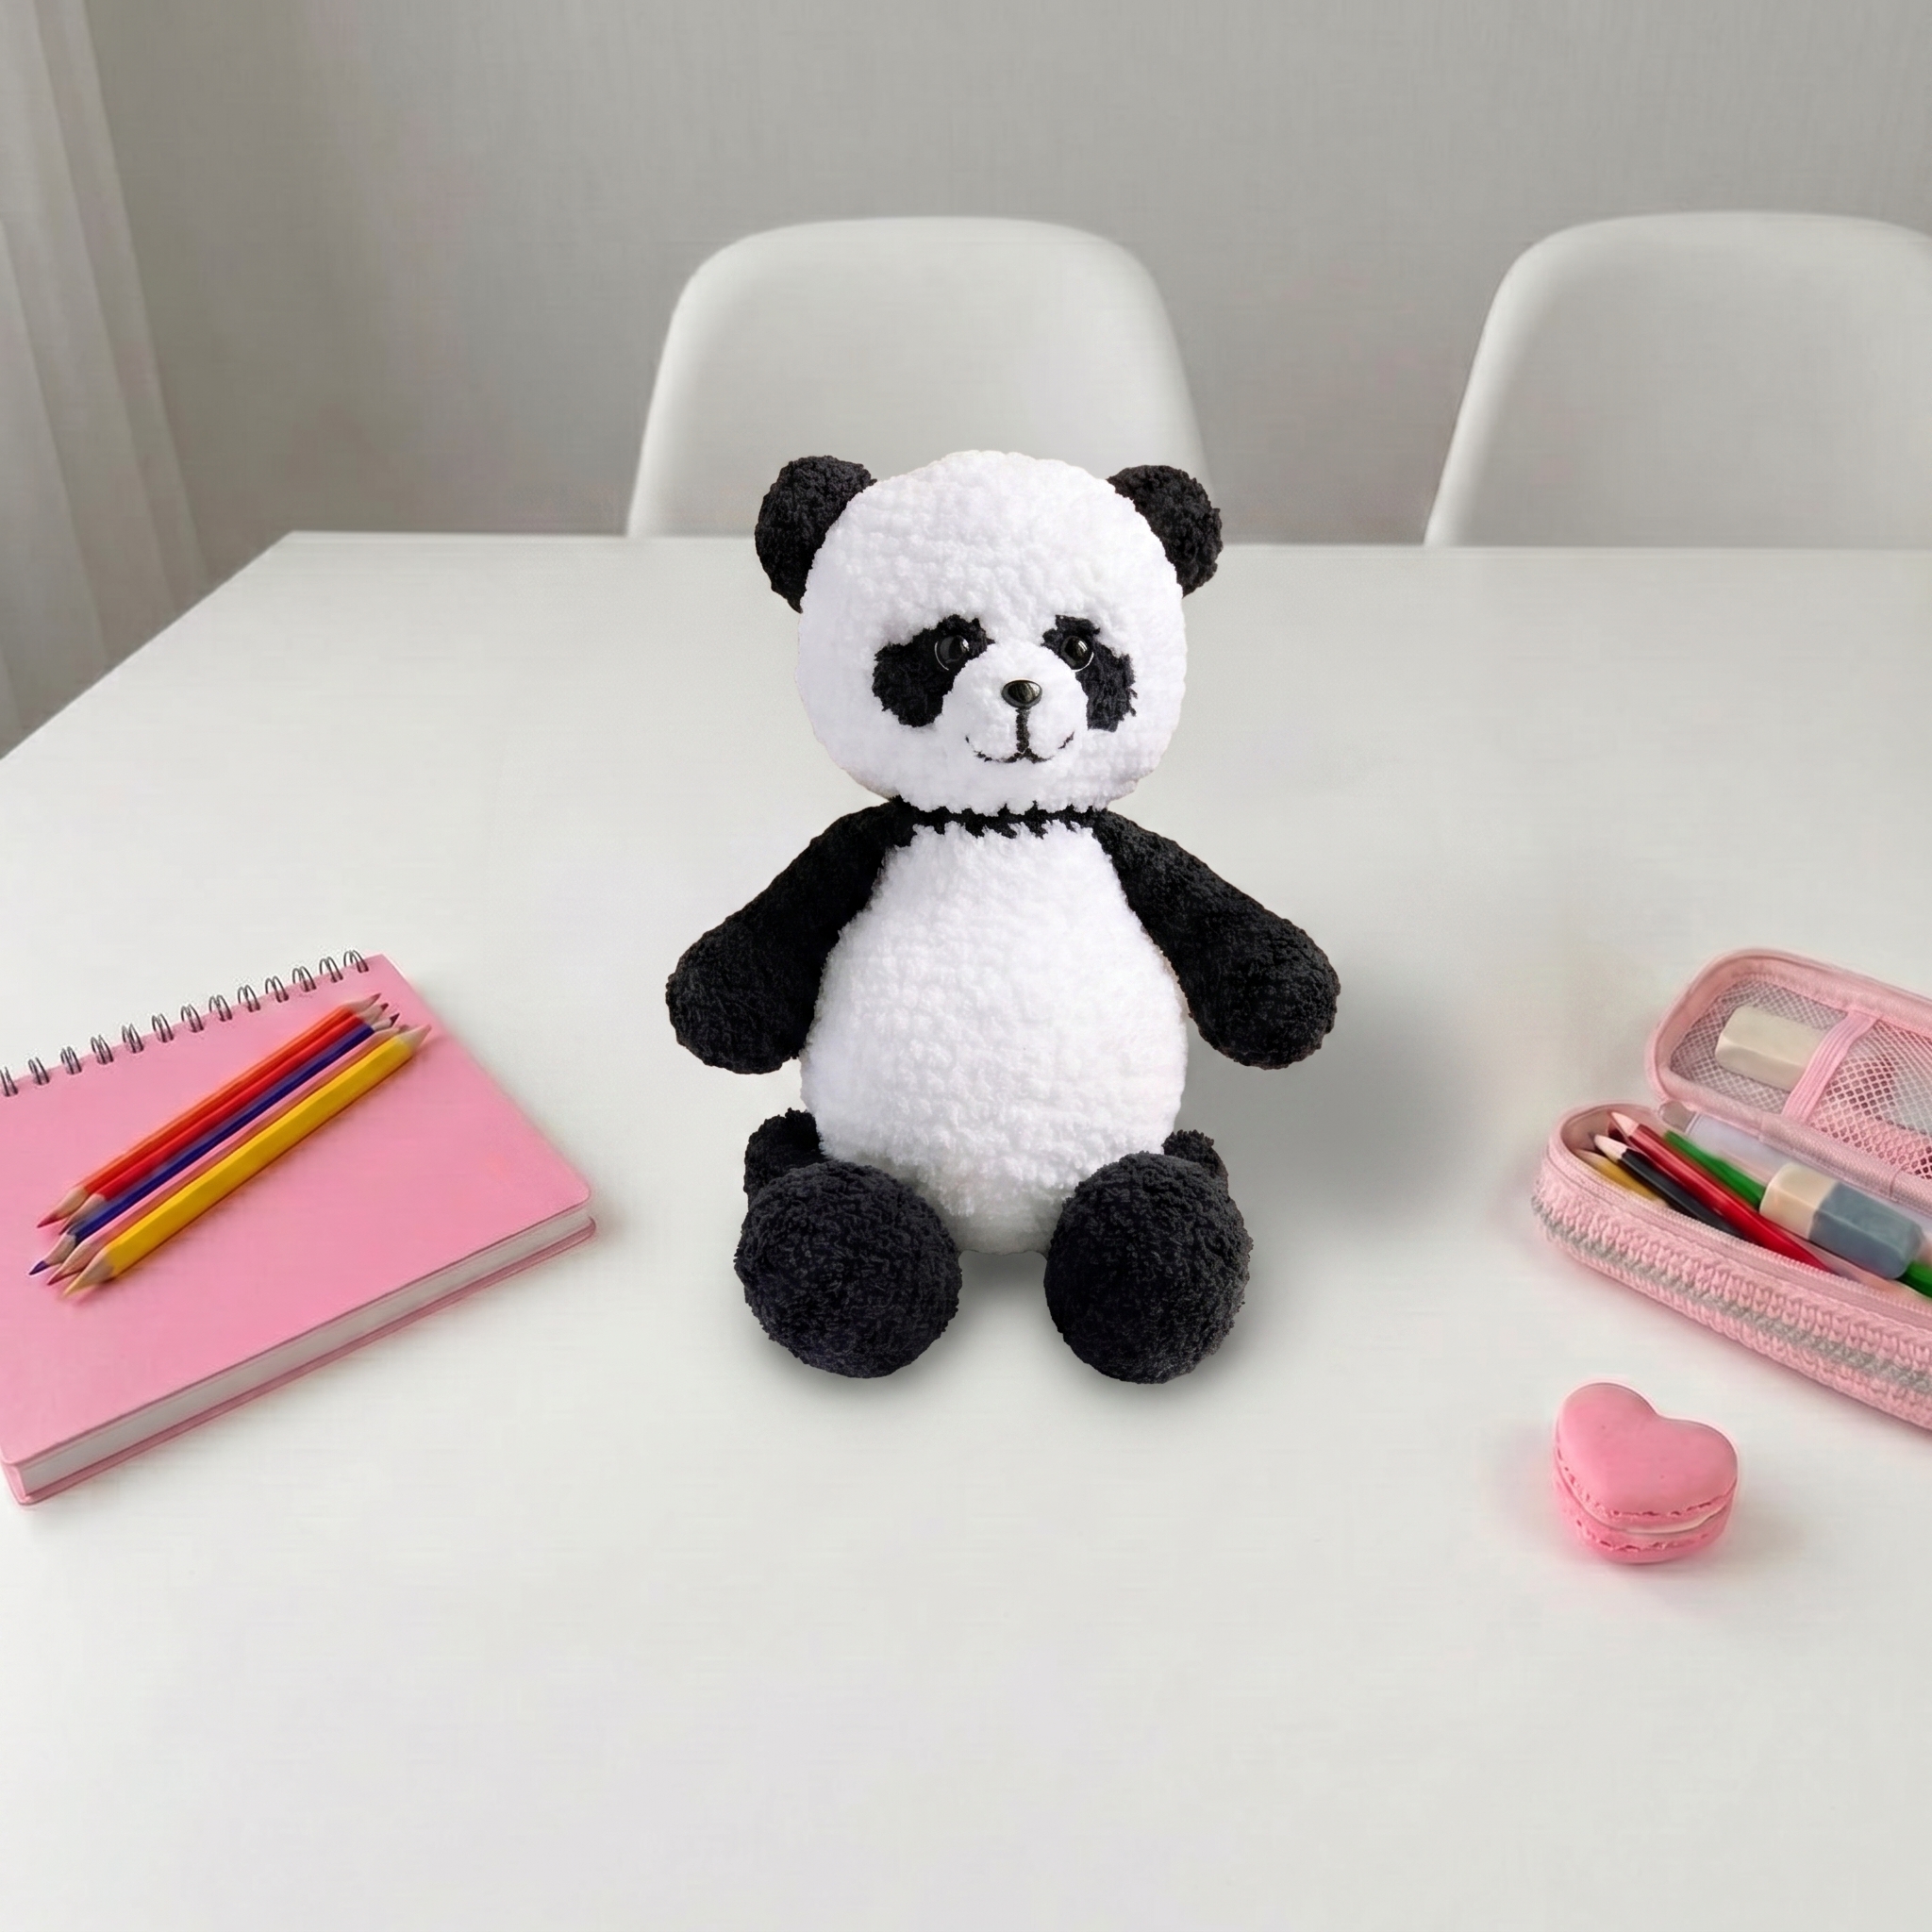
Adorable Panda Baby – Complete Step-by-Step Pattern
1. Materials & Abbreviations
This section covers everything you need to gather before beginning. Using the recommended plush yarn ensures a soft, huggable finish, while the correct hook size maintains a tight, stuff-proof gauge.
- Yarn: Alize Cotton Plush or similar plush yarn (one skein each of Black and White), plus small amounts of white and black embroidery thread for facial details.
- Hook: Appropriate size for your chosen plush yarn (typically 3.5 mm - 4.0 mm).
- Notions: Safety eyes, safety nose, poly-fil stuffing, sewing needle, scissors, stitch marker.
- Abbreviations:
- MR – magic ring
- ch – chain
- sc – single crochet
- sl st – slip stitch
- inc – increase (2 sc in one stitch)
- dec – decrease (2 sc crocheted together)
What it teaches: Proper tool selection for plush yarns, gauge management, and familiarization with standard international crochet abbreviations.
2. Arms / Limbs (Make 2)
The limbs are worked in black, starting with a rounded hand/foot shape that tapers down. They are left mostly flat at the top to allow for natural articulation when attached to the body.
- R1: 6 sc in MR (6)
- R2: 6 inc (12)
- R3: (1 sc, inc) x 6 (18)
- R4-5: 18 sc (18) [2 rows]
- R6: 5 sc, 4 dec, 5 sc (14)
- R7: 5 sc, 2 dec, 5 sc (12)
- R8: 4 sc, 2 dec, 4 sc (10)
- R9-14: 10 sc (10) [6 rows]
- R15: Fold the piece in half and work 5 sc through both layers to close the top.
- Finishing: Cut yarn, leaving a long tail for sewing.
What it teaches: Rapid radial expansion, progressive decreasing for limb shaping, and flat-folding techniques for seamless closures.
3. Body & Head
The body and head are worked as one continuous piece in white. The limbs are integrated mid-round to create a seamless, sturdy torso, followed by strategic increases and decreases to form the distinct head shape.
- R1: 6 sc in MR (6)
- R2: 6 inc (12)
- R3: (1 sc, inc) x 6 (18)
- R4: (2 sc, inc) x 6 (24)
- R5: (3 sc, inc) x 6 (30)
- R6: (4 sc, inc) x 6 (36)
- R7: (5 sc, inc) x 6 (42)
- R8: 6 sc, work 6 sc together with the 1st arm, 15 sc, work 6 sc together with the 2nd arm, 9 sc (42) [Editor's Note: The original text mistakenly referred to these as "legs" here, but they are the arms/limbs made in the previous section.]
- R9: 15 sc, inc, 2 sc, inc, 1 sc, inc, 2 sc, inc, 18 sc (46)
- R10-13: 46 sc (46) [4 rows]
- R14: 15 sc, dec, 2 sc, dec, 1 sc, dec, 2 sc, dec, 18 sc (42)
- R15: (5 sc, dec) x 6 (36)
- R16: (4 sc, dec) x 6 (30)
- R17: (3 sc, dec) x 6 (24)
- R18-20: 24 sc (24) [3 rows]
- R21: (2 sc, dec) x 6 (18)
- Change to Black yarn.
- R22: 18 sc, making 2 additional increases on the arms and 1 increase on the belly (21)
- Change to White yarn.
- R23: inc in every stitch around (42)
- R24-33: 42 sc (42) [10 rows] [Insert safety eyes and nose during these rows.]
- R34: (5 sc, dec) x 6 (36)
- R35: (4 sc, dec) x 6 (30)
- R36: (3 sc, dec) x 6 (24)
- R37: (2 sc, dec) x 6 (18)
- R38: (1 sc, dec) x 6 (12)
- R39: 6 dec (6)
- Finishing: Stuff the body and head firmly. Sl st, cut yarn, and weave the tail through the front loops to close the hole securely.
What it teaches: Seamless multi-piece joining, mid-round limb attachment, and structured decreasing for distinct head and torso shaping.
4. Muzzle
The muzzle is a simple, flat oval that adds depth and character to the panda's face.
- R1: 6 sc in MR (6)
- R2: (1 sc, inc) x 3 (9)
- R3: 9 sc (9)
- R4: (2 sc, inc) x 3 (12)
- R5: 12 sc (12)
- R6: (3 sc, inc) x 3 (15)
- Finishing: Cut yarn, leaving a long tail for sewing.
What it teaches: Flat circular expansion and creating raised facial features.
5. Ears (Make 2)
The ears are small, rounded cups that are folded slightly during assembly to give the panda its signature perky look.
- R1: 6 sc in MR (6)
- R2: 6 inc (12)
- R3-4: 12 sc (12) [2 rows]
- R5: Fold the piece in half and crochet through both layers to close.
- Finishing: Cut yarn, leaving a long tail for sewing.
What it teaches: Working small, un-stuffed appendages and flat-folding techniques.
6. Paw Pad / Small Appliqué
This tiny detail adds a cute accent to the panda's paws or body.
- R1: Ch 3. Starting in the 2nd ch from hook: 1 sl st, 4 sc in the next stitch, 1 sl st, 1 inc.
- Finishing: Cut yarn, leaving a tail for sewing.
What it teaches: Micro-amigurumi techniques and working multiple stitches into a single chain space.
7. Assembly & Finishing
Proper assembly and surface embroidery bring the panda's sweet personality to life.
- Head to Body: The head and body are already worked as one piece; simply ensure the top hole is closed tightly and the stuffing is firm.
- Muzzle: Sew the muzzle onto the face, centered below the eyes.
- Ears: Sew the ears to the top sides of the head, folding them slightly at the base for a perky look.
- Facial Features: Insert the safety eyes and nose. Using black and white embroidery thread, embroider the muzzle details, nose bridge, and a cute little smile.
- Paw Pad: Sew the small appliqué onto the belly or paws as desired.
What it teaches: Multi-step structural assembly, surface embroidery for facial features, and professional finishing techniques.
Final Section: Where to Go from Here
Congratulations! By completing this adorable panda baby, you have mastered foundational spiral shaping, seamless limb integration, and expressive surface embroidery. This project is an excellent confidence-builder for working with plush yarns. From here, try experimenting with different colorways to create a whole "baby animal" nursery collection, or adapt the body proportions to design your own unique amigurumi characters. Happy crocheting!