August 12, 2026
Adorable Plush Beaver – Quick & Seamless Amigurumi Crochet Pattern
Meet your new pocket-sized best friend! This quick-to-stitch plush beaver features a seamlessly integrated tail, cute embroidered teeth, and a charming textured muzzle. Perfect for crafters looking to master seamless construction and fun puff stitches in one delightful project.
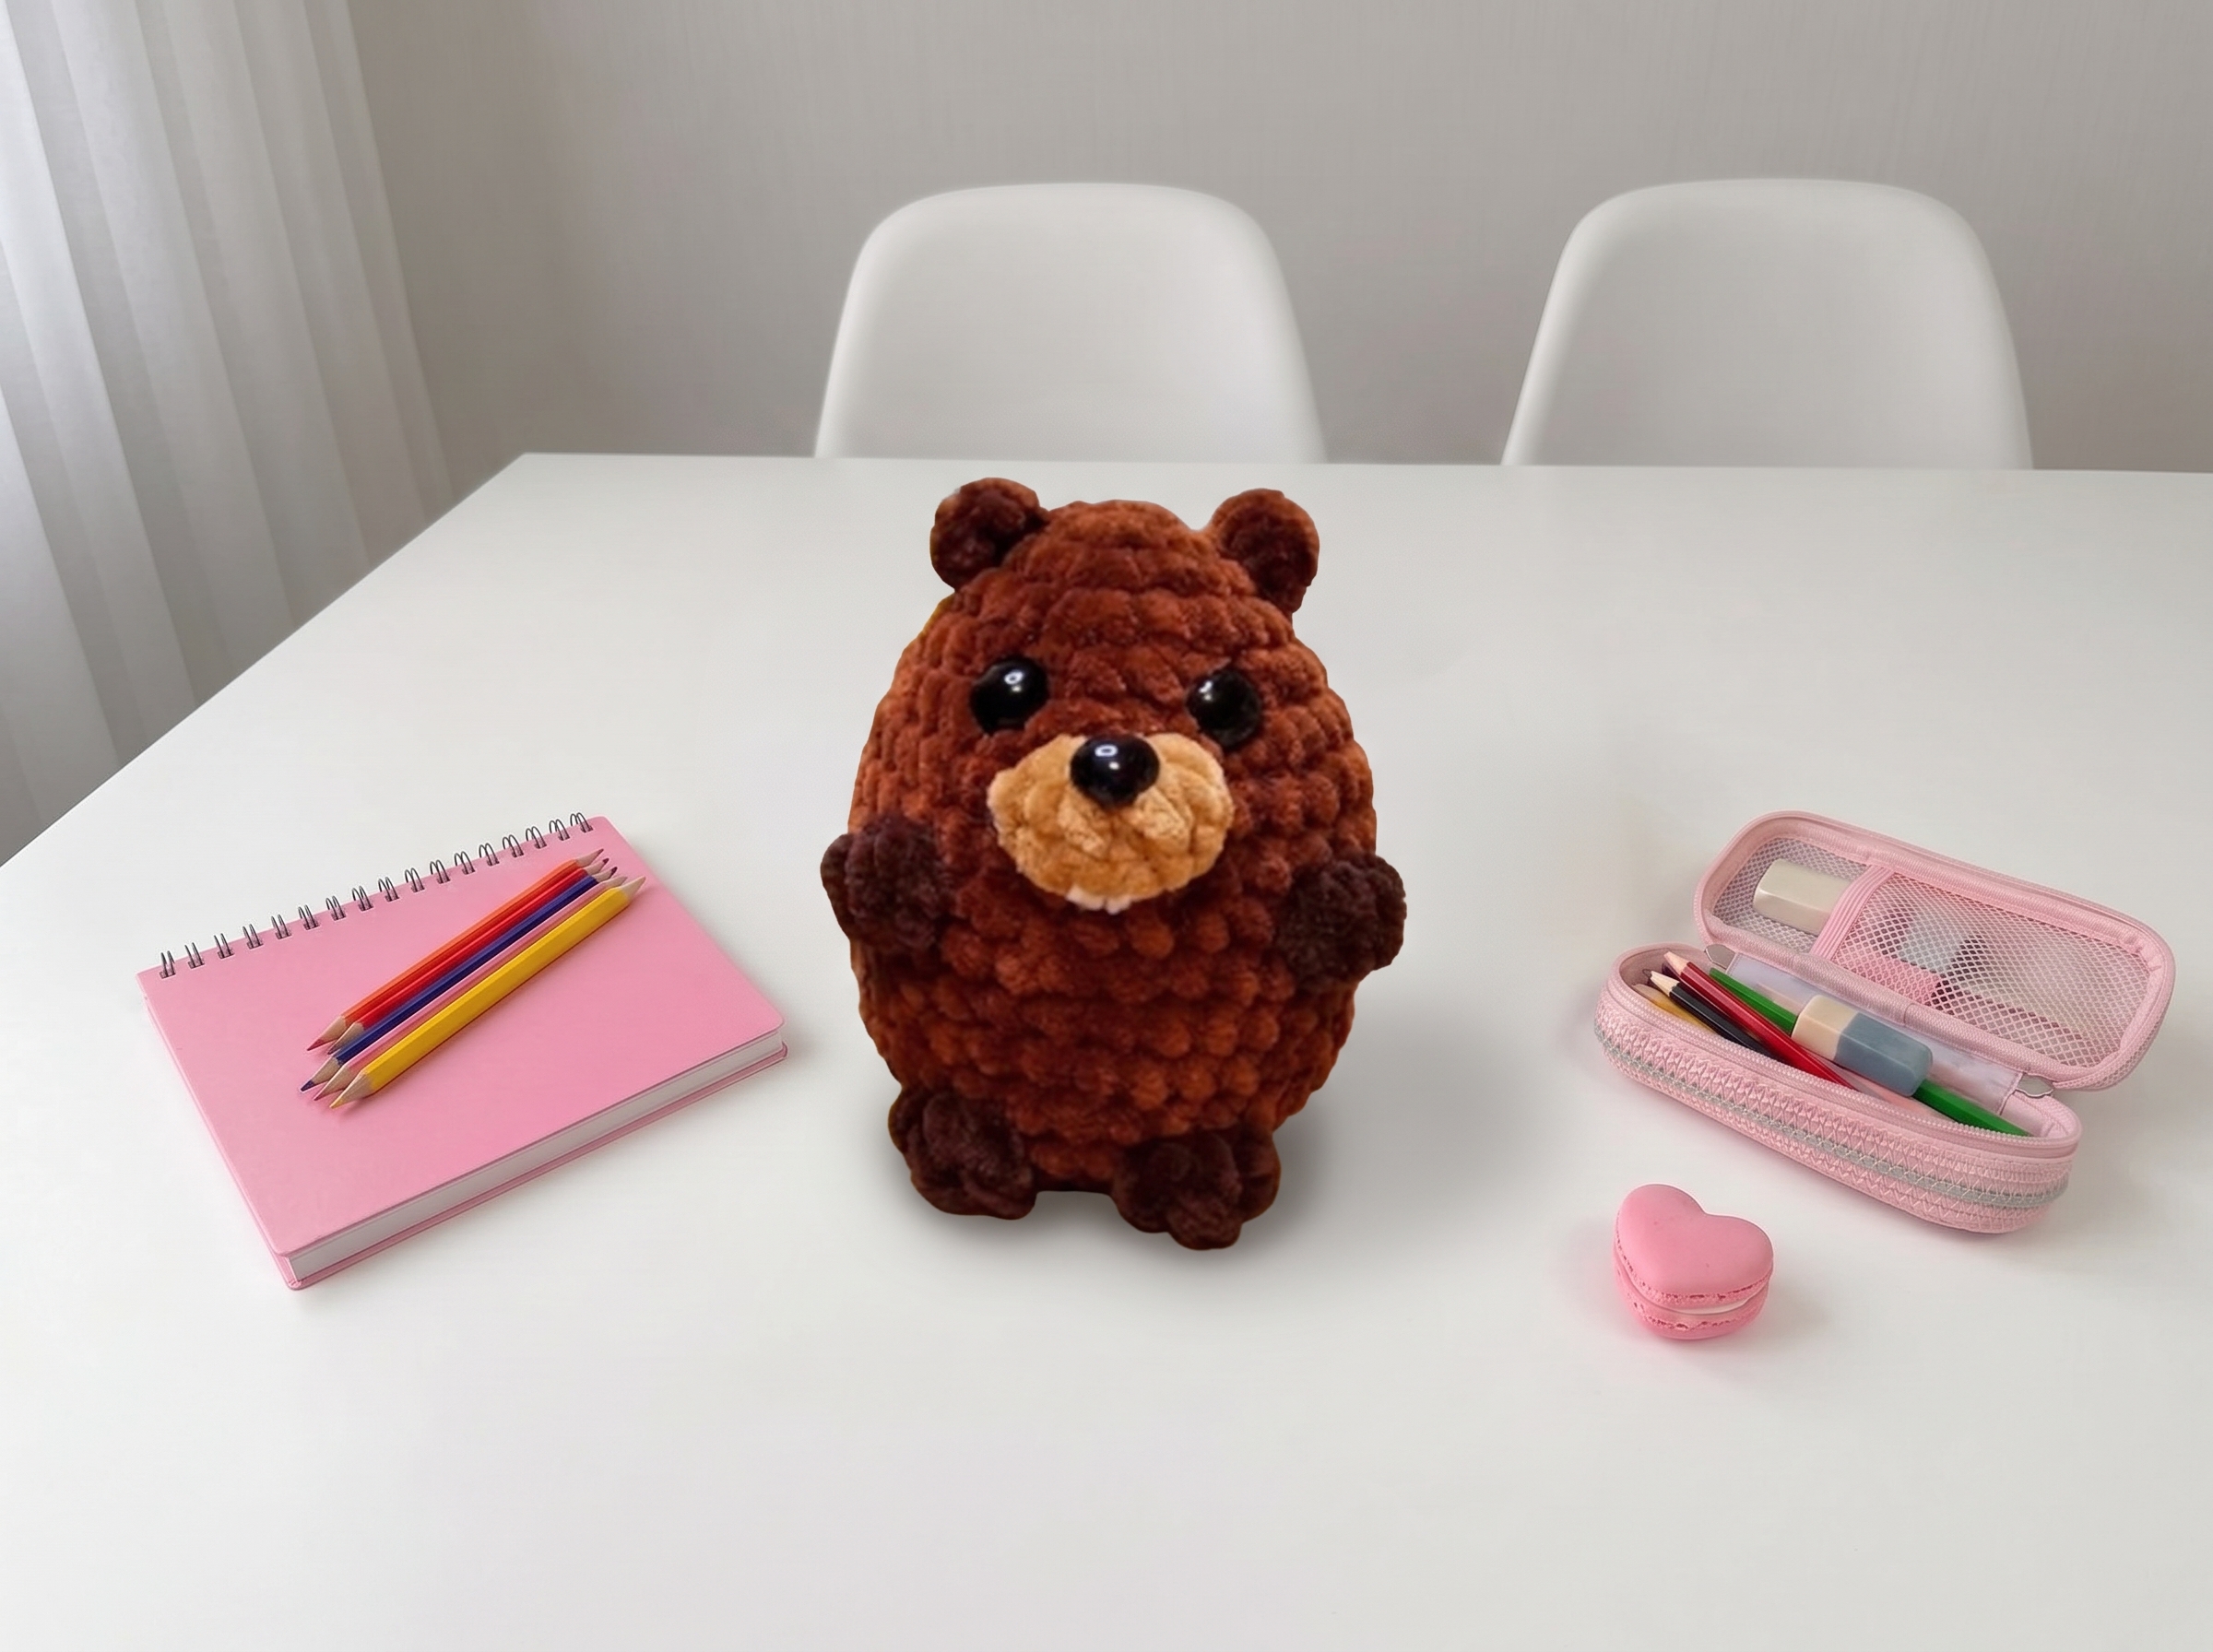
Adorable Plush Beaver – Complete Step-by-Step Pattern
1. Materials & Special Stitches
Grab your favorite plush yarns and get ready for a quick, rewarding project! This beaver is worked mostly in one piece, meaning less sewing and more crocheting.
- Yarn: Plush yarn (approx. 100g / 120m).
- Main Body: Brown (e.g., Wolans BannyBaby #60)
- Muzzle: Lighter brown or tan (e.g., Wolans BannyBaby #18)
- Tail & Paws: Dark brown (e.g., YarnArt Dolce #775)
- Hook: 4.0 mm (or size needed to achieve a tight, stuff-proof gauge with your plush yarn).
- Notions: 10-12 mm safety eyes, 10x11 mm glue-on safety nose, poly-fil stuffing, tapestry needle, scissors.
- Special Stitches (Puffs/Bobbles):
- Muzzle Puff: Yarn over, insert hook into the stitch, yarn over and pull up a loop (4 loops on hook). Yarn over and pull through all 4 loops.
- Arm Puff: Same as the muzzle puff (4 double crochets with a single top).
- Leg Puff: Yarn over twice, insert hook into the stitch, yarn over and pull up a loop (6 loops on hook). Yarn over and pull through all 6 loops. (3 treble crochets with a single top).
Tip: Working with plush yarn can sometimes hide your stitches. Use a stitch marker and keep your tension consistent so those cute puff stitches pop!
2. Tail
We start with the tail because it will be folded and integrated directly into the body later, saving us from having to sew it on! Work this in your dark brown yarn.
- R1: 7 sc in MR (7)
- R2: 7 inc (14)
- R3-4: 14 sc (14) [2 rows]
- R5: (dec, 5 sc) x 2 (12)
- R6: 12 sc (12)
- R7: (dec, 4 sc) x 2 (10)
- R8: 10 sc (10)
- R9: (dec, 3 sc) x 2 (8)
- Finishing: Do not stuff the tail. Fold the opening in half and work 4 sc through both layers to close it flat. Cut yarn, but leave the tail attached to your work!
3. Body & Limbs
Now for the main event! We’ll build the body in your main brown yarn, seamlessly attaching the muzzle, arms, and legs as we go.
- R1: 6 sc in MR (6)
- R2: 6 inc (12)
- R3: (1 sc, inc) x 6 (18)
- R4: (2 sc, inc) x 6 (24)
- R5: 24 sc (24)
- R6: (3 sc, inc) x 6 (30)
- R7 (Muzzle): 14 sc in main color, work 2 Muzzle Puffs in the lighter color (each puff takes up 1 stitch), 14 sc in main color (30)
- R8: 30 sc (30)
- R9 (Arms): 1 sc, inc, 8 sc, work 1 Arm Puff, 8 sc, work 1 Arm Puff, 8 sc, inc, 1 sc (32)
- R10-13: 32 sc (32) [4 rows]
- Important detail: Insert the safety eyes between R5 and R6, spaced about 4 stitches apart, centered right below the muzzle.
- R14 (Legs & Tail Join): 2 sc, dec, 9 sc, work 1 Leg Puff, 4 sc, work 1 Leg Puff, 9 sc, dec, 2 sc. Now, take the folded edge of your tail and work the next 2 sc through both the body and the tail simultaneously to attach it! (30)
- R15: Work the remaining 2 tail stitches, 1 sc, dec, (3 sc, dec) x 5 (24)
- R16: 12 dec (12)
- R17: 6 dec (6)
- Finishing: Stuff the body firmly. Cut yarn, leaving a long tail. Weave the yarn through the front loops of the remaining stitches and pull tight to close the hole. Hide the end inside the body.
4. Ears
The ears are worked directly onto the head, giving the beaver a cute, rounded look without any extra sewing.
- Setup: Hold the beaver so the face is looking at you. Join your main brown yarn into the 4th row of the body (right where the head starts to narrow).
- Ear 1: Chain 3. Starting in the 3rd chain from the hook, work 1 hdc. Then, slip stitch directly into the 3rd row of the body.
- Finishing: Cut the yarn and pull it through to the inside of the head to hide it.
- Ear 2: Repeat the exact same process on the opposite side of the head.
5. Assembly & Facial Details
The final touches are what bring this little guy’s personality to life!
- Nose: Apply a small amount of craft glue to the back of your 10x11 mm safety nose and press it firmly onto the center of the muzzle, right between the two puff stitches.
- Teeth: Thread a tapestry needle with a small strand of white yarn. Starting just below the nose, embroider two small vertical stitches to create his signature buck teeth.
- Final Check: Give your beaver a gentle squeeze to ensure the stuffing is even, and weave in any last remaining yarn tails.
Final Section: Where to Go from Here
Congratulations, you’ve just stitched up an adorable pocket-sized beaver! By working the tail, arms, and legs directly into the body, you’ve practiced some fantastic seamless amigurumi techniques that eliminate the need for tedious sewing.
This "no-sew" construction method is perfect for making quick, durable toys. Next time, try experimenting with different plush yarn colorways to create a whole forest of critters, or use the puff-stitch technique to add textured scales to a dragon or bumpy skin to a dinosaur. Happy crocheting!