August 14, 2026
Alice in Wonderland Amigurumi Doll – Complete Crochet Pattern with Dress & Accessories
Bring this charming, classic Alice doll to life with this detailed, multi-part amigurumi pattern! Featuring a beautifully ruffled blue dress, a cute white apron, and flowing yellow hair, this project is a delightful challenge for intermediate crafters ready to master seamless garment construction and intricate doll assembly.
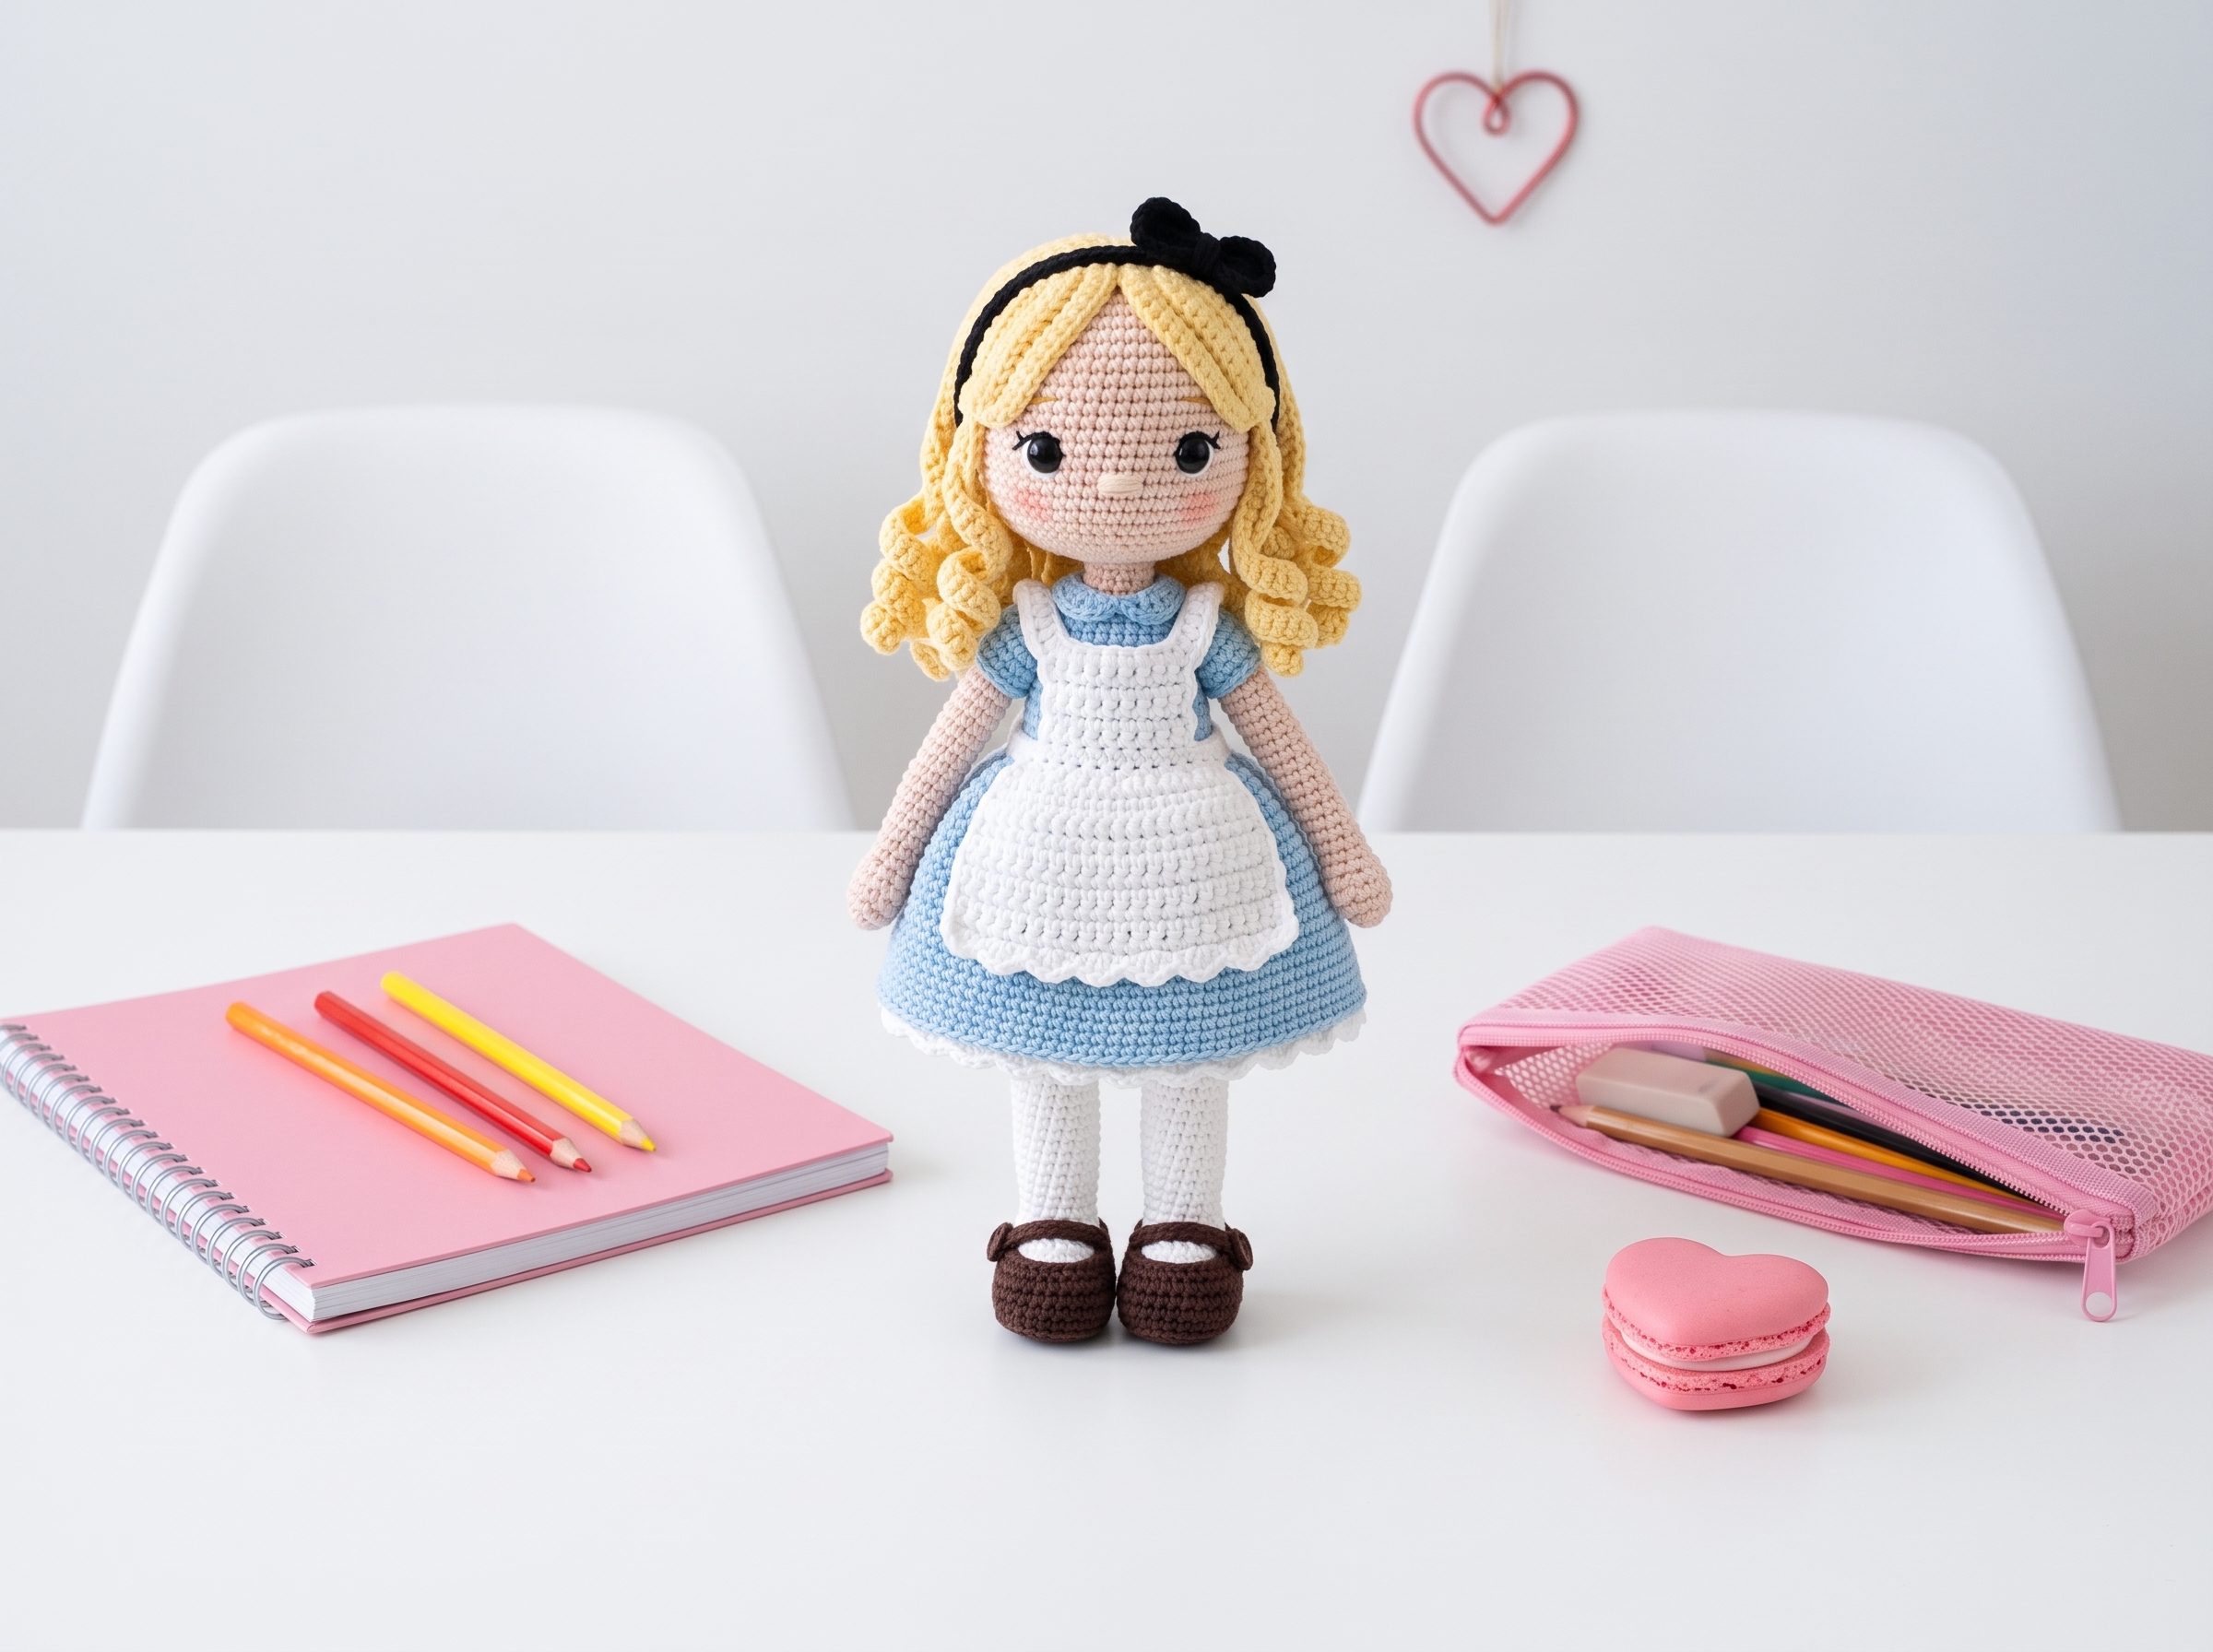
Alice in Wonderland Amigurumi Doll – Complete Step-by-Step Pattern
1. Materials & Abbreviations
Let's gather our supplies! Using the recommended cotton blend yarn will give your Alice doll a crisp, professional finish with beautiful stitch definition.
- Yarn: YarnArt Jeans (160m / 50g, 100% semi-cotton).
- Color 73 (Skin tone)
- Color 01 (White)
- Color 88 (Yellow, for hair)
- Color 15 (Blue, for dress)
- Color 28 (Black, for bow, ribbon, and shoes)
- Hook: Size appropriate for your yarn (typically 2.0 mm - 2.5 mm for this weight).
- Notions: 10 mm safety eyes, 2 small buttons, poly-fil stuffing, tapestry needle, scissors, stitch markers.
- Abbreviations:
- MR – magic ring
- ch – chain
- sc – single crochet
- hdc – half double crochet
- dc – double crochet
- dc2tog – double crochet 2 together
- sl st – slip stitch
- inc – increase (2 sc in one stitch)
- dec – decrease (2 sc crocheted together)
- BLO – back loop only
- FLO – front loop only
- Bobble – 4 unfinished dc in the same stitch, then yarn over and pull through all 5 loops on the hook.
What it teaches: Proper tool selection for fine cotton yarns, gauge management, and familiarization with standard international crochet abbreviations and textured stitches.
2. Arms (Make 2, Skin Tone)
The arms are worked as simple, flat tubes with a subtle "finger" shaping, designed to be attached seamlessly to the body later.
- R1: 6 sc in MR (6)
- R2: (inc, inc, sc) x 2 (10)
- [Editor’s Note: Original pattern stated "(2 inc, 1 sc) x 2" yielding 10 sts. Written out as (inc, inc, sc) to clearly show the 5-stitch repeat.]
- R3-5: 10 sc (10) [3 rows]
- R6: dec, 9 sc (10)
- R7: 4 sc, dec, 4 sc (9)
- R8-20: 9 sc (9) [13 rows]
- Finishing: Sl st, fasten off, and do not stuff. Place a stitch marker directly over the "finger" (the dec stitch) in R20 to mark the attachment point.
What it teaches: Creating uniform, un-stuffed tubular limbs and using stitch markers for precise multi-part assembly.
3. Ears & Neck Tube
These small structural pieces add realism and stability to the doll's head and neck connection.
Ears (Make 2, Skin Tone, work loosely):
- Instructions: In MR, work: 1 sc, 1 hdc, 2 dc, 1 hdc, 1 sc.
- Finishing: Pull the tail tight to form a neat semi-circle. Leave a long tail for sewing.
Neck Tube (Skin Tone):
- R1: 6 sc in MR (6)
- R2: (3 sc, inc) x 2 (10)
- [Editor’s Note: Original pattern stated "(2 sc, inc) x 2 (10)", which mathematically yields 6 stitches. Corrected to "(3 sc, inc) x 2" to achieve the stated 10-stitch count, ensuring a proper fit for the head.]
- R3-13: 10 sc (10) [11 rows]
- Finishing: Sl st, fasten off, and do not stuff.
- Tip: For extra stability, you can substitute this crocheted tube with a short piece of wire wrapped in tape.
What it teaches: Working small, flat semi-circles and creating rigid internal structures for poseable dolls.
4. Legs & Body (Start with White)
Here’s where the magic happens! We’ll build the legs from the feet up, then join them seamlessly to crochet the torso in one continuous piece.
Right Foot & Leg:
- R1: Ch 6. Starting in 2nd ch from hook: 4 sc, 4 inc in last ch, turn, 3 sc, inc in first ch (13)
- R2: inc, 3 sc, 4 inc, 3 sc, 2 inc (20)
- R3: 20 sc in BLO (20)
- R4: 4 sc, (dec, 2 sc) x 3, 4 sc (17)
- R5: (2 sc, dec) x 3, 5 sc (14)
- R6: 5 sc, dec, 7 sc (13)
- R7-19: 13 sc (13) [13 rows]
- R20: 12 sc, inc, 1 sc (14)
- [Editor’s Note: Ensure the increase is placed in the middle of the inner side of the leg.]
- R21-30: 14 sc (14) [10 rows]
- Finishing: Sl st, fasten off. Stuff the leg firmly. Place a stitch marker in the middle of the inner side of the leg.
Left Foot & Leg:
- Work exactly the same as the Right Leg. Ensure the very last stitch of R30 lands exactly in the middle of the inner side. If needed, work 1-2 extra sc to center it. Place a marker here; this is your new Beginning of Round (BOR).
Joining & Body:
- R31: 11 sc (left leg), 2 ch (between legs), 14 sc (right leg), 2 sc, 3 sc (left leg) (32)
- [Editor’s Note: Adjusted stitch counts slightly to ensure the math perfectly bridges the two 14-stitch legs into a 32-stitch round.]
- R32: 11 sc, 2 sc in the ch spaces, 19 sc (32)
- R33-36: 32 sc (32) [4 rows]
- R37: Change to Skin Tone. (6 sc, dec) x 4 (28)
- R38-46: 28 sc (28) [9 rows]
- R47 (Attach Arms): 5 sc (body), 1 sc (through marked st on left arm), 8 sc (left arm), 14 sc (front body), 1 sc (through marked st on right arm), 8 sc (right arm), 9 sc (back body) (46)
- R48: 2 sc, 2 dec, 7 sc, 2 dec, 8 sc, 2 dec, 7 sc, 2 dec, 6 sc (38)
- R49: (2 sc, dec) x 8, 6 sc (30)
- R50: (3 sc, dec) x 6 (24)
- R51: (2 sc, dec) x 6 (18)
- R52: (1 sc, dec) x 6 (12)
- R53-55: 12 sc (12) [3 rows] (This forms the neck)
What it teaches: Oval foundation chaining, progressive limb decreasing, and seamless multi-piece joining with chain bridges.