August 13, 2026
Atmo Dawns Sweater – A Seamless, Color-Block Knit with Stepless Shoulders
Wrap yourself in the luxurious drape of the Atmo Dawns sweater. This bottom-up, seamless knit features gorgeous color-blocking, stepless shoulder shaping, and a clever vertical seam that flows right into the sleeves. Perfect for intermediate knitters ready to master custom garment fitting!
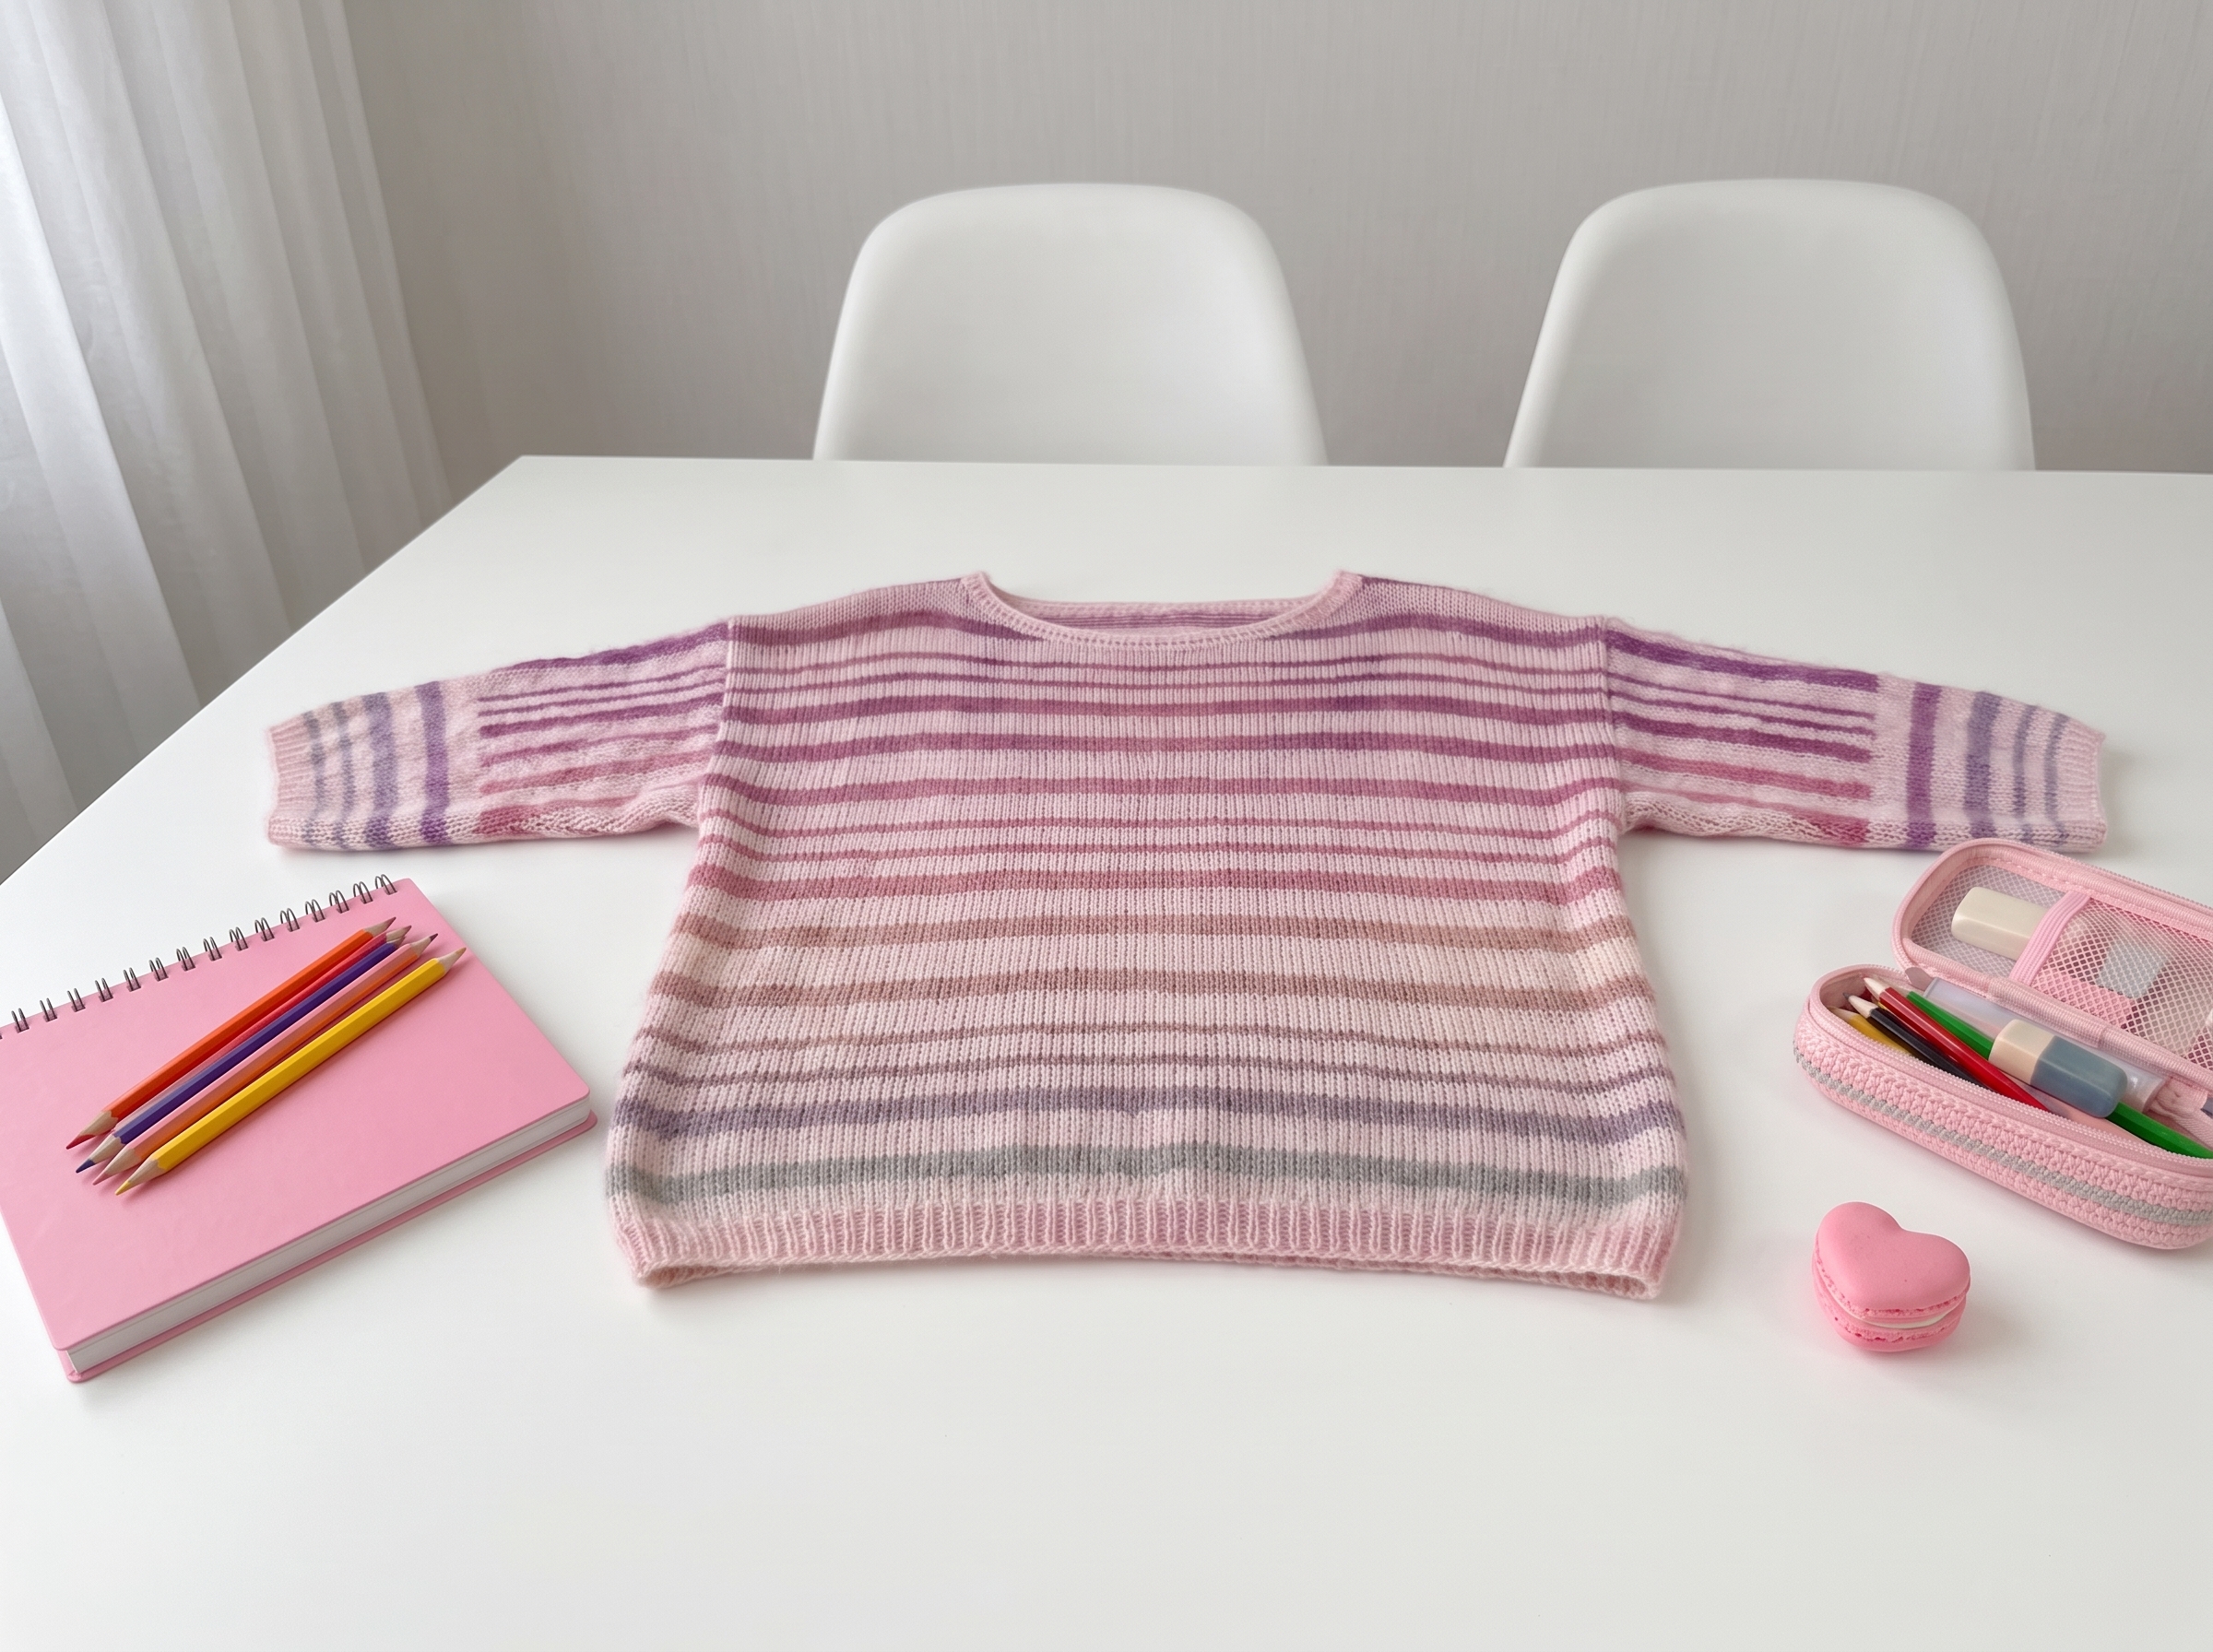
Atmo Dawns Sweater – Complete Step-by-Step Knitting Pattern
1. Gathering Your Supplies
Grab your favorite luxurious yarn and let's get cozy! This sweater is all about beautiful drape and texture, so choosing a yarn you love to work with is half the fun. The original design uses a lovely viscose/linen blend, but you can absolutely swap in a mohair/silk blend for a dreamy, fuzzy halo effect.
- Main Yarn: Aura Yarns Fashion Li Vi (175m/50g), Campo Lana Grossa (165m/50g), or Solo Lino Lana Grossa (120m/50g).
- Yardage: 5 to 10 skeins depending on your size.
- Accent Yarn (Optional for a halo effect): Rico Essentials Super Kid Mohair Loves Silk, Katia Concept Atenea, Katia Gatsby, or Lang Yarns Celeste/Marlene.
- Needles:
- 3.5 mm circular needles (80 cm or 100 cm cable) for the main body.
- 2.75 mm or 3.0 mm circular needles (80 cm or 100 cm cable) for the ribbing and neckline.
- 3.0 mm circular needles for joining the neckline.
- Notions: Stitch markers, waste yarn or a spare cable for holding stitches, tapestry needle, scissors, and a measuring tape.
- Gauge: 23 stitches x 34 rows = 10 cm x 10 cm (4" x 4") in stockinette stitch, after wet blocking.
- Tip: Always wash and block your gauge swatch! Natural fibers like linen and viscose relax and grow after washing, and you want your sweater to fit perfectly on day one.
2. Abbreviations & Special Techniques
Before we dive in, let's quickly review a few terms. If you're new to any of these, don't worry—they are easier than they look, and you'll be a pro by the time we reach the sleeves!
- k: knit
- p: purl
- k2tog: knit 2 together (right-leaning decrease)
- ssk: slip, slip, knit (left-leaning decrease)
- M1R / M1L: Make 1 Right / Make 1 Left (lifted increases from the strand between stitches)
- Edge st: Slip the first stitch of every row purlwise, and purl the last stitch of every row.
- Stepless Bind-Off: A technique where you bind off stitches but leave the final bound-off stitch on the right needle to prevent a jagged "step" at the shoulder. We'll walk through this together!
- Elastic Bind-Off: A stretchy bind-off done with a tapestry needle, perfect for cuffs and necklines so they don't cut off your circulation.
3. The Body (Front & Back Panels)
We're knitting the front and back flat, from the bottom up. This gives us the perfect canvas for those gorgeous color changes and sets us up for a seamless finish later.
Cast On & Ribbing:
- Using your smaller needles (2.75 or 3.0 mm), cast on 127 (139, 151) stitches.
- Work 5 rows (about 1 cm) in 1x1 ribbing (k1, p1).
- Switch to your main 3.5 mm needles.
Main Body & Color Blocking:
- Transition to stockinette stitch (knit on RS, purl on WS). Follow the color-change chart for your desired block pattern.
- Tip: When changing colors, don't cut the yarn! Just carry it up along the edge stitches to save yourself from weaving in a million ends later.
Armhole Shaping:
- Starting at row 85 (89, 99), we begin adding width for the armholes using wrapped cast-ons.
- Row 1 (RS): Edge st, k1, M1R, knit to last 2 sts, M1L, k1, edge st.
- Row 2 (WS): Edge st, purl to end, edge st.
- Continue increasing on the edges every other row as outlined in your chart, adding 2, 3, and finally 5 (or 8) stitches at the edges to create a smooth, curved armhole.
- Total stitches after armhole shaping: 157 (175, 187) stitches.
4. Stepless Shoulder Shaping (The Magic Part!)
Take a deep breath! This is where we shape the neckline and shoulders. We use a "stepless" method so your shoulders have a beautiful, smooth slope without any jagged stair-step edges.
Note: The instructions below are for Size XS/S. If you are knitting Size M or L, simply follow the exact same logic, but use the specific stitch counts provided in your size chart.
Left Front (Neckline & Shoulder):
- Row 1 (RS): Bind off 6 sts (leave the last one on the right needle!), knit 72, bind off 11 sts (leave the last one on the right needle!), knit 77, edge st.
- Row 2 (WS): Bind off 6 sts, p71, slip 1 st purlwise.
- Row 3 (RS): Bind off 5 sts, k66, slip 1.
- Row 4 (WS): Bind off 7 sts, p59, slip 1.
- Row 5 (RS): Bind off 5 sts, k54, slip 1.
- Row 6 (WS): Bind off 6 sts, p48, slip 1.
- Row 7 (RS): Bind off 4 sts, k44, slip 1.
- Row 8 (WS): Bind off 7 sts, p37, slip 1.
- Row 9 (RS): Bind off 3 sts, k34, slip 1.
- Row 10 (WS): Bind off 6 sts, p28, slip 1.
- Row 11 (RS): Bind off 2 sts, k26, slip 1.
- Row 12 (WS): Bind off 7 sts, p19, slip 1.
- Row 13 (RS): Bind off 1 st, k18, slip 1.
- Final Rows: Bind off 6 sts, p12, edge st. Next row: edge st, k12, slip 1. Bind off 7 sts, p5, edge st. Next row: edge st, k5, slip 1. Bind off the final 7 sts. Cut yarn, leaving a 15 cm tail.
Right Front & Back:
- Work the Right Front as a mirror image of the Left Front, joining a new yarn at the neckline edge and working the stepless bind-offs on the WS/RS accordingly.
- Work the Back exactly the same way, shaping the back neck and shoulders simultaneously.
- Tip: Trust the process! It might look a bit messy on the needles, but once you seam those shoulders, the slope will be absolutely gorgeous.
5. Seaming & Neckline
Now for the satisfying part: putting it all together!
Shoulder Seams:
- Lay your front and back panels flat. Using a tapestry needle and the 3-needle bind-off method (or a sturdy mattress stitch), join the front and back shoulders together.
Neckline Band:
- Switch to your smaller needles. Pick up stitches evenly around the entire neckline.
- Pick up 1 stitch for every 1 stitch on horizontal edges.
- Pick up 3 stitches for every 4 stitches on vertical edges.
- Total neck stitches: 120 (132, 146).
- Pro-Tip: Place a spare piece of fishing line or thin cable on the inside (wrong side) of the neck as you pick up. This prevents the neckline from stretching out!
- Work 3 rows of stockinette flat on both the front and back neckbands.
- Join the two layers together by knitting 2 stitches together (one from the front needle, one from the back needle).
- Work 3 more rows in 1x1 ribbing, then use your elastic bind-off to keep it stretchy and comfortable.
6. Sleeves
We're picking up right from the armholes and working top-down. This means you can easily try the sweater on and adjust the sleeve length to your exact liking!
Setup & Sleeve Cap:
- Using your 3.5 mm needles, pick up stitches around the armhole. Aim for a ratio of about 3 stitches for every 4 rows (or 2 for every 3 rows).
- Total picked up stitches: 85 (87, 91). Place your beginning-of-round marker.
- Short Rows for the Cap: To give the shoulder a nice rounded shape, we'll use short rows with wrap-and-turns. Work back and forth, wrapping the last stitch before turning, and picking up the wrap on the return row. Gradually work your way across the sleeve cap until all stitches are integrated.
- Once the cap is shaped, join in the round.
Sleeve Body & Decreases:
- Knit in the round, decreasing 2 stitches (k2tog at the start, ssk at the end) every 6th to 8th row, depending on your size.
- Continue until the sleeve reaches your desired length (minus the cuff).
Cuffs:
- Switch to your smaller needles (2.75 or 3.0 mm).
- Work 14 rows (or your preferred length) in 2x2 ribbing (k2, p2).
- Bind off using the elastic "forward needle" method so your cuffs are snug but stretchy. Repeat for the second sleeve.
7. Final Assembly & Blocking
The Magical Vertical Seam:
- This is the best part of the pattern! Using a tapestry needle, sew the side seams of the body and the underarm seams of the sleeves in one continuous, flowing vertical mattress stitch. It creates a incredibly professional, boutique-quality finish with zero bulky seams at the armpit.
- Weave in all those carried-up yarn tails on the wrong side.
Wet Blocking:
- Submerge your sweater in cool water (around 30°C / 86°F) with a gentle wool wash. Let it soak for 30 minutes.
- Never wring or twist! Roll it in a towel to press out the excess water.
- Lay it flat on a dry towel or blocking mat. Gently pat it into your exact finished measurements.
- Let it air dry completely. The blocking will open up the stockinette stitches, soften the color-block transitions, and give the sweater that perfect, luxurious drape.
Final Section: Where to Go from Here
You did it! Take a moment to admire your handiwork. By completing the Atmo Dawns sweater, you've conquered stepless shoulder shaping, top-down sleeve caps, and seamless vertical seaming. These are truly advanced, custom-tailoring techniques that will elevate every garment you knit from now on.
Now that you know how to manipulate these shapes, try experimenting with different yarn weights! A chunky merino would make this an incredibly cozy winter coat, while a linen-cotton blend would make it the ultimate breezy summer cardigan. Happy knitting, and enjoy your beautiful new wardrobe staple!