August 13, 2026
MM Style Jumper – A Cozy, Colorful Knit with Cable & Mesh Details
Get ready to knit your new favorite everyday jumper! This bottom-up, seamless-in-the-round design features gorgeous cable panels, a beautifully tailored neckline using short rows, and a fit that’s as comfortable as it is stylish.
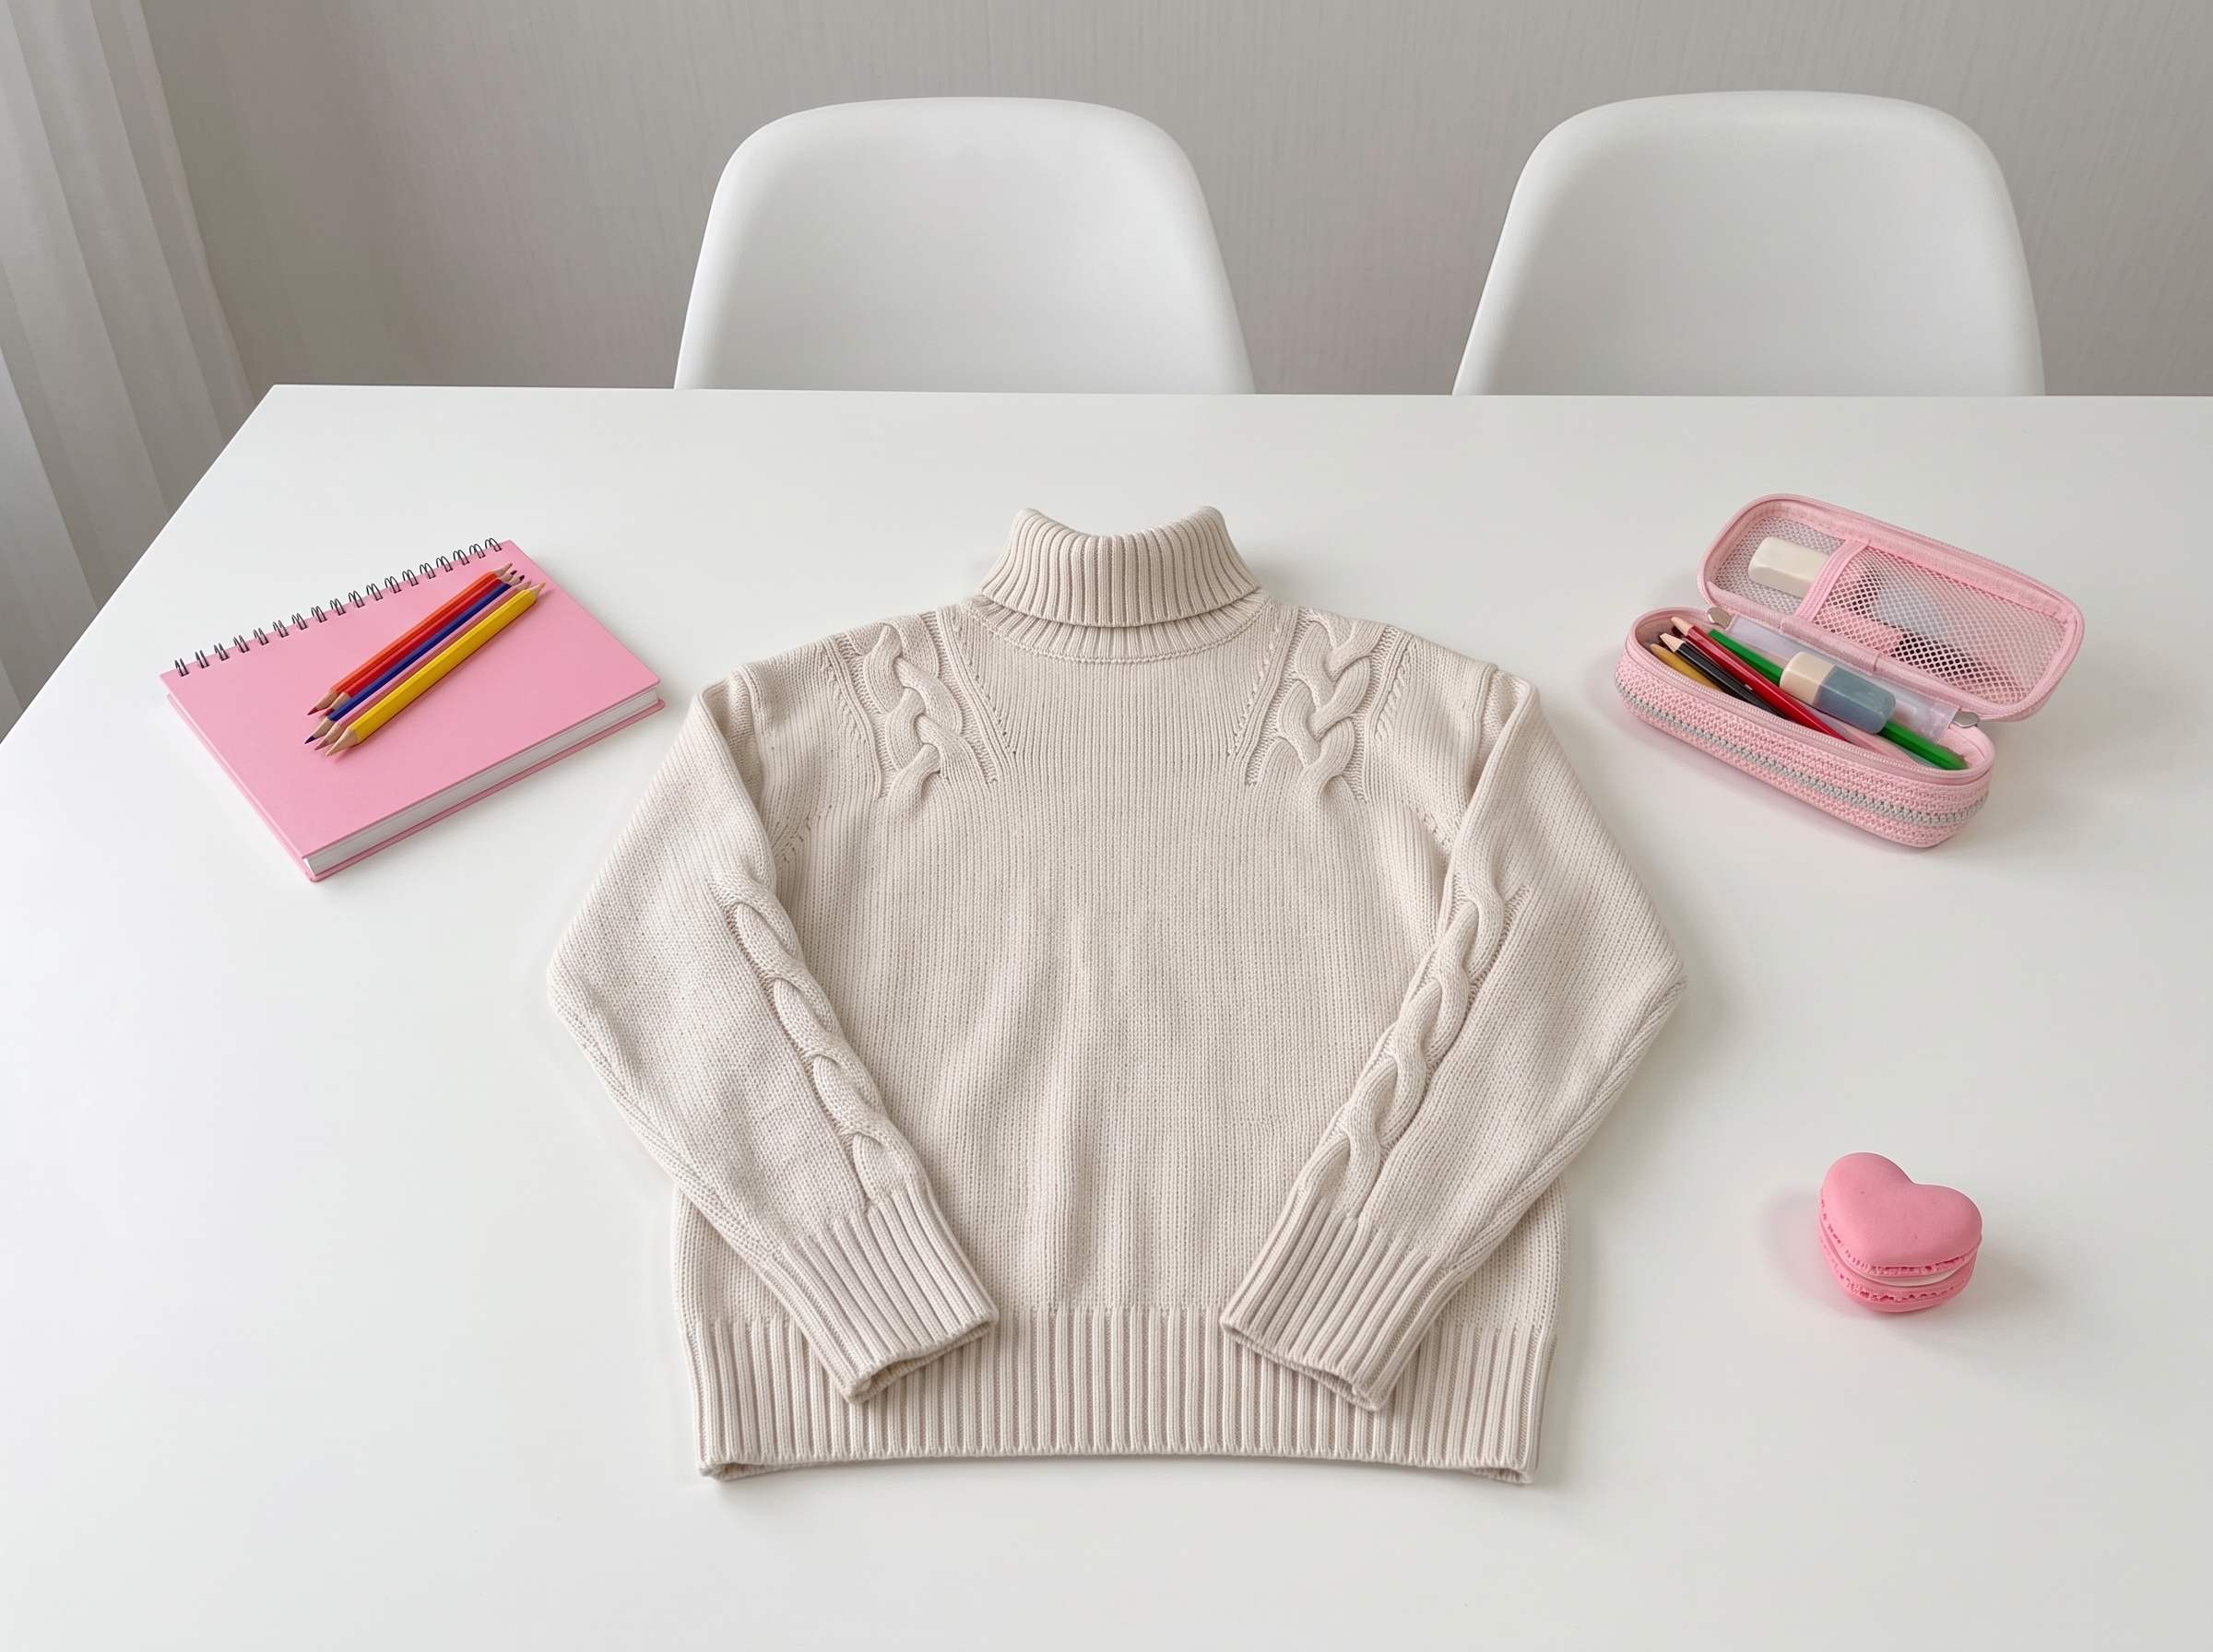
MM Style Jumper – Complete Step-by-Step Knitting Pattern
Editor’s Note: As a technical editor, I’ve taken the original 6-size document and consolidated it into standard multi-size knitting notation (e.g., XS(S, M, L, XL, 2XL)). This means you won't have to flip back and forth between six different pages of repetitive text! Just find your size in the parentheses and follow along seamlessly.
1. Materials & Gauge
Let's gather our supplies! The secret to this jumper's beautiful drape is using a luxurious, lightweight yarn that blooms beautifully after blocking.
- Yarn:
- Option 1: Cardiff Cashmere (112m / 25g) held as 1 strand.
- Option 2: LOUVRE (3000m / 100g) held as 10 strands.
- Needles:
- 3.75–4.0 mm circular needles (40 cm or 60 cm cable) for the main body.
- 2.75–3.0 mm circular needles (40 cm or 60 cm cable) for the ribbing and neckband.
- Notions: Stitch markers, waste yarn (for provisional cast-on), stitch holders, tapestry needle, scissors, measuring tape.
- Gauge:
- Stockinette stitch: 20(21, 21, 22, 22, 23) sts x 30 rows = 10 x 10 cm.
- 2x2 Ribbing: 34 sts x 40 rows = 10 x 10 cm.
- Cable Panel (18 sts): 18 sts = 6 cm wide. (Always wash and block your gauge swatch before committing to your needle size!)
Tip: If you're new to circular knitting, try using a left-hand needle that is 0.5 mm smaller than your right-hand needle. It helps the stitches slide off more smoothly!
2. Abbreviations & Special Techniques
- k: knit
- p: purl
- yo: yarn over
- k2tog: knit 2 together (right-leaning decrease)
- ssk: slip, slip, knit (left-leaning decrease)
- M1R / M1L: Make 1 Right / Make 1 Left (lifted increases)
- Edge st: Slip the first stitch of every row purlwise, purl the last stitch.
- Work 2 sts from 3 sts: A specific mesh decrease. Insert your needle into the next 3 stitches and knit 2 of them together, leaving the final stitch on the needle (or work as a slipped decrease depending on your preferred mesh tension).
- Wrap & Turn (W&T): For short rows. Bring yarn to front, slip next stitch purlwise, bring yarn to back, turn work. On the return row, pick up the wrap and work it together with the wrapped stitch to hide the hole.
- 3-Needle Bind Off: Used to seam the shoulders seamlessly.
3. Sleeves (Knit in the Round)
We start at the cuffs and work our way up! The sleeves are knit in the round, featuring a beautiful cable panel down the center.
- Cast On: Using waste yarn and a crochet hook, chain 34(34, 34, 36, 36, 38) sts.
- Italian Cast On: Switch to your 2.75-3.0 mm needles and working yarn. Pick up and knit 68(68, 68, 72, 72, 76) sts. Join in the round, place a marker (BOR).
- Ribbing: Work 4 rounds of 1x1 tubular ribbing, then transition to 2x2 ribbing. Work a total of 10 rounds on 3.0 mm needles.
- Transition to Main Needles: Switch to 4.0 mm needles.
- Cable Setup:
- Round 1: k6(6, 6, 10, 10, 14), [p2, k18] repeat 3 times, p2.
- Work 3 more rounds even.
- Round 5 (Cable Cross): k6(6, 6, 10, 10, 14), [p2, slip 6 sts to cable needle and hold in front, k6, k6] repeat 3 times, p2.
- Body of Sleeve: Continue in pattern, working the cable cross every 8th round.
- Increases: Increase 1 st on either side of the underarm marker every 12(10, 10, 8, 8, 6) rounds until you reach 75(85, 89, 99, 109, 119) sts.
- Finishing: Place sleeve sts on a holder. Do not cut the yarn. Repeat for the second sleeve.
4. Body (Up to the Armholes)
Now for the main event! The body is knit in the round from the bottom up, featuring a stunning mesh and cable texture.
- Cast On: Using waste yarn, chain 94(98, 108, 116, 130, 136) sts.
- Italian Cast On: Switch to 2.75-3.0 mm needles and pick up 188(196, 216, 232, 260, 272) sts. Join in the round.
- Ribbing: Work 4 rounds of 1x1 tubular ribbing, then 2x2 ribbing for a total of 18 rounds on 3.0 mm needles.
- Transition to Main Needles: Switch to 4.0 mm needles.
- Mesh & Cable Pattern Setup:
- Round 1: k96(100, 110, 118, 132, 138) for the front, place marker. [p2, slip 6 to cable needle in front, k6, k6, p2, k24(28, 30, 38, 44, 50), p2, slip 6 to cable needle in front, k6, k6, p2], k12(12, 16, 16, 20, 20) for the back.
- Work 4 more rounds even.
- Round 6 (Cable Cross): Work as Round 1, but execute the cable crosses.
- Body Length: Continue in pattern until the body measures 29 cm (11.5") from the cast-on edge, or 4 cm less than your desired total length. End with a purl round.
5. Front & Back (Shoulder & Neckline Shaping)
This is where the magic happens! We split the front and back and use short rows to create a beautifully tailored neckline and sloped shoulders. Don't panic about short rows—they are just a way to add extra height where you need it!
Splitting the Garment
- Round 1: k2tog, knit to 2 sts before the first sleeve, k2tog. Loop cast-on 3(4, 4, 6, 6, 8) sts for the underarm. Place marker. Knit across the back. k2tog, knit to 2 sts before the second sleeve, k2tog. Loop cast-on 3(4, 4, 6, 6, 8) sts. Place marker.
- Total Body Stitches: 208(224, 240, 264, 288, 312) sts.
Front Neckline & Shoulders (Worked Flat)
Note: The front is worked back and forth. The mesh pattern is maintained, and decreases are worked at the armhole and neckline edges.
- Armhole Shaping: Work 10(10, 12, 12, 12, 12) rows, decreasing 1 st at each edge on rows 4, 10, 16, 22, 28, and 34.
- Neckline Short Rows: Once the armhole shaping is complete, begin short rows to shape the V-neck or round neck (depending on your chosen variation).
- Work to 6 sts before the center neck, W&T.
- Work to 4 sts before the previous wrap, W&T.
- Continue wrapping every 2nd row until the shoulder stitches are fully shaped.
- Shoulder Slope: Simultaneously, use short rows to slope the shoulder edge, wrapping and turning every 2nd row until all shoulder stitches are bound off.
- Finishing Front: Cut yarn, leaving a 70 cm tail for the 3-needle bind off. Place sts on holder.
Back Neckline & Shoulders
- Work the back exactly as the front, mirroring the short row placements for the neckline and shoulder slopes.
- Finishing Back: Cut yarn, leaving a 70 cm tail. Place sts on holder.
6. Assembly & Neckband
We're in the home stretch! Let's put it all together.
- Shoulder Seams: Use the 3-Needle Bind Off to seamlessly join the front and back shoulder stitches. This creates a beautiful, sturdy seam that lies flat against the skin.
- Neckband:
- Switch to your 2.75-3.0 mm needles. Pick up and knit stitches evenly around the entire neckline (approx. 120-146 sts depending on size).
- Work 34 rows in 2x2 ribbing.
- Bind off elastically using a tapestry needle and the "backstitch" method to ensure the neck stretches comfortably over your head.
- Setting in Sleeves:
- Pick up the sleeve stitches from the holder. Pick up extra stitches along the underarm cast-on to prevent holes.
- Work the sleeve cap decreases as outlined in the sleeve section, tapering down to the cuff.
- Finish with 15 rounds of 2x2 ribbing and an elastic bind off.
Wet Blocking (Crucial Step!)
- Hand wash your jumper in cool water (30°C / 86°F) with a gentle wool wash.
- Do not wring or twist! Roll it in a towel to press out excess water.
- Lay flat on a dry towel, shape to your exact measurements, and let it air dry completely. This will bloom the cashmere/wool fibers and even out your mesh and cable textures beautifully.
Final Section: Where to Go from Here
Wow, you did it! By completing this MM Style Jumper, you've tackled some seriously impressive knitting techniques: bottom-up seamless construction, complex cable and mesh patterning, short-row shoulder shaping, and the 3-needle bind off. Your sweater isn't just a garment; it's a masterclass in custom tailoring.
Now that you've mastered short rows and seamless yokes, try experimenting with different yarn blends! A merino-silk blend would give this jumper a gorgeous, luminous drape, while a rustic wool would make it incredibly warm and textured. Happy knitting, and enjoy your beautiful new handmade wardrobe staple!