August 13, 2026
Queen Dress – Elegant Summer Crochet Pattern
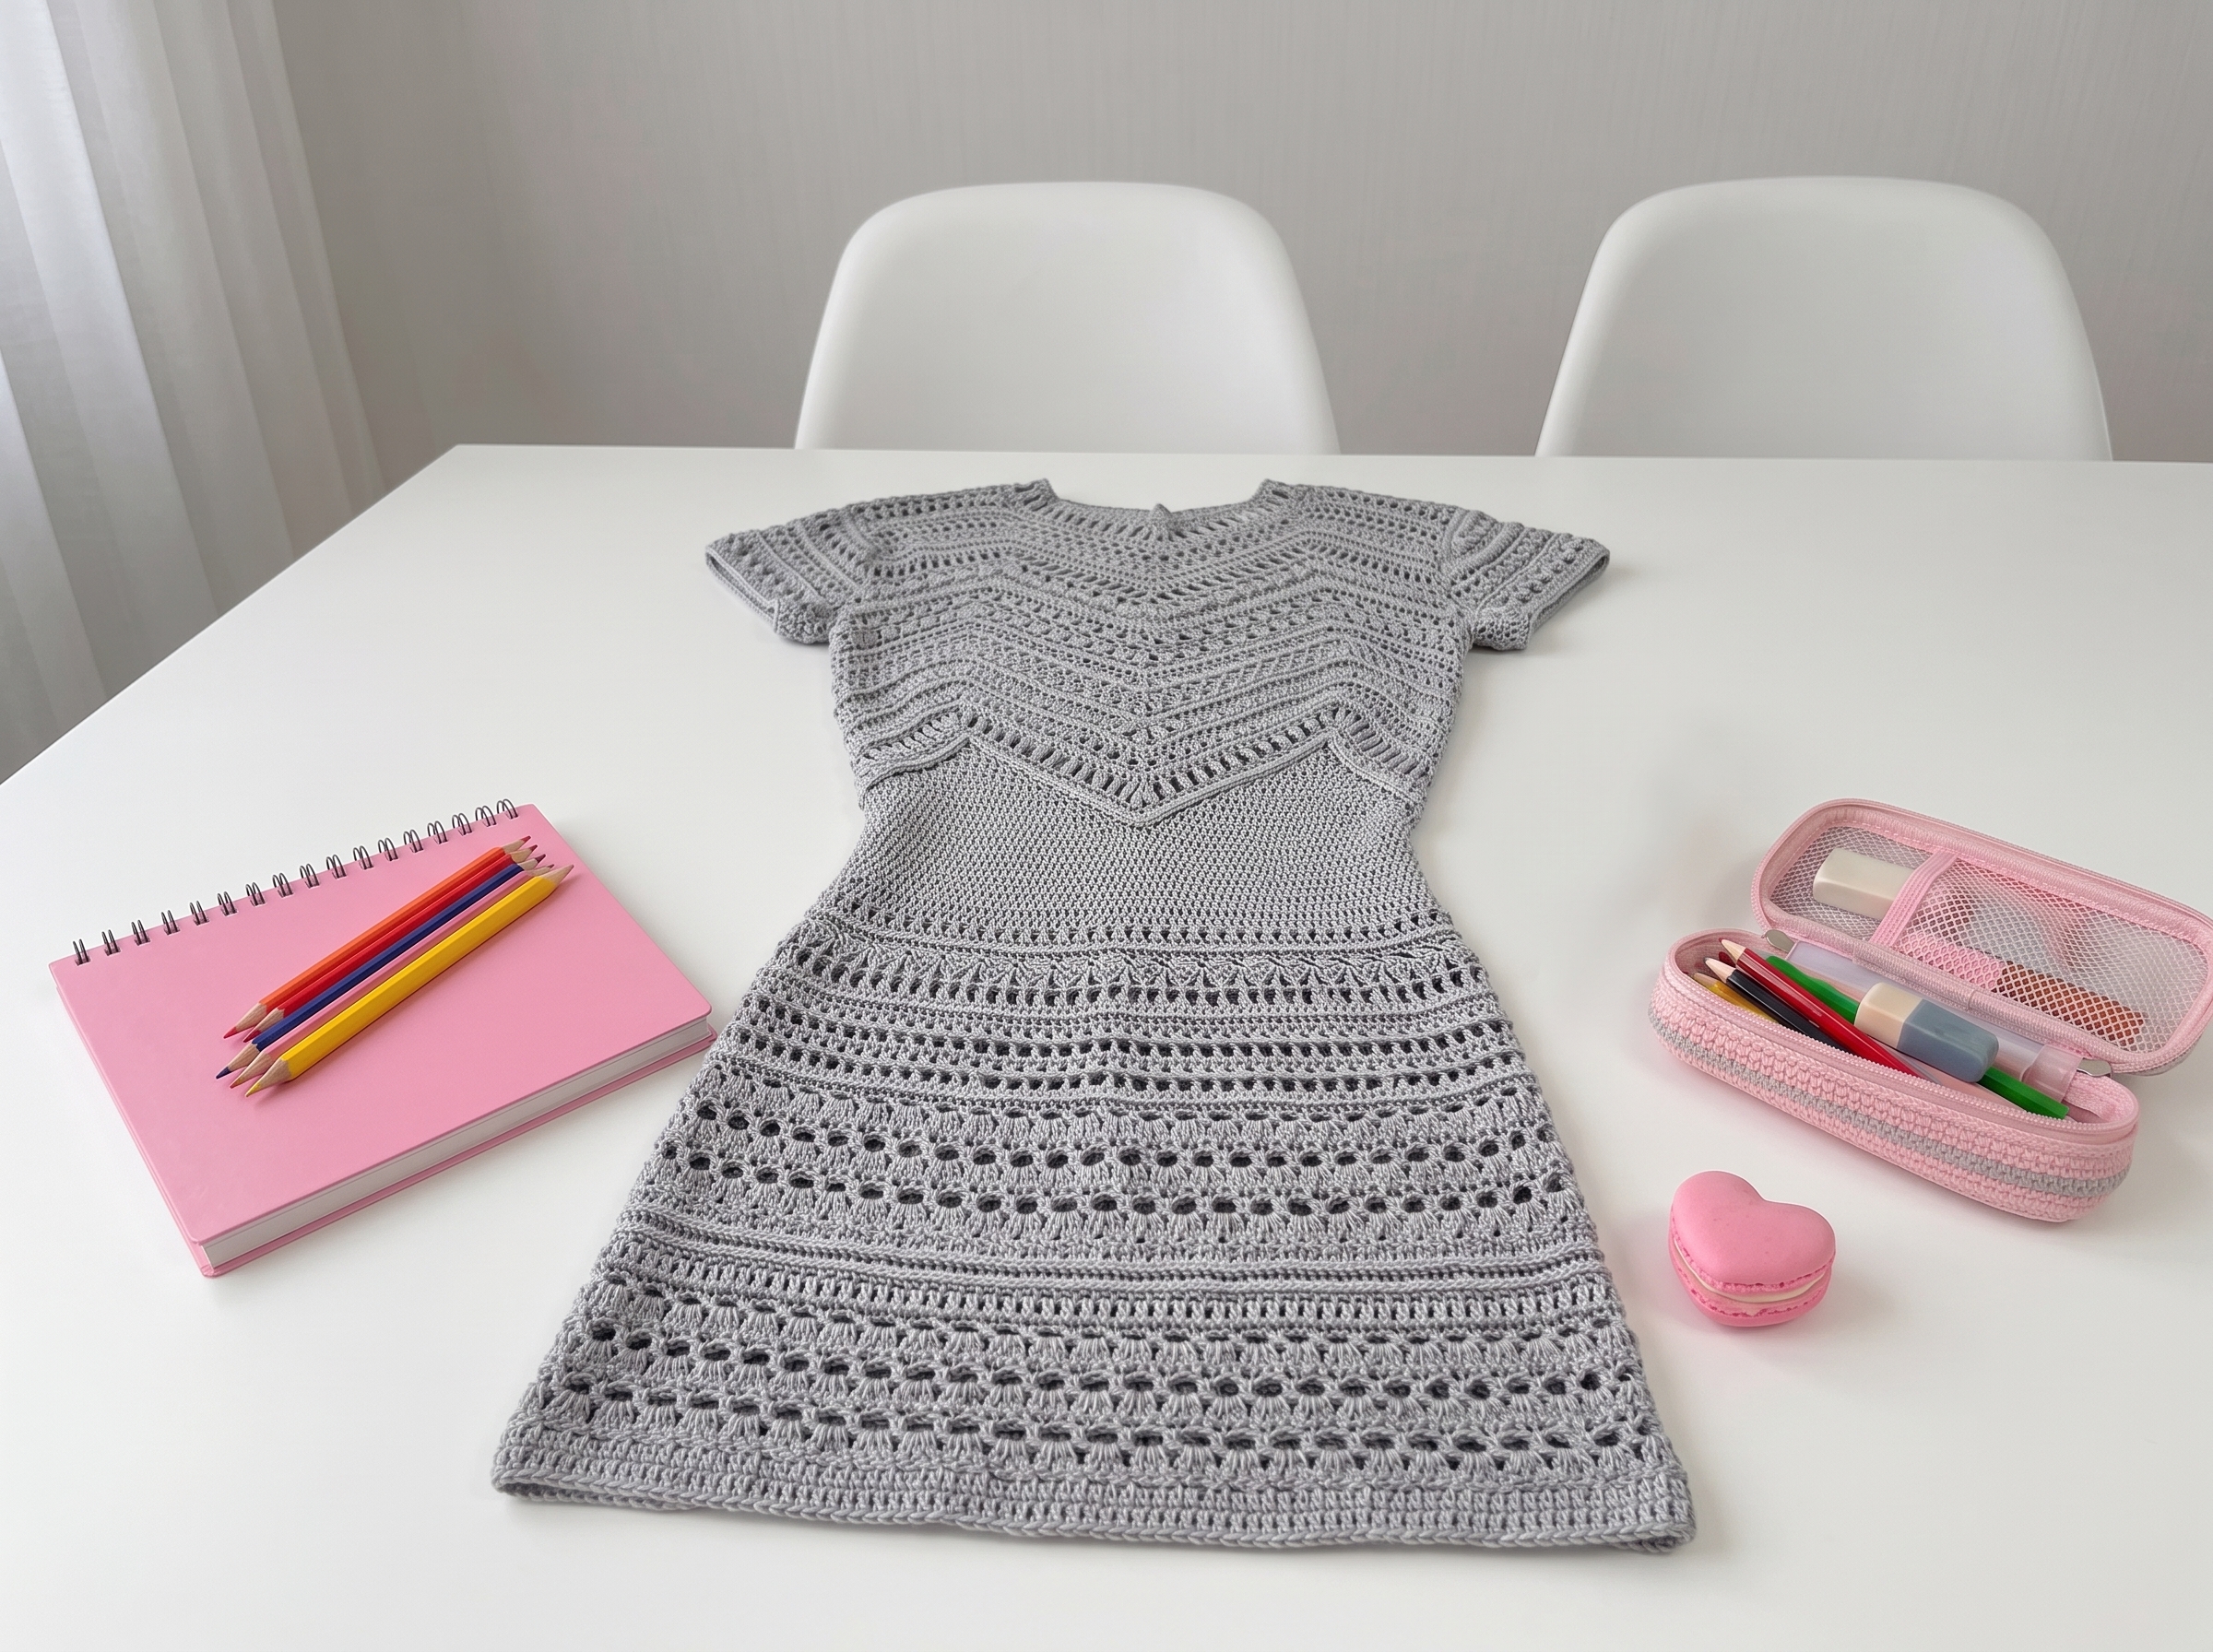
Create a stunning, lightweight summer dress inspired by high-end fashion. This pattern guides you through custom-fitting a lace-style bodice, flowing skirt, and delicate sleeves using your favorite summer yarns.
Queen Dress – Complete Step-by-Step Guide
Note: The core stitch counts and shaping for this garment are provided via visual charts (Charts 1, 2, and 3) in the original document. The text below translates all written instructions, construction notes, and sizing guides to help you navigate the charts with confidence!
1. Materials & Gauge
Grab your favorite breathable summer yarns and get ready to make a gorgeous, custom-fit dress! Because this garment relies heavily on your personal gauge and the visual charts, taking the time to measure and swatch is the absolute secret to a perfect fit.
- Yarn: Any lightweight summer yarn (cotton, viscose, linen, silk, or bamboo). Recommended meterage: 330–400m / 100g.
- Yardage: Approximately 500–600g (for a standard size 44 / US 8).
- Hook: 3.0 mm (or the size needed to match your gauge swatch).
- Notions: Measuring tape, stitch markers, tapestry needle.
What it teaches: The importance of gauge swatching and wet blocking for wearable garments, and taking accurate body measurements for custom sizing.
2. Preparation & Measurements
Before diving into the yarn, we need to set up your custom sizing.
- Step 1: Crochet a gauge swatch using your chosen yarn and hook.
- Step 2: Wash, dry, and block the swatch just as you would the finished dress.
- Step 3: Measure your waist circumference and shoulder circumference.
- Tip: The number of foundation chains for the bodice triangles will be calculated based on your unique gauge and body measurements.
What it teaches: Proper gauge swatching, wet blocking, and translating body measurements into foundation chain counts.
3. Bodice (Upper Section)
The bodice is worked from the waist up to the shoulders, creating a beautiful, structured fit that frames the neckline through the stitch pattern itself.
- Construction: The front and back panels each consist of 2 triangular motifs.
- Foundation: Determine the number of chain stitches (ch) needed for your triangles based on your waist measurement and gauge swatch.
- Shaping: Follow Chart 1 for the stitch pattern. The neckline is naturally formed by the decreases and pattern repeats as you work upward toward the shoulders.
What it teaches: Working modular triangular motifs, custom-fitting a bodice without traditional armhole shaping, and reading complex lace charts.
4. Skirt
The skirt flows beautifully from the waist, providing a lightweight and breezy silhouette perfect for summer.
- Construction: Worked according to the specific stitch pattern and flare increases.
- Instructions: Follow Chart 2 for the skirt's construction.
What it teaches: Managing large-scale stitch patterns and calculating increases for a flared skirt silhouette.
5. Sleeves
Complete the look with delicate, airy sleeves that complement the bodice and skirt.
- Construction: Worked and attached according to the armhole shaping.
- Instructions: Follow Chart 3 for the sleeve pattern.
What it teaches: Integrating sleeve charts into a multi-piece garment and maintaining pattern continuity across different sections of a dress.
Final Section: Where to Go from Here
Congratulations on completing your Queen Dress! Because this pattern is designed around custom gauge and visual charts, you've just leveled up your skills in reading crochet diagrams, modular construction, and custom garment fitting.
Next time, try experimenting with different summer yarn blends—like a silky bamboo or a crisp linen—to see how the drape and texture change the final look. You can also use the triangular motif from the bodice to design matching summer accessories, like a lightweight shawl or a decorative hair accessory. Happy crocheting!