August 7, 2026
Setka Mesh Cardigan – Elegant Bottom-Up Knitting Pattern
Elevate your handmade wardrobe with this airy, textured mesh cardigan. Featuring a beautiful 3-stitch mesh pattern, tailored stepless shaping, and professional kitchener-stitched edges, it is a rewarding project for intermediate knitters ready to master intricate lace-like textures and precise garment finishing.
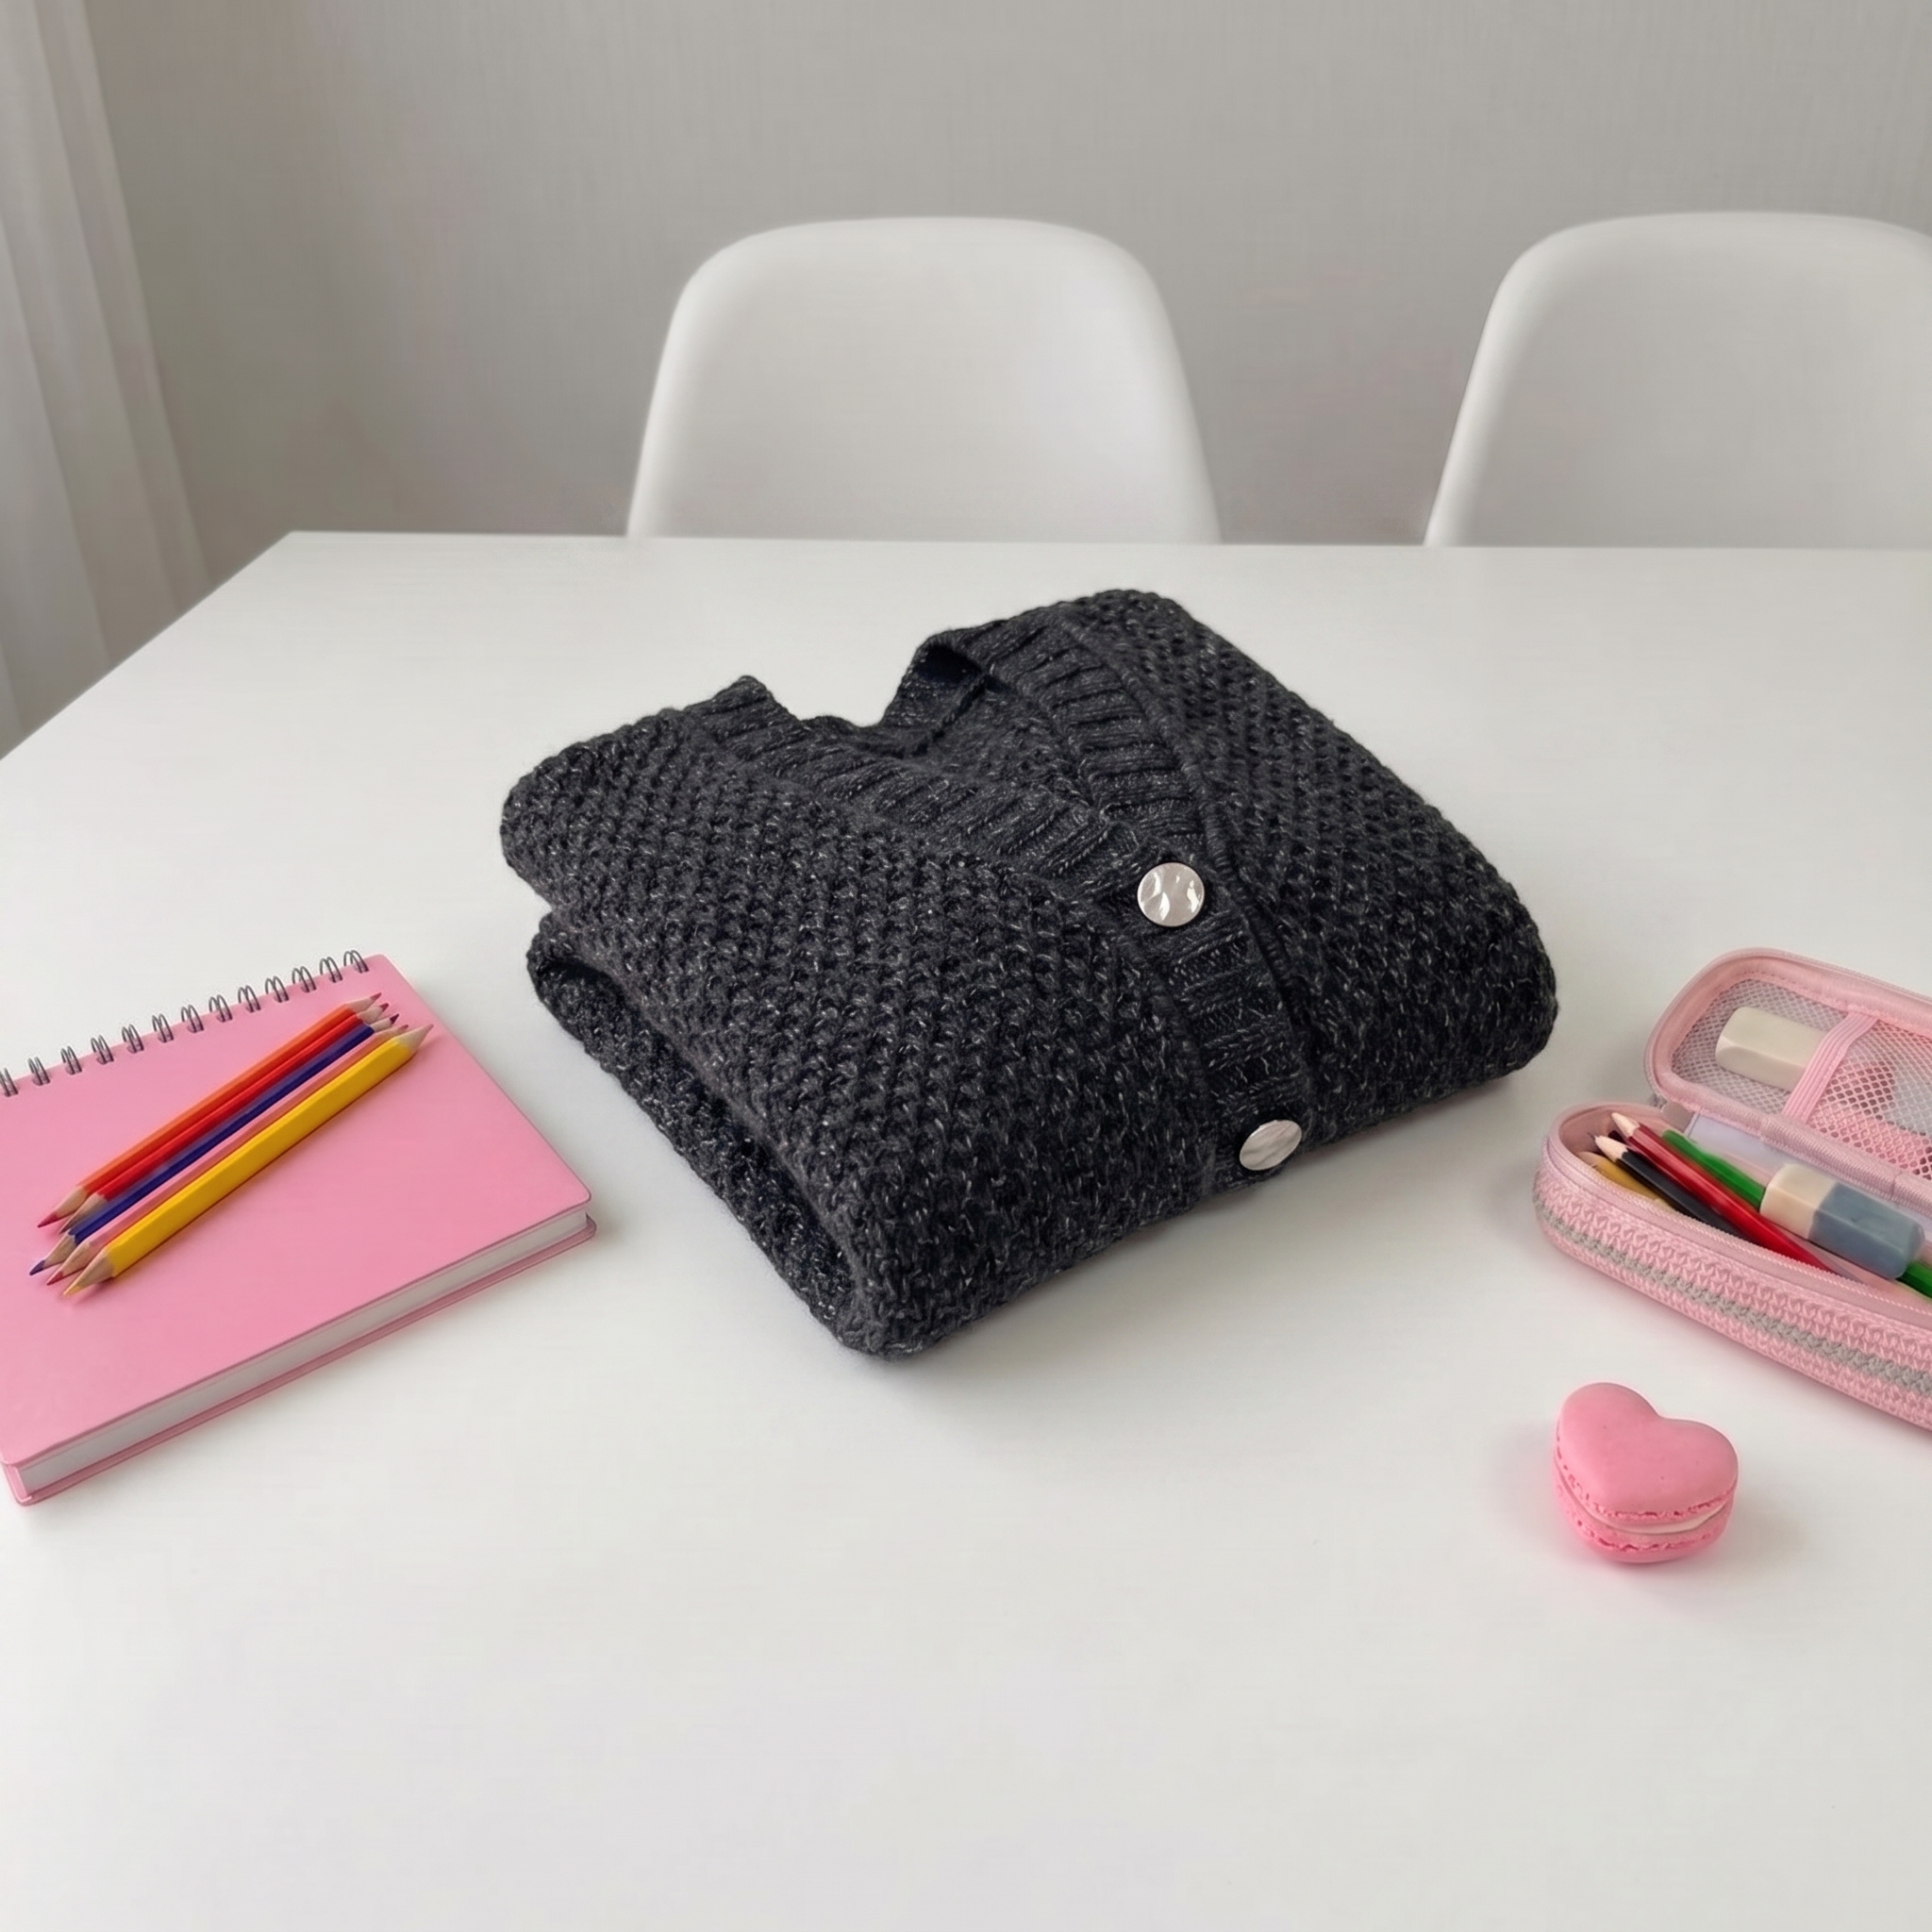
Setka Mesh Cardigan – Complete Step-by-Step Pattern
1. Materials & Gauge
This section covers everything you need to gather before beginning. Using the recommended materials ensures the correct gauge and a professional, durable finish.
- Yarn: AURA Shiny Day / Starlight / Space / Every Day (150m / 50g; 38% merino, 44% bamboo, 18% methanit OR 35% merino, 65% bamboo).
- Alternatives: Aurum Cashmere (350m/50g worked in 2 strands), Mink down (350m/50g worked in 2 strands), or any 100% merino 125m/50g.
- Needles:
- Circular needles 3.0 mm (for kitchener/bind off)
- Circular needles 3.5 mm (for ribbing and kitchener edging)
- Circular needles 4.0 mm (40-50 cm cable, for main fabric)
- Notions: Stitch markers (1-3), 3.0-3.5 mm crochet hook, tapestry needle, measuring tape, scissors, waste yarn.
- Gauge: 19.5 stitches x 28 rows = 10 cm x 10 cm (4" x 4") in the mesh pattern after wet blocking, using 4.0 mm needles.
- Finished Measurements (Chest Circumference): 76-80 cm (XS), 80-84 cm (S), 88-92 cm (M), 96-100 cm (L).
What it teaches: Accurate gauge swatching, evaluating yarn substitutions based on meterage, and selecting appropriate needle sizes for structured edges versus drapey fabric.
2. Abbreviations & Techniques
- k: knit
- p: purl
- yo: yarn over
- k2tog: knit 2 together (right-leaning decrease)
- ssk: slip, slip, knit (left-leaning decrease)
- k3tog: knit 3 together
- p3tog: purl 3 together
- selvedge st: slip the first stitch of every row, purl the last stitch of every row.
- RS: right side
- WS: wrong side
- Work 2 sts from 3 sts: A specific Russian decrease: knit 2 stitches together but leave them on the left needle, then knit the 2nd and 3rd stitches together. (This decreases 3 stitches to 2 stitches, maintaining the mesh pattern's stitch count when paired with a yarn over).
What it teaches: Familiarization with standard international knitting abbreviations and foundational lace-like decrease techniques.
3. Front & Back Panels
Note: The front and back are worked separately as flat pieces in rows, then seamed vertically. The pattern utilizes a "stepless" bind-off method to create smooth, curved armholes and necklines without jagged edges.
Body (All Sizes)
- Cast On: Using 3.5 mm circular needles, cast on 186 (198, 210, 226) stitches.
- Rows 1-2 (WS/RS): Selvedge st, p1, k2, p2, repeat to last 3 sts, k2, p1, selvedge st. (Row 2: selvedge st, k1, p2, k2, repeat to last 3 sts, p2, k1, selvedge st). Repeat these 2 rows 6 more times (14 rows of 1x1 ribbing total).
- Row 15 (WS): Selvedge st, purl to last stitch, selvedge st.
- Switch to 4.0 mm needles.
- Row 1 (RS): Selvedge st, k2, yo, work 2 sts from 3 sts, repeat to last 3 sts, yo, k2, selvedge st. [187 (199, 211, 226) sts] (Note: The extra yo at the end of Row 1 is for pattern symmetry; the stitch count normalizes in Row 3).
- Row 2 (WS): Selvedge st, purl to last stitch, selvedge st.
- Row 3 (RS): Selvedge st, k1, work 2 sts from 3 sts, yo, repeat to last 2 sts, work 2 sts from 3 sts, k1, selvedge st.
- Row 4 (WS): Selvedge st, purl to last stitch, selvedge st.
- Repeat Rows 1-4 for 18-20 more times, or until the desired length before the armholes is reached.
Armhole & Neckline Shaping
- Division: The work is divided into Left Front, Back, and Right Front sections.
- Shaping Principle: Continue the mesh pattern while systematically binding off stitches at the armhole and neck edges on specific RS/WS rows. This stepless method creates a smooth, tailored slope.
- Left Front: Work mesh pattern, binding off at the armhole edge, and later at the neck edge.
- Back: Work mesh pattern, binding off at both armhole edges, then binding off the center stitches for the neckline, and shaping the shoulders.
- Right Front: Mirror of the Left Front instructions.
- Finishing: Cut yarn, leaving a 15 cm tail for seaming.
What it teaches: Tracking complex pattern repeats, executing stepless bind-offs for tailored necklines, and maintaining consistent tension in textured knitting.
4. Sleeves
- Setup: Using 3.5 mm circular needles, pick up stitches along the armhole edge in a 3:2 or 2:1 ratio, resulting in 85 (87, 91, 93) stitches. Place a BOR marker.
- Setup Row: k2tog, knit to end. [84 (86, 90, 92) sts]
- Short Rows for Sleeve Cap: Work short rows (using the yarn-over method for wrapped turns) to shape the sleeve cap, integrating the mesh pattern seamlessly.
- Transition to Round Knitting: After the short rows, transition to knitting in the round. Slip the last stitch and knit it together with the first stitch of the next round to close the gap seamlessly.
- Sleeve Decreases: Decrease 4 stitches together at the beginning of the round at specified intervals (e.g., every 16-20 rows) to taper the sleeve.
- Cuff: Switch to 3.5 mm needles. Work 15 rows of 2x2 ribbing (k2, p2).
- Bind Off: Bind off loosely using an elastic "forward needle" (Kitchener-style) bind-off method to ensure the cuff remains stretchy.
What it teaches: Picking up underarm stitches without gaps, executing short rows for sleeve caps, and elastic bind-off techniques for comfortable cuffs.
5. Assembly & Wet Blocking
Proper finishing and blocking are critical to setting the mesh fabric and achieving the final, professional dimensions of the cardigan.
- Seaming: Using a tapestry needle and the mattress stitch, sew the front and back panels together with a single vertical seam, starting from the bottom hem and continuing seamlessly up through the sleeve to the cuff.
- Front Band (Kitchener Stitch): Pick up stitches along the front edges with 3.5 mm needles. Work 3 rows of stockinette flat. Pick up stitches on the WS. Join the front and back picked-up edges by knitting them together on 3.0 mm needles. Work 15 rows of 2x2 ribbing, creating 3 buttonholes on the left front band. Bind off elastically.
- Wet Blocking: Submerge the finished garment in cool water (30°C / 86°F) with a gentle wool wash. Soak for 30 minutes, then rinse. Do not wring or twist. Roll in a towel to press out excess water. Lay flat on a dry towel or blocking board, shaping to the finished measurements. Allow to air dry completely.
- Finishing: Once dry, sew on buttons opposite the buttonholes. Use a crochet hook to neatly weave in any remaining loose ends on the wrong side.
What it teaches: Professional kitchener-stitch edging, vertical mattress seaming, and the transformative power of wet blocking on natural fiber lace patterns.
Final Section: Where to Go from Here
Congratulations! By completing the Setka Mesh Cardigan, you have mastered foundational flat knitting, complex stepless bind-offs for tailored shaping, and seamless vertical seaming. This project is an excellent stepping stone for working with natural fibers and intricate mesh textures. From here, try experimenting with different yarn weights to create a chunky winter version, or adapt the 3-stitch mesh repeat to design your own matching cowl or fingerless mitts. Happy knitting!