September 6, 2026
Chunky Pumpkin Candy Pot – A Cozy Halloween Crochet Pattern
Get ready for trick-or-treaters with this adorable, chunky pumpkin candy pot! Featuring a beautifully ribbed texture, a perfect fit for all your favorite sweets, and a cute little lid with a green stem, this project is a quick, satisfying make that adds instant autumn charm to your home.
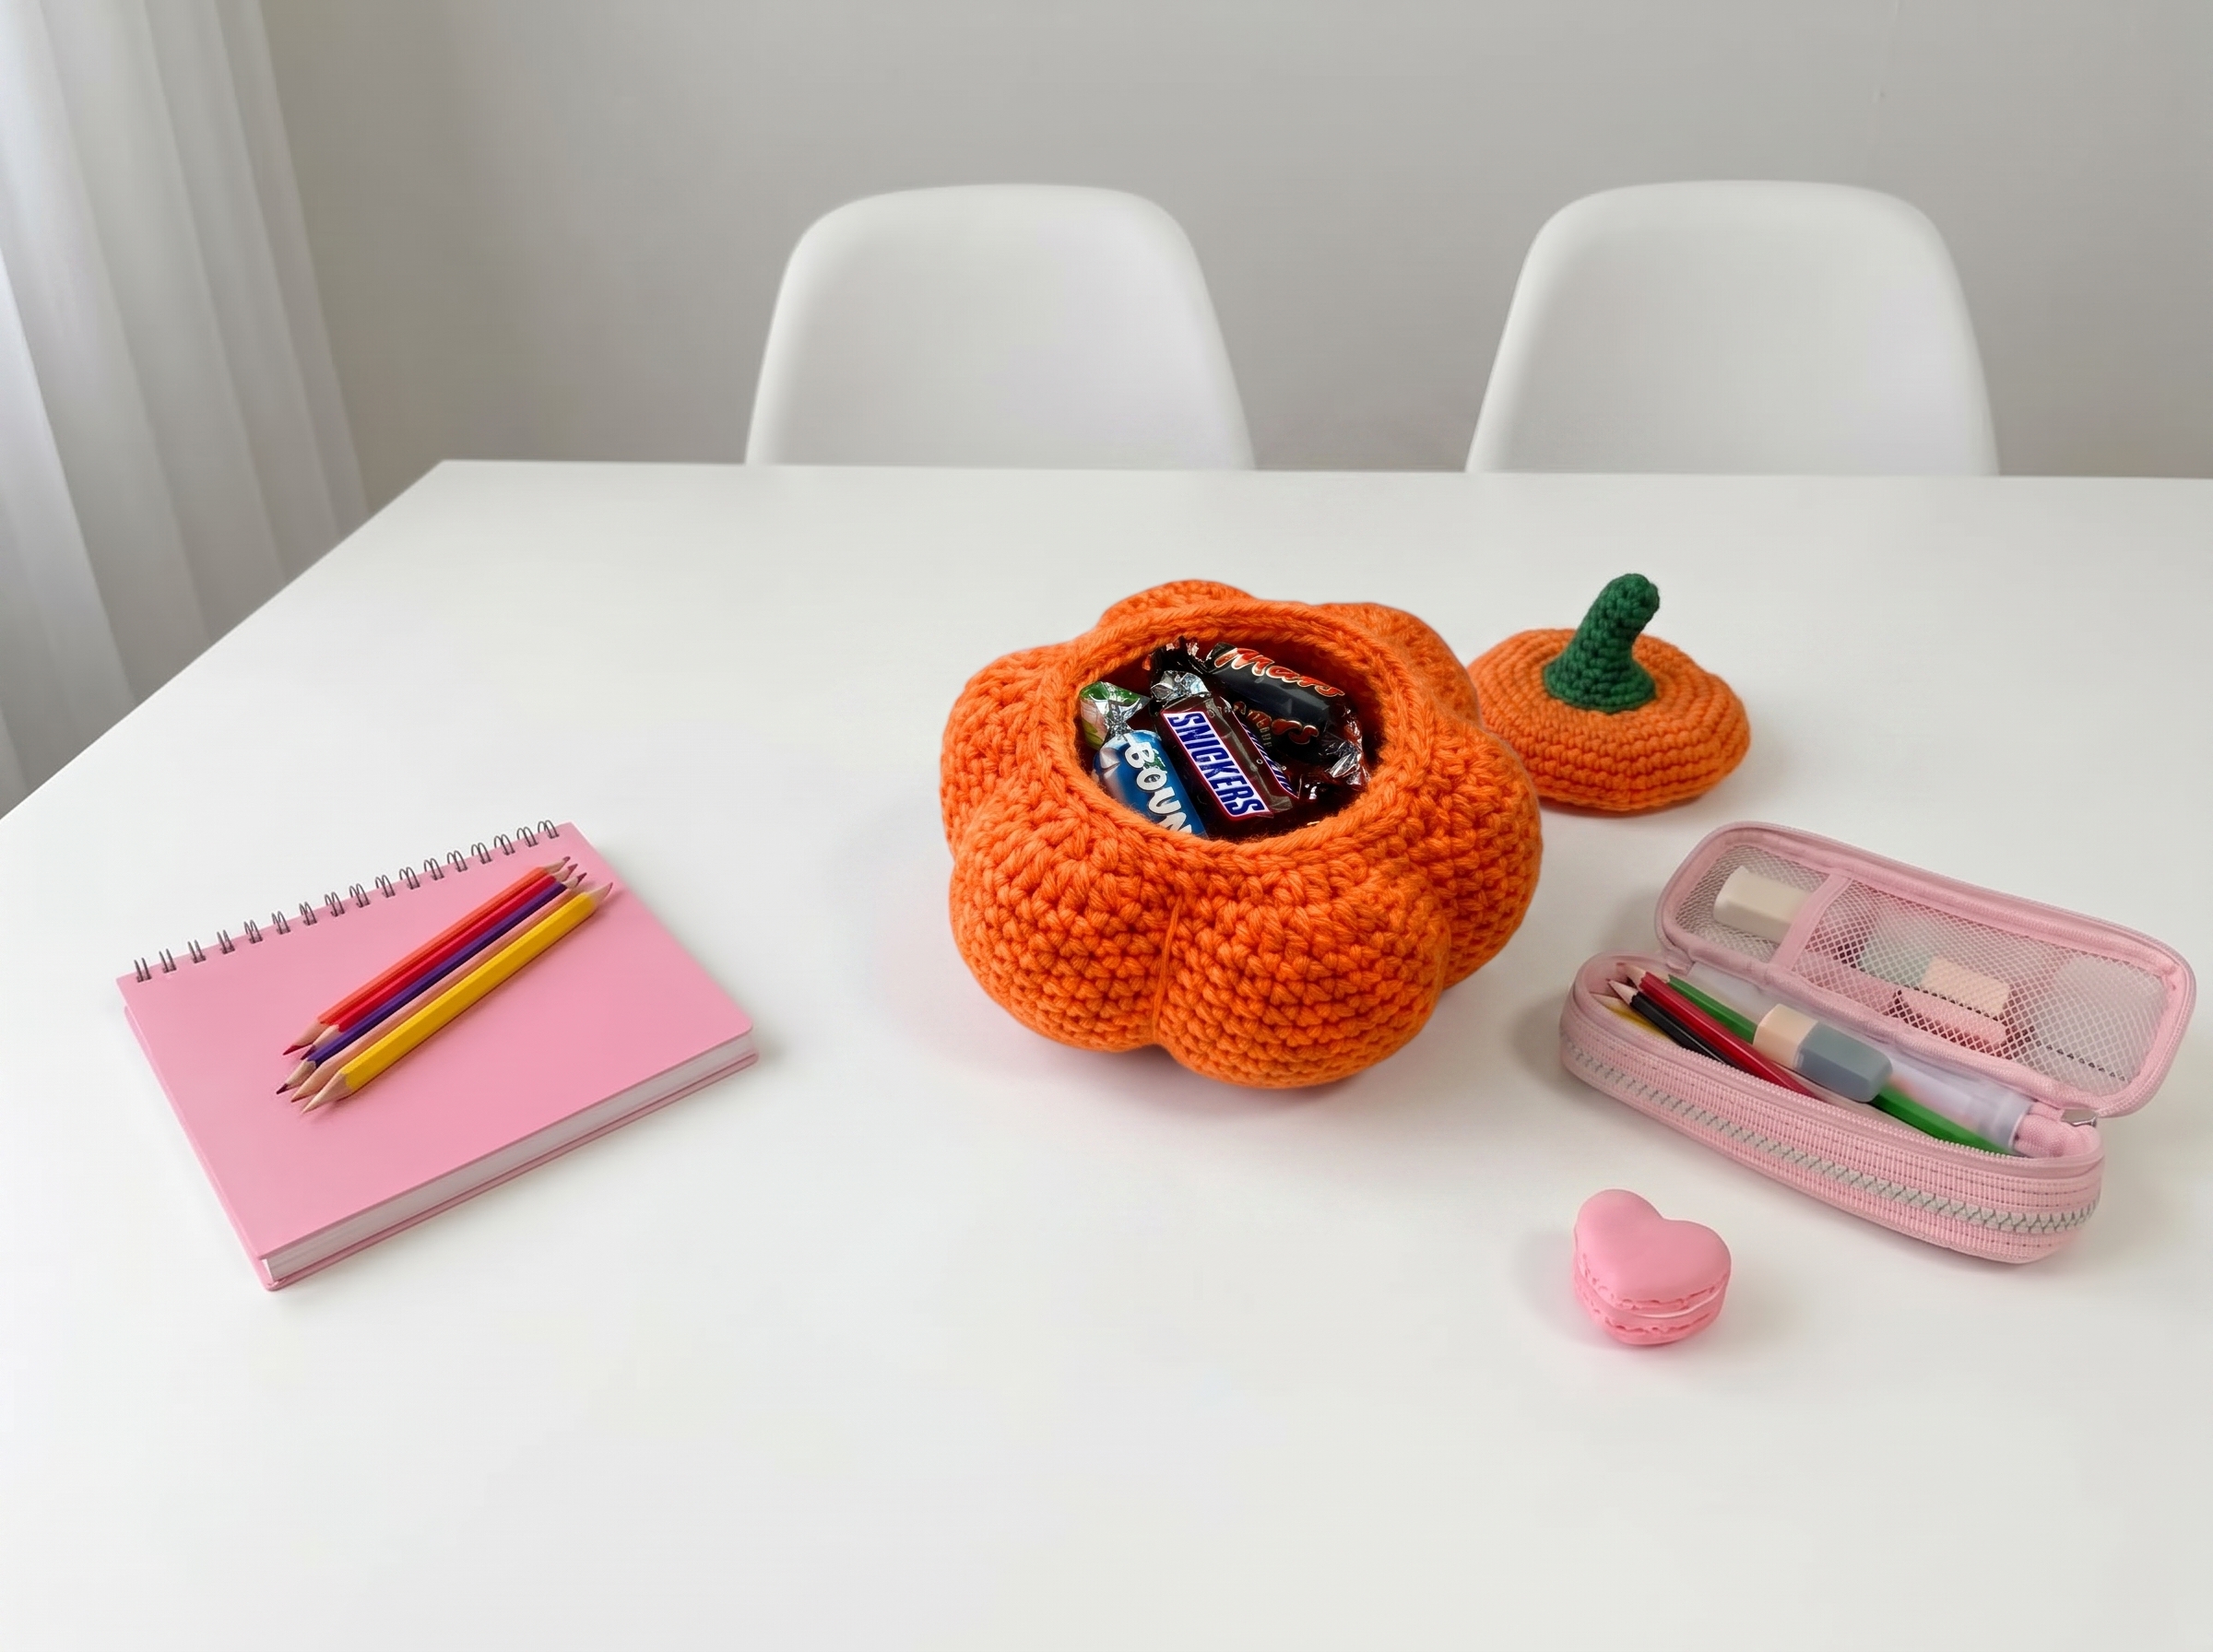
Chunky Pumpkin Candy Pot – Complete Step-by-Step Pattern
1. Gathering Your Supplies
To get that incredibly soft, plush, and bumpy texture seen in the photo, we highly recommend using a velvet or chenille-style yarn. It works up lightning-fast and hides any imperfect stitches!
- Yarn: Chunky velvet/chenille yarn (e.g., Himalaya Dolphin Baby, YarnArt Dolce, or similar, approx. 120m / 100g).
- Main Color: Pumpkin Orange (approx. 100g)
- Accent Color: Forest Green (small amount for the stem)
- Hook: 6.0 mm or 7.0 mm (choose the size that gives you a tight, sturdy fabric so your candy doesn't peek through the gaps!).
- Notions: Tapestry needle, scissors, and a stitch marker.
- Finished Size: Approximately 15 cm (6 inches) tall and wide.
What you'll master: Working with plush yarns, creating 3D lobed shapes, and constructing functional home decor.
2. Abbreviations & Special Techniques
Let’s quickly review a few terms. If you're new to any of these, don't worry—you'll be a pro by the time you fill it with candy!
- MR: Magic ring
- ch: Chain
- sc: Single crochet
- inc: Increase (2 sc in one stitch)
- dec: Decrease (2 sc crocheted together invisibly)
- sl st: Slip stitch
- BLO: Back loop only (working only into the back loop of the stitch to create a ridge)
3. The Pumpkin Pot (Body)
The secret to the beautiful, vertical pumpkin ribs is working the body in the Back Loop Only (BLO)! This creates a stunning texture that naturally forms segments.
- R1 (Orange): 8 sc in MR (8)
- Note: Starting with 8 stitches sets up our 8 perfect pumpkin lobes!
- R2: (1 sc, inc) x 8 (16)
- R3: (2 sc, inc) x 8 (24)
- R4: (3 sc, inc) x 8 (32)
- R5: (4 sc, inc) x 8 (40)
- The base is now complete and should lie flat.
- R6-15: 40 sc in BLO (40) [10 rows]
- Pro Tip: Working in the BLO pushes the front loops forward, creating those gorgeous, chunky vertical ribs!
- R16: (4 sc, dec) x 8 (32)
- We decrease slightly at the top to give the pot a rounded, organic shape.
- R17: (3 sc, dec) x 8 (24)
- Finishing: Sl st, cut yarn, and weave in the end.
What you'll master: Strategic placing of increases to form lobes, and using BLO to create rich, ribbed textures.
4. The Lid
The lid is worked exactly like the base of the pot, ensuring a perfect, snug fit!
- R1 (Orange): 8 sc in MR (8)
- R2: (1 sc, inc) x 8 (16)
- R3: (2 sc, inc) x 8 (24)
- R4: (3 sc, inc) x 8 (32)
- R5: (4 sc, inc) x 8 (40)
- R6: 40 sc in BLO (40)
- This BLO row creates a neat little lip on the underside of the lid so it sits perfectly on the pot.
- R7: 40 sc (40)
- Finishing: Sl st, cut yarn, leaving a long tail. Weave the tail through the front loops of the final round and pull tight to close the small hole in the center (or just weave it in securely).
What you'll master: Creating perfectly fitted lids and utilizing BLO for structural edging.
5. The Stem (Green)
A classic pumpkin needs a cute little stem!
- R1 (Green): 6 sc in MR (6)
- R2-5: 6 sc (6) [4 rows]
- Finishing: Cut yarn, leaving a long tail for sewing. Stuff the stem very firmly with a tiny bit of poly-fil so it stands up straight.
What you'll master: Working small, sturdy tubes and finishing 3D accessories.
6. Assembly & Finishing
Now for the magic moment where your pumpkin pot comes to life!
- Attach the Stem: Pin the green stem to the center of the lid. Using your long tail and a tapestry needle, sew it securely in place.
- Fill 'er Up: Load your new pot with your favorite Halloween treats (chocolate bars, gummy worms, or candy corn work beautifully!).
- Top it Off: Place the lid on top, and your cozy, handmade candy station is ready for the season!
What you'll master: Final assembly and styling your handmade home decor.
Final Section: Where to Go from Here
Congratulations! You’ve just crafted a delightfully cozy Chunky Pumpkin Candy Pot. This project is incredibly fast, making it perfect for using up stash yarn, crafting last-minute Halloween gifts, or adding a festive touch to your mantle.
From here, try experimenting with different sizes! You could make a mini version for individual place settings at a Thanksgiving dinner, or a giant version to hold all the trick-or-treat candy for the whole neighborhood. Happy crocheting, and have a spook-tacular Halloween!