September 6, 2026
Cozy Ribbed Baby Booties – Soft & Snuggly First Shoes
Keep those little toes warm and cozy with these adorable ribbed baby booties! Featuring a soft, textured body and a snug ribbed cuff, these booties are perfect for newborns, infants, and toddlers. They're quick to make, incredibly versatile, and make the perfect handmade gift for baby showers and new parents.
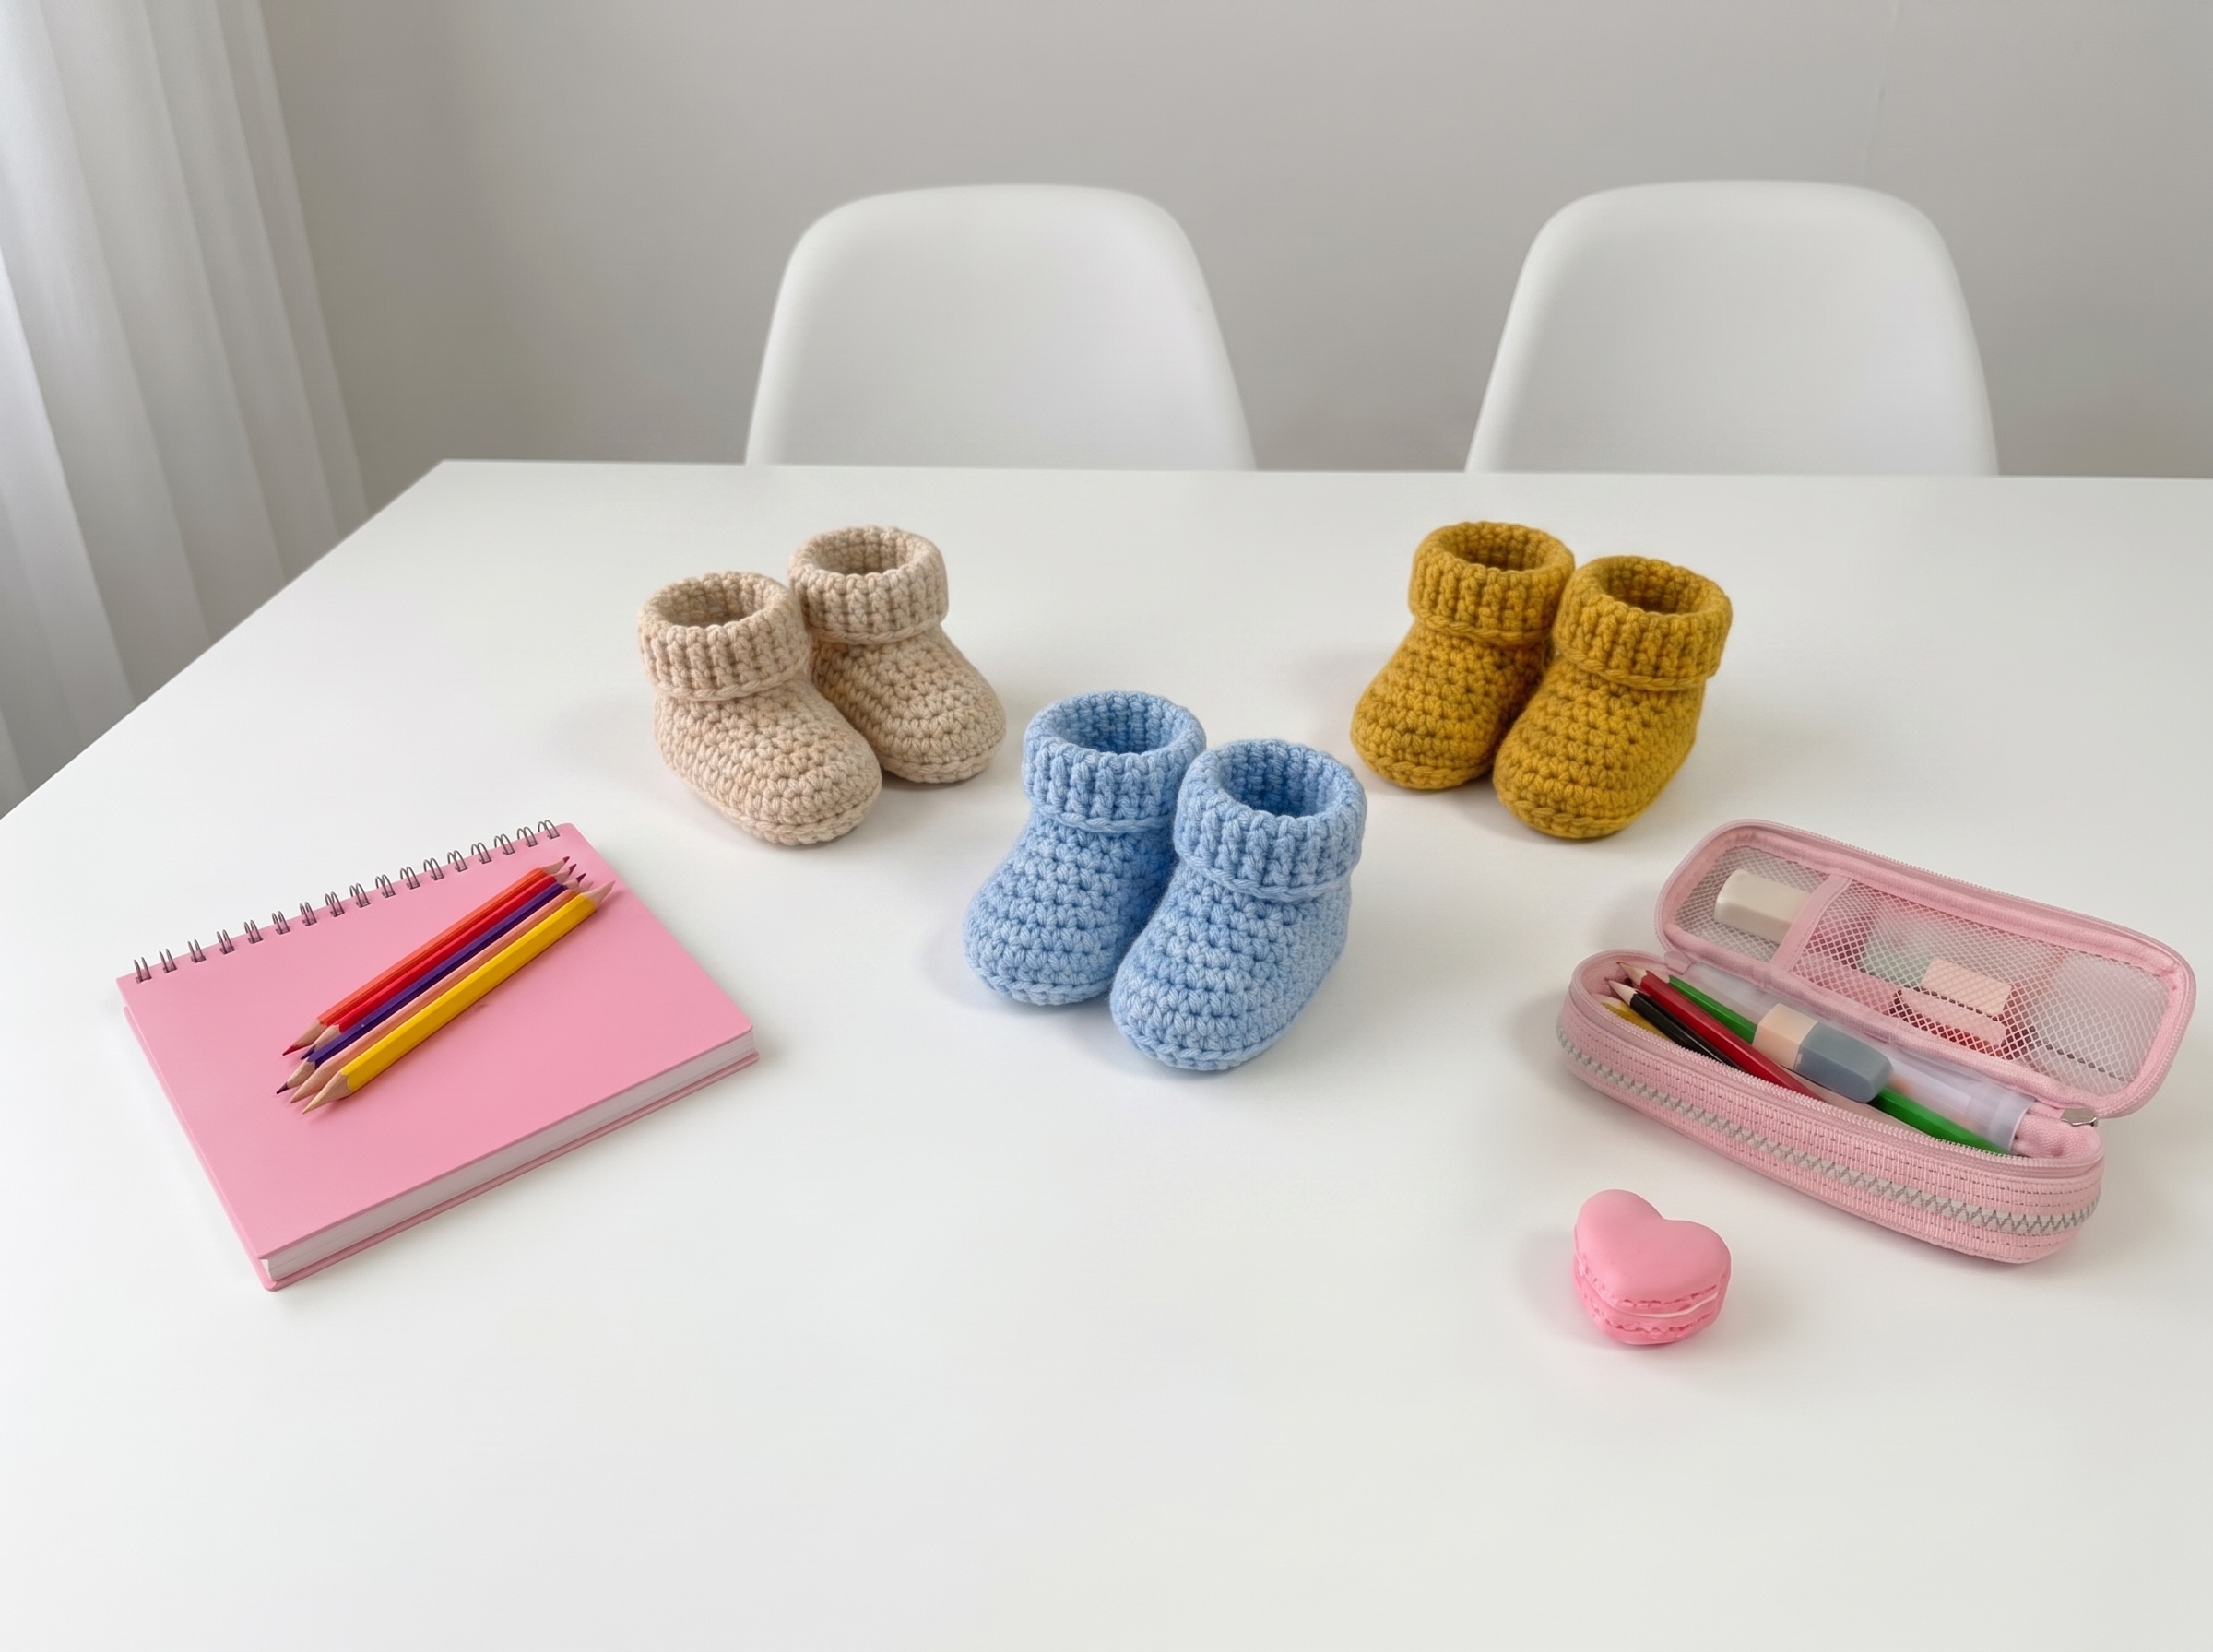
Cozy Ribbed Baby Booties – Complete Step-by-Step Pattern
1. Gathering Your Supplies
These booties work up quickly and are perfect for using up leftover yarn! The ribbed cuff keeps them snug on those wiggly feet.
- Yarn: Worsted weight (Size 4) or DK weight (Size 3) yarn in your choice of color.
- Shown in: Cream/Beige, Soft Blue, and Mustard Yellow
- Amount: Approx. 50-75g total (one pair)
- Recommended: Soft, baby-friendly yarn that's machine washable (acrylic, cotton, or wool blend)
- Hook:
- 4.0 mm (for DK weight)
- 5.0 mm (for Worsted weight)
- Or size needed to achieve gauge
- Notions: Tapestry needle for weaving in ends, scissors, stitch marker (optional)
- Gauge:
- 16 sc × 20 rows = 10 × 10 cm (4" × 4") with worsted weight
- Note: Gauge is not critical for this pattern, but will affect final size
What you'll master: Working in the round, ribbing techniques, and creating perfectly shaped baby footwear!
2. Abbreviations & Special Techniques
Let's quickly review a few terms. If you're new to any of these, don't worry—you'll be a pro by the time you finish the first bootie!
- ch: Chain
- sc: Single crochet
- hdc: Half double crochet
- dc: Double crochet
- sl st: Slip stitch
- st(s): Stitch(es)
- BLO: Back loop only (for ribbing)
- FLO: Front loop only
- RS: Right side
- WS: Wrong side
- FO: Fasten off
Special Stitch: Ribbed Cuff
Worked in BLO (back loop only) hdc to create a stretchy, ribbed texture that keeps booties snug.
3. Sizes & Finished Measurements
| Size | Age Range | Foot Length | Cuff Height | |------|-----------|-------------|-------------| | Newborn | 0-3 months | 9 cm (3.5") | 5 cm (2") | | Baby | 3-6 months | 10 cm (4") | 5.5 cm (2.25") | | Infant | 6-12 months | 11 cm (4.5") | 6 cm (2.5") | | Toddler | 12-18 months | 12 cm (5") | 6.5 cm (2.75") |
Pro Tip: Measure baby's foot and add 1-2 cm for growth and comfort!
4. The Sole (Worked Flat)
We'll start by creating a flat, oval-shaped sole that forms the foundation of the bootie.
Using main color:
-
Row 1 (RS): Ch 8 (9, 10, 11) for Newborn (Baby, Infant, Toddler). Sc in 2nd ch from hook and next 5 (6, 7, 8) chs, 3 sc in last ch, working down opposite side of chain: sc in next 5 (6, 7, 8) chs, 2 sc in last ch. 16 (18, 20, 22) sts
-
Row 2: Ch 1, turn. 2 sc in first st, sc in next 5 (6, 7, 8) sts, 2 sc in each of next 3 sts, sc in next 5 (6, 7, 8) sts, 2 sc in last 2 sts. 22 (24, 26, 28) sts
-
Row 3: Ch 1, turn. 2 sc in first st, sc in next 7 (8, 9, 10) sts, (2 sc in next st, sc in next st) 3 times, sc in next 7 (8, 9, 10) sts, 2 sc in last 2 sts. 28 (30, 32, 34) sts
-
Row 4: Ch 1, turn. Sc in each st across. 28 (30, 32, 34) sts
What you'll master: Creating a perfectly shaped oval sole with strategic increases!
5. The Upper Bootie (Worked in Rounds)
Now we'll build up the sides of the bootie, working in continuous rounds.
-
Round 5: Do NOT turn. Ch 1, sc in each st around, join with sl st to first sc. 28 (30, 32, 34) sts
-
Rounds 6-8: Ch 1, sc in each st around, join with sl st. 28 (30, 32, 34) sts
-
Round 9 (Toe Shaping): Ch 1, sc in next 8 (9, 10, 11) sts, (sc2tog) 6 times, sc in next 8 (9, 10, 11) sts, join with sl st. 22 (24, 26, 28) sts
-
Round 10: Ch 1, sc in next 6 (7, 8, 9) sts, (sc2tog) 5 times, sc in next 6 (7, 8, 9) sts, join with sl st. 17 (19, 21, 23) sts
Pro Tip: For a roomier toe box, work one fewer decrease round. For a snugger fit, add an extra decrease round!
6. The Ribbed Cuff
This is where the magic happens! The ribbed cuff keeps booties snug and adds that adorable textured look.
-
Round 11: Ch 2 (counts as first hdc), hdc in BLO of each st around, join with sl st to top of ch-2. 17 (19, 21, 23) sts
-
Rounds 12-16 (17, 18, 19): Ch 2, hdc in BLO of each st around, join with sl st. 17 (19, 21, 23) sts
- Work until cuff measures 5 (5.5, 6, 6.5) cm from Round 11
What you'll master: Creating stretchy, professional-looking ribbing using back loop only hdc!
7. Finishing & Assembly
Now for the satisfying final touches that make your booties truly special!
-
Weave in Ends: Using your tapestry needle, weave in all loose ends on the inside of the bootie. Be sure to secure them well, as baby booties get lots of love (and washing!).
-
Shape the Bootie: Gently stuff the bootie with tissue paper or a small towel to help it hold its shape while you block it.
-
Blocking (Optional but Recommended): Lightly mist the bootie with water or use a steamer (keeping the iron/steamer at a safe distance). Pin to desired shape and measurements, paying special attention to the sole and cuff. Let dry completely.
-
Make the Second Bootie: Repeat all steps to create the matching bootie. Try to keep tension consistent between both booties for a perfectly matched pair!
-
Final Touches:
- Remove any stuffing or pins
- Give the booties a final gentle shaping
- Add a small decorative button or bow to the front if desired (make sure it's securely attached for baby safety!)
What you'll master: Professional finishing techniques that elevate handmade items to boutique quality!
8. Customization Ideas
Make these booties uniquely yours! Here are some fun variations:
- Colorwork: Try stripes by changing colors every 2-3 rounds in the cuff
- Embellishments: Add a small pompom, crochet flower, or embroidered details
- Different Cuffs: Try a folded cuff for extra warmth, or skip the ribbing for a simple turned-down edge
- Texture: Replace sc with hdc or dc in the body for a taller, airier bootie
- Seasonal Variations:
- Summer: Use cotton yarn and skip the ribbed cuff for a sandal-style
- Winter: Use wool blend yarn and add a fleece lining for extra warmth
Final Section: Where to Go from Here
Congratulations! You've just crafted a pair of adorable, cozy baby booties that will keep those precious little toes warm and snug. These booties make perfect gifts for baby showers, new parents, or as a sweet addition to your own little one's wardrobe.
Now that you've mastered the basic bootie construction, try experimenting with different yarns, colors, and embellishments. You could create a whole collection of booties for every season and occasion! Consider making matching sets with a little hat or blanket for the ultimate handmade baby gift.
Remember, the beauty of handmade is in the details—each pair you make carries your love and care in every stitch. Happy crocheting, and enjoy watching these little booties bring smiles to parents and babies alike! 👶✨