September 2, 2026
HOR No. 19 Pullover – A Breezy, Bottom-Up Linen Knit
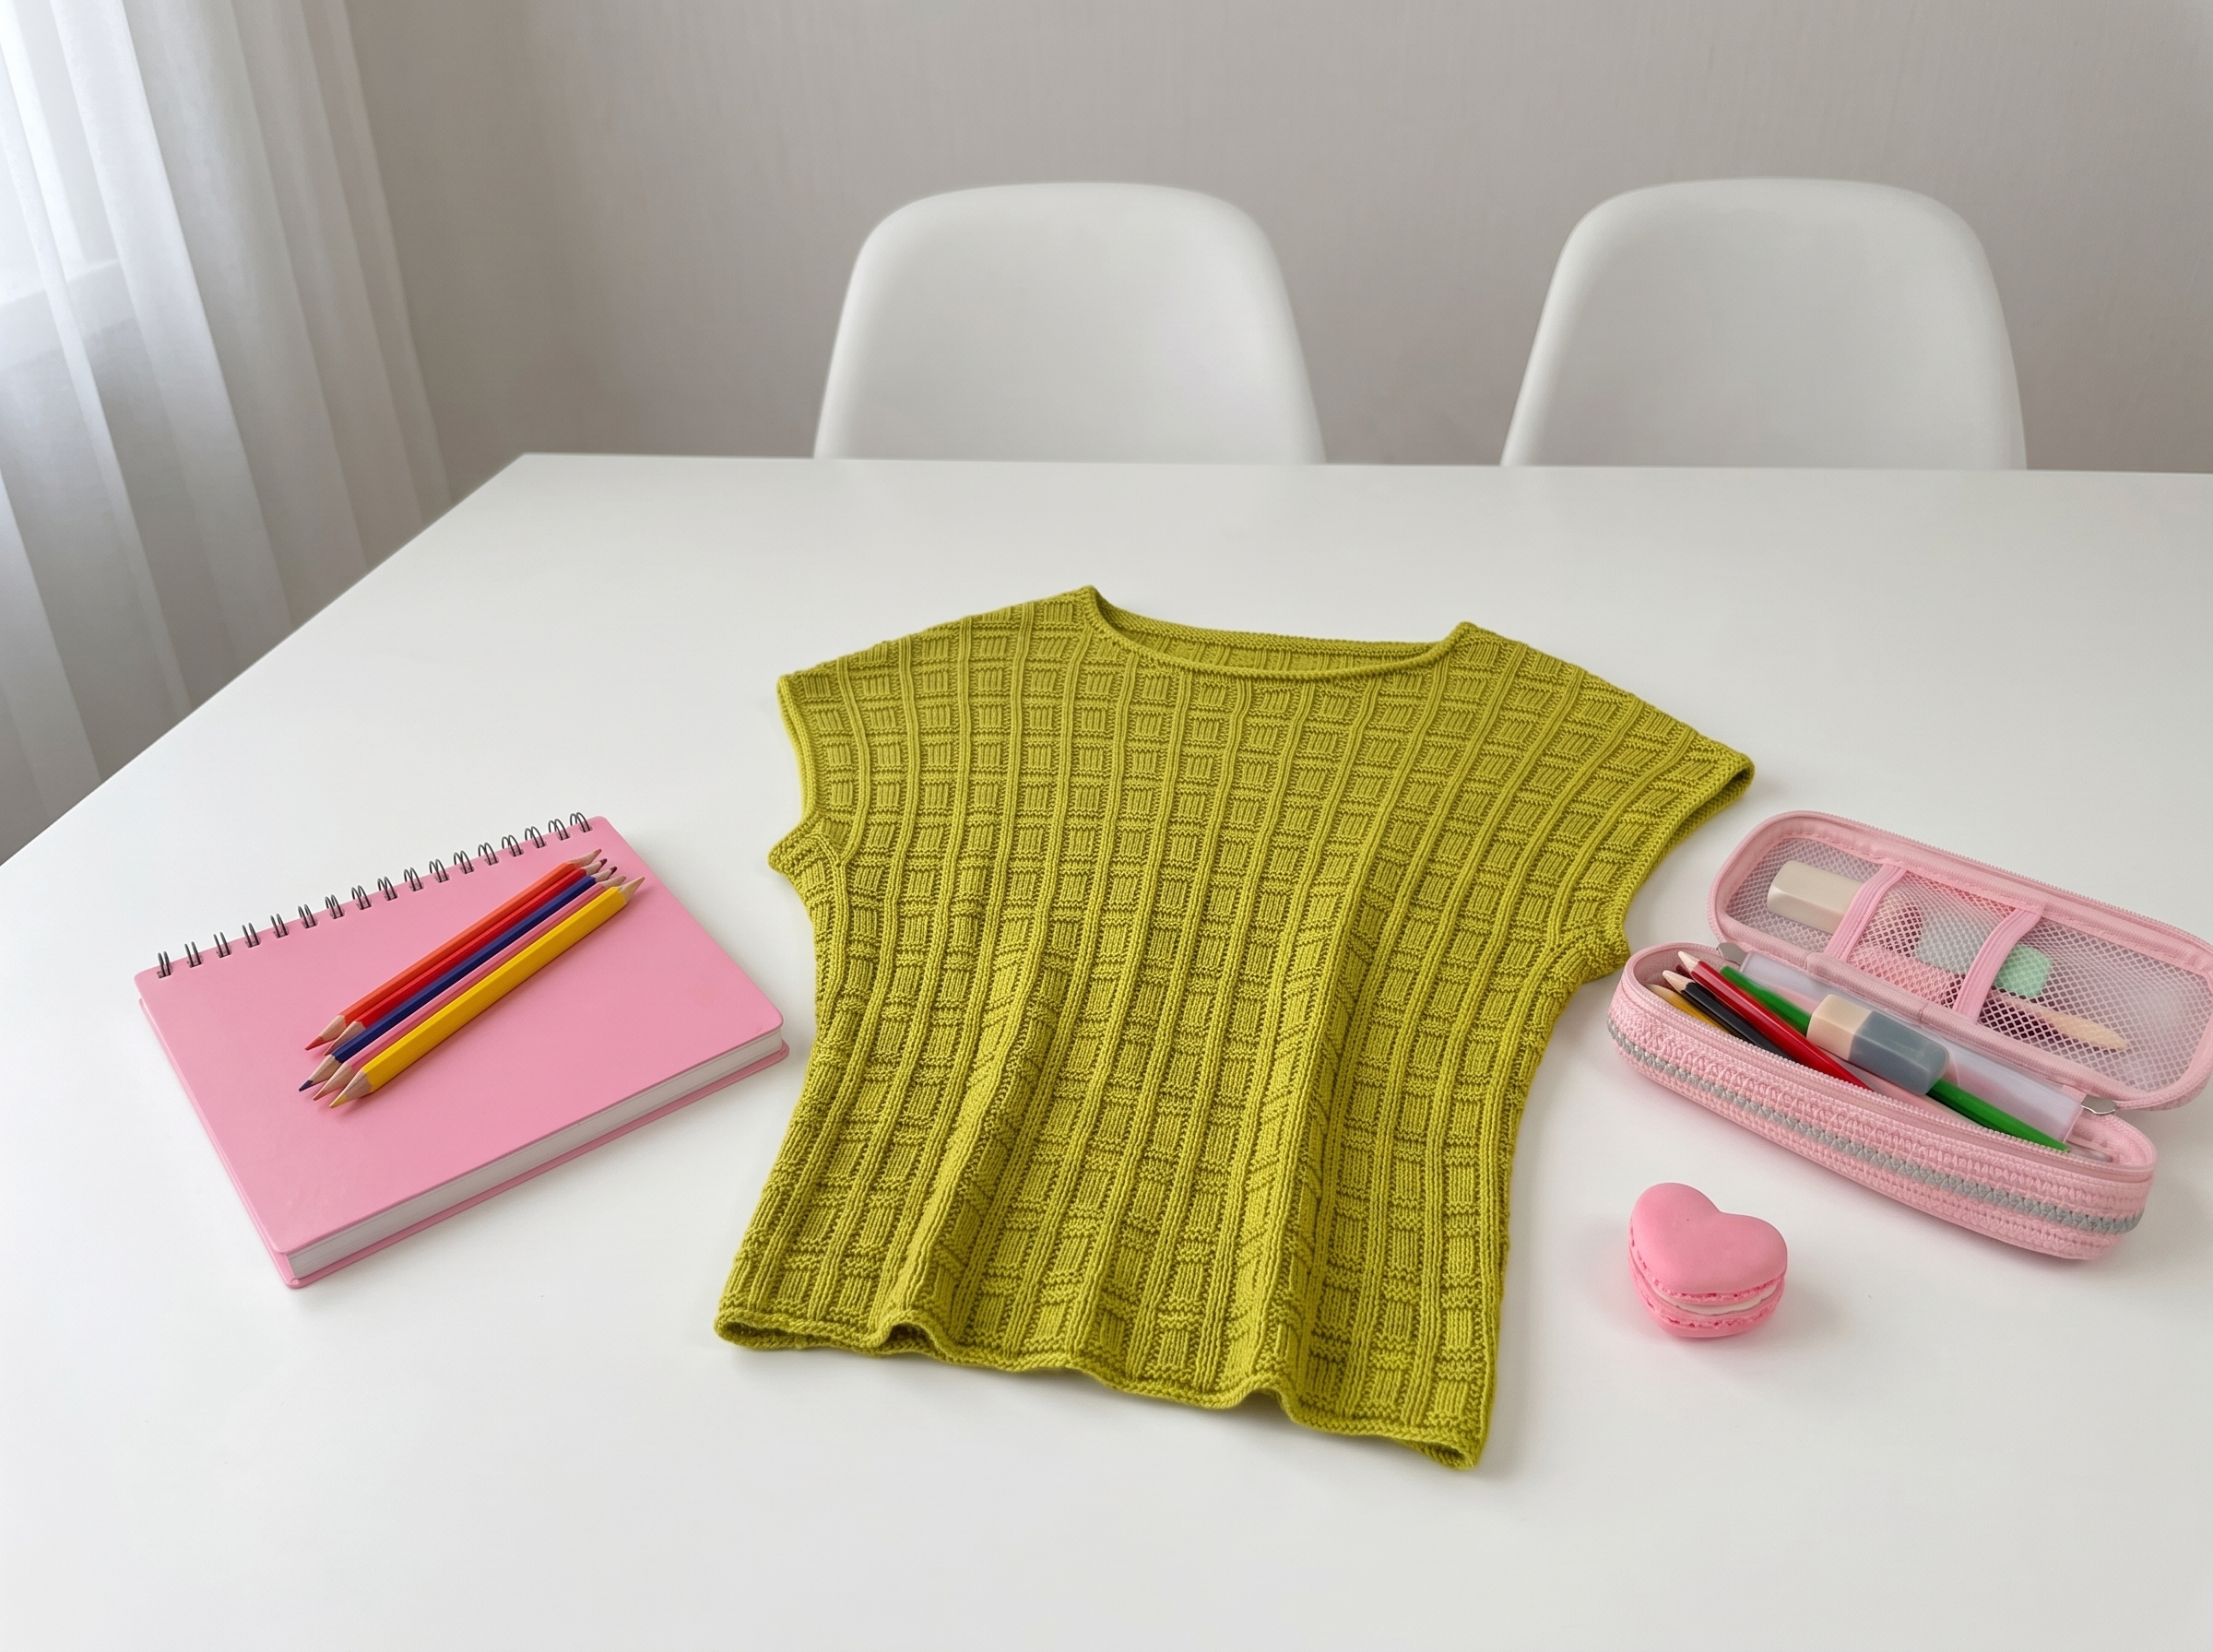
Embrace effortless, relaxed style with this beautifully textured linen pullover! Designed by Oline Kjeldsen for Hyggestrik, this bottom-up sweater features a subtle checkered pattern, comfortable dropped shoulders, and elegant I-cord edging along all the hems. It’s a deeply rewarding project for intermediate-to-advanced knitters looking to create a sophisticated, warm-weather wardrobe staple.
HOR No. 19 Pullover – Complete Step-by-Step Pattern
1. Gathering Your Supplies
Linen yarn has a unique, crisp drape that softens beautifully with wear and washing. Getting your gauge right after blocking is the absolute key to success with this pattern!
- Yarn: HOR by Hyggestrik (100% linen, 150m / 50g) or a similar fingering-weight linen yarn.
- Amount: 300g (S), 350g (M, L), 400g (XL), 450g (2XL), 500g (3XL).
- Needles:
- 3.0 mm circular needles (80 cm length) for the main body.
- 3.0 mm circular needles (40 cm length) or DPNs for the sleeves and edging.
- One spare 3.0 mm needle (for shoulder joining).
- Notions: Stitch markers, a tapestry needle, and a measuring tape.
- Gauge:
- Before washing: 23 stitches x 38 rows = 10 x 10 cm (4" x 4") in the checkered pattern.
- After washing & blocking: 24.5 stitches x 34 rows = 10 x 10 cm (4" x 4").
- Pro Tip: Always knit a generous swatch, wash it, and block it exactly as you plan to treat the finished sweater. Linen changes significantly after its first bath!
2. Abbreviations & Special Techniques
Let’s quickly review a few terms. If you're new to any of these, don't worry—you'll be a pro by the time you reach the sleeves!
- k / p: knit / purl
- M1R / M1L: Make 1 Right / Make 1 Left (lifted increases from the strand between stitches).
- German Short Rows: A seamless way to shape the shoulders. You’ll slip a stitch, bring the yarn forward, slip the stitch back, and pull the yarn tight to create a "double" loop. On the return row, you'll knit or purl both legs of this loop together to hide the turn perfectly.
- I-Cord Bind-Off: A decorative, tubular edge created by casting on 3 stitches, knitting 2, knitting 2 together, slipping them back to the left needle, and repeating. It gives a highly professional, boutique finish.
3. The Body (Bottom-Up)
We start at the bottom hem and work our way up in the round, establishing the beautiful checkered texture right from the start.
- Cast On: Using the 3.0 mm needles (80 cm), cast on 280 (300, 320, 340, 360, 380) stitches. Join in the round, being careful not to twist, and place a marker for the Beginning of Round (BOR).
- The Pattern: Work in the established checkered pattern (alternating blocks of stockinette and garter stitch as per the designer's chart) until the piece measures approximately 21 (23, 24, 27, 29, 31) cm from the cast-on edge.
- Armhole Increases: Begin increasing for the armholes by working a round of increases, placing markers to divide the front and back sections. Continue working in the round with these new increases until the front and back each have the target number of stitches for your size.
What you'll master: Reading textured stitch charts in the round and executing strategic, seamless increases.
4. Dividing for Front and Back Panels
Now it’s time to shape the top of the sweater! We’ll split the work and knit the front and back flat, which allows us to create beautiful armhole and shoulder shaping.
- Division: Place the sleeve stitches on a holder or waste yarn.
- Back Panel: Work flat in rows, continuing the checkered pattern. Decrease at the armhole edges as specified in the pattern to create a gentle, curved armhole.
- Shoulder & Neck Shaping (Back): Once the armhole reaches the desired depth, you’ll use German short rows to shape the shoulder slope, leaving the center stitches on hold for the back neck.
- Front Panel: Work the front panel similarly, but with a slightly deeper neckline shaping to create a comfortable, rounded crew neck.
What you'll master: Transitioning from circular to flat knitting, armhole decreases, and executing German short rows for custom-fit shoulders.
5. Shoulder Seams & Neckline
Time to bring the front and back together!
- Shoulder Seams: Use the 3-needle bind-off method to join the front and back shoulder stitches. This creates a sturdy, beautiful, and completely seamless shoulder seam.
- Neckline Edging: Pick up stitches evenly around the entire neck opening. You will work a beautiful I-cord bind-off around the neckline. This involves casting on 3 extra stitches, working a few stitches, passing stitches over, and slipping them back to create a raised, tubular edge that lays perfectly flat.
What you'll master: The 3-needle bind-off and the highly polished I-cord bind-off technique.
6. The Sleeves
We’ll pick up stitches directly from the armholes, giving us total control over the sleeve length and fit.
- Pick Up: Starting at the center of the underarm, pick up stitches evenly around the armhole edge using the 3.0 mm needles.
- Sleeve Cap Shaping: To give the dropped shoulder a beautiful, natural drape, work a few German short rows at the top of the sleeve, gradually incorporating all the stitches until you are knitting in a continuous round.
- Tapering: Knit straight down in the checkered pattern, decreasing a few stitches at the underarm marker every few rounds to gently taper the sleeve toward the wrist.
- The Cuff: Finish the sleeve with the same elegant I-cord bind-off used on the neckline, ensuring a cohesive, high-end look.
What you'll master: Picking up underarm stitches without gaps, short-row sleeve caps, and decorative edge finishing.
7. Finishing & The Magic of Blocking
This is the grand finale, and arguably the most satisfying part of the process!
- Weave in Ends: Take your time weaving in all those linen tails on the wrong side using a tapestry needle.
- Wet Blocking: Submerge your sweater in cool water with a gentle wool/linen wash. Let it soak for 20–30 minutes. Gently press the water out (never wring or twist linen!). Roll it in a clean towel to absorb excess moisture.
- Shaping: Lay the sweater flat on a dry towel or blocking mat. Gently pat and stretch it into your exact finished measurements. Pin the I-cord edges so they lay crisp and straight.
- Drying: Let it air dry completely. Pro Tip for Linen: Once it is mostly dry flat, you can hang it on a padded hanger to let gravity stretch it slightly to its final, perfect drape.
What you'll master: Proper wet blocking techniques that transform crisp linen into a luxurious, fluid garment.
“Where to Go from Here”
Take a deep breath and look at what you’ve just created! By completing the HOR No. 19 Pullover, you’ve conquered bottom-up construction, German short rows, and professional I-cord finishing. These are truly advanced skills that will elevate every garment you knit from now on.
Now that you know how to manipulate these shapes, try experimenting with different yarn weights! A crisp, high-twist cotton would make this an incredibly structured summer top, while a lightweight merino-silk blend would create a cozy, elegant transitional piece for spring and autumn. Happy knitting, and enjoy your beautiful new handmade staple!