August 20, 2026
Kaira the Doll – A Complete Amigurumi Pattern with Custom Outfit & Bonus Squirrel
Meet Kaira, a beautifully detailed amigurumi doll complete with a custom-sewn blouse, tailored pants with suspenders, and a sweet little squirrel friend that fits right in her pocket! This pattern is a delightful, confidence-building project for intermediate crafters ready to master multi-part assembly, wearable doll clothing, and charming surface details.
Jump to pattern instructions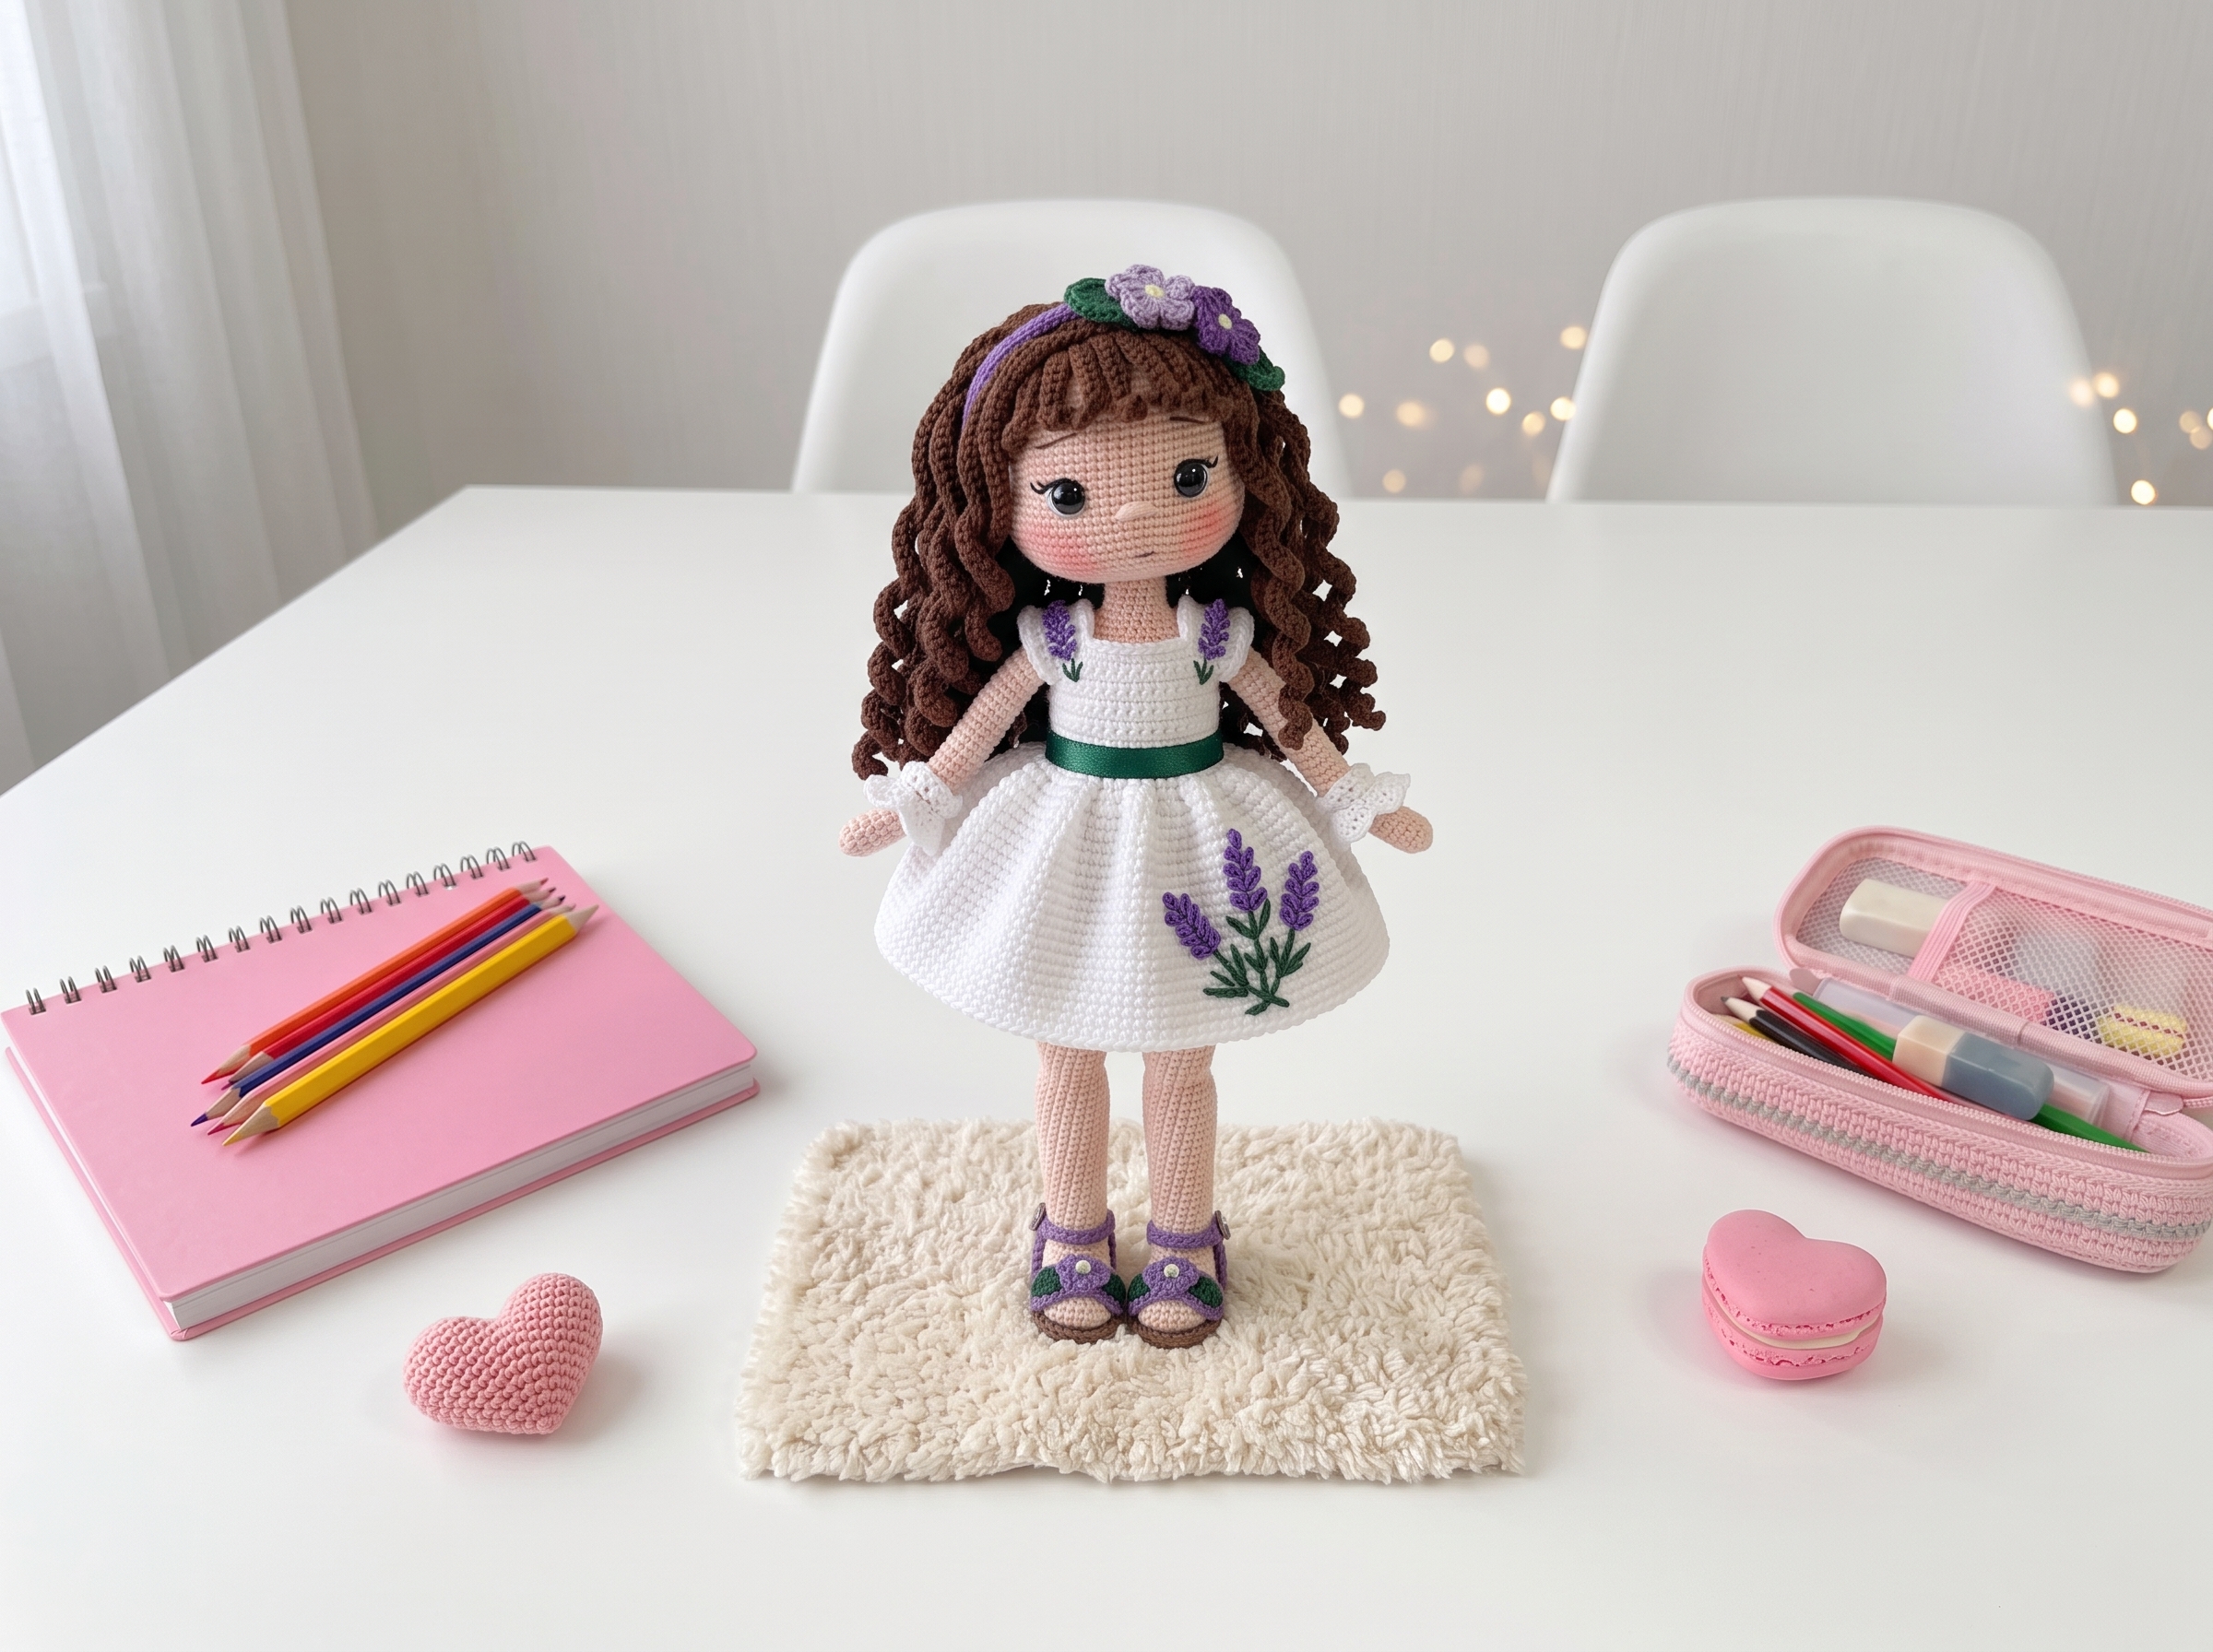
Kaira the Doll – Complete Step-by-Step Pattern
1. Materials & Abbreviations
Let's gather our supplies! Using high-quality cotton blend yarns will give Kaira beautiful stitch definition, making her tiny outfit details truly pop.
- Yarn: Catania or similar 100% mercerized cotton (approx. 125m / 50g).
- Skin tone (e.g., #263)
- Cream (e.g., #130)
- Orange (e.g., #426)
- Beige (e.g., #436)
- Brown (e.g., #438)
- Hooks: 2.0 mm, 2.5 mm, 2.75 mm, 3.0 mm, and 4.0 mm (use the size that matches your gauge and the specific piece).
- Notions: 10 mm safety eyes, 50 cm craft wire (for neck support), poly-fil stuffing, sewing needle, brown and white embroidery floss, red synthetic doll hair (wefts), fabric glue, 30 cm cotton ribbon, and 3 small brown plastic buttons.
- Abbreviations:
- MR – magic ring
- ch – chain
- sc – single crochet
- hdc – half double crochet
- dc – double crochet
- sl st – slip stitch
- inc – increase (2 sc in one stitch)
- dec – decrease (2 sc crocheted together)
- BLO – back loop only
- FLO – front loop only
What it teaches: Proper tool selection for fine cotton yarns, gauge management, and familiarization with standard international crochet abbreviations.
2. Head
The head is worked in a continuous spiral, featuring clever chain-skip techniques to create openings for the eyes, followed by structured decreases to shape the face and neck.
- R1: 6 sc in MR (6)
- R2: 6 inc (12)
- R3: (1 sc, inc) x 6 (18)
- R4: 1 sc, inc, (2 sc, inc) x 5, 1 sc (24)
- R5: (3 sc, inc) x 6 (30)
- R6: 2 sc, inc, (4 sc, inc) x 5, 2 sc (36)
- R7: (5 sc, inc) x 6 (42)
- R8: 3 sc, inc, (6 sc, inc) x 5, 3 sc (48)
- R9: (7 sc, inc) x 6 (54)
- R10-17: 54 sc (54) [8 rows]
- R18: 21 sc, 1 ch, skip 1 sc, 10 sc, 1 ch, skip 1 sc, 21 sc (54) [This creates the openings for the eyes.]
- [Editor’s Note: The original pattern stated a count of 52 sts here, but 21 + 1(ch) + 10 + 1(ch) + 21 mathematically equals 54 stitches. Corrected for accuracy.]
- R19-21: 54 sc (54) [3 rows] [Insert 10 mm safety eyes into the chain spaces.]
- R22: (7 sc, dec) x 6 (48)
- R23: (2 sc, dec) x 12 (36)
- R24: 2 sc, dec, (4 sc, dec) x 5, 2 sc (30)
- R25: (3 sc, dec) x 6 (24)
- R26: 1 sc, dec, (2 sc, dec) x 5, 1 sc (18)
- R27: (1 sc, dec) x 6 (12)
- Finishing: Fasten off, leaving a long tail for sewing the head to the body. Stuff the head firmly before closing.
What it teaches: Spiral increase sequences, creating intentional openings with chain spaces, and structured decreasing for spherical shaping.
3. Arms (Make 2)
The arms feature a cute, textured puff stitch detail and are designed to be seamlessly integrated into the body later.
- R1 (Skin color): 6 sc in MR (6)
- R2: (1 sc, inc) x 3 (9)
- R3: (2 sc, inc) x 3 (12)
- R4-5: 12 sc (12) [2 rows]
- R6: 1 puff stitch (4 dc with a common top), 11 sc (12)
- R7: 12 sc (12)
- R8: (dec, 2 sc) x 3 (9)
- R9: 9 sc (9)
- R10: (inc, 2 sc) x 3 (12)
- R11-20: 12 sc (12) [10 rows]
- R21 (Change to Beige): (2 sc, inc) x 4 (16)
- R22: 16 sc in BLO (16)
- R23-36: 16 sc (16) [14 rows]
- R37: (2 sc, dec) x 4 (12)
- Finishing: Fold the arm in half and work 6 sc through both layers to close the top flat. Leave a long tail for sewing. Do not stuff the arms.
What it teaches: Creating textured puff stitches, utilizing unworked loops for attached garments, and flat-folding techniques for seamless closures.
4. Legs (Make 2)
The legs feature a shaped foot and are joined together to form the base of the body. We'll work the right leg first, then the left, joining them seamlessly.
Right Leg (Start with Skin color):
- R1: Ch 7. Starting in 2nd ch from hook: inc, 4 sc, 4 sc in last st, 4 sc, inc (16)
- R2: 2 inc, 4 sc, 4 inc, 4 sc, 2 inc (24)
- R3: 24 sc in BLO (24)
- R4: 8 sc, 4 dec, 8 sc (20)
- R5: 6 sc, 4 dec, 6 sc (16)
- R6: 4 sc, 4 dec, 4 sc (12)
- R7: 5 sc, 1 dec, 5 sc (11)
- R8-11: 11 sc (11) [4 rows]
- R12: 1 inc, 10 sc (12)
- R13-14: 12 sc (12) [2 rows]
- R15: 1 sc, 1 inc, 10 sc (13)
- R16-17: 13 sc (13) [2 rows]
- R18: 2 sc, 1 inc, 10 sc (14)
- R19-20: 14 sc (14) [2 rows]
- R21: 3 sc, 1 inc, 10 sc (15)
- R22-25: 15 sc (15) [4 rows]
- R26: 2 sc, 1 dec, 1 sc, 1 dec, 8 sc (13)
- R27: 13 sc (13)
- R28: 3 sc, 1 dec, 8 sc (12)
- R29: 12 sc (12)
- R30: 3 sc, 1 inc, 8 sc (13)
- R31: 13 sc (13)
- R32: 3 sc, 1 inc, 1 sc, 1 inc, 7 sc (15)
- R33-34: 15 sc (15) [2 rows]
- R35: 6 sc, 1 inc, 8 sc (16)
- R36-37: 16 sc (16) [2 rows]
- R38: 7 sc, 1 inc, 8 sc (17)
- R39-40: 17 sc (17) [2 rows]
- R41: 8 sc, 1 inc, 8 sc (18)
- R42-45: 18 sc (18) [4 rows]
- R46: 14 sc, 1 sl st. Fasten off.
Left Leg:
- Work identically to the Right Leg through R45.
- R46: 6 sc, 1 ch. [Do not fasten off. We will join the legs here.]
What it teaches: Oval foundation chaining, progressive limb decreasing, and preparing for seamless multi-piece joining.
5. Body
The body is worked seamlessly from the joined legs upward, integrating the arms mid-round for a clean, professional finish.
- R1 (Joining): 24 sc (right leg), 3 sc (along the ch), 24 sc (left leg), 3 sc (along the ch) = 54 sc. Place a marker at the back center.
- R2-13: 54 sc (54) [12 rows]
- R14: (7 sc, dec) x 6 (48)
- R15 (Change to Beige): 48 sc (48)
- R16: (6 sc, dec) x 6 (42)
- R17-29: 42 sc (42) [13 rows]
- R30 (Join Arms): 10 sc, 6 sc (working through arm and body together), 15 sc across the front, 6 sc (working through arm and body together), 5 sc = 42 sc.
- R31: 42 sc (42)
- R32: (5 sc, dec) x 6 (36)
- R33: 36 sc (36)
- R34: (4 sc, dec) x 6 (30)
- R35: 30 sc (30)
- R36: (3 sc, dec) x 6 (24)
- R37 (Change to Skin color): 24 sc (24)
- R38: (2 sc, dec) x 6 (18)
- R39-40: 18 sc (18) [2 rows]
- Finishing: Fasten off, leaving a long tail. Insert the 50 cm wire into the neck for support before stuffing the body firmly.
What it teaches: Seamless multi-piece joining, mid-round limb attachment, and internal wire framing for posability.
6. Boots (Make 2)
The boots feature a structured sole and a folded-over cuff design, giving Kaira a stylish, finished look.
- R1: Ch 7. Starting in 2nd ch from hook: inc, 4 sc, 5 sc in last st, 4 sc, inc (17)
- R2: 2 inc, 4 sc, 5 hdc, 4 sc, 2 inc (26)
- R3: 9 sc, 8 hdc, 9 sc in BLO (26)
- R4: 9 sc, 8 hdc, 9 sc (26)
- R5: 9 sc, 4 dec, 9 sc (22)
- R6: 9 sc, 2 dec, 9 sc (20)
- R7-11: 20 sc, turning at the end of each row [5 rows]
- R12: 20 sl st around the opening.
- Finishing: Fasten off. Tip: Cut a small piece of stiff plastic or cardboard to the size of the sole and sandwich it between two crocheted soles for extra stability!
What it teaches: Creating rigid soles, executing complex increase sequences for shoe shaping, and working flat turning rows for boot cuffs.
7. Clothing: Blouse & Pants
Kaira’s wardrobe is worked flat or in the round, featuring tailored shaping and functional details like buttonholes.
Blouse (Cream color):
- R1: Ch 26. Starting in 7th ch from hook: (4 dc, 1 dc in same st) x 6 = 30 dc. (Note: Original text said "(3 dc, 1 dc) x 6 = 30", which is mathematically 24. Adjusted to 5 dc per repeat to achieve the stated 30 sts).
- R2: (4 dc, 1 dc in same st) x 6 = 36 dc.
- R3: (5 dc, 1 dc in same st) x 6 = 42 dc. Join with 1 sl st to form a tube.
- R4: (6 sc, inc) x 6 = 48 sc.
- R5: 7 sc, skip 10 sc, 14 sc, skip 10 sc, 7 sc = 28 sc. [This creates the armholes!]
- R6-7: 28 sc (28) [2 rows]. Fasten off.
Pants (Make 2 identical pieces, then join):
- R1: Ch 17. Starting in 2nd ch from hook: 16 sc.
- R2-3: 16 sc, turning [2 rows]
- R4: 1 sc, 1 inc, 12 sc, 1 inc, 1 sc = 18 sc
- R5-7: 18 sc, turning [3 rows]
- R8: 1 sc, 1 inc, 14 sc, 1 inc, 1 sc = 20 sc
- R9-12: 20 sc, turning [4 rows]
- R13: 1 sc, 1 inc, 16 sc, 1 inc, 1 sc = 22 sc
- R14-17: 22 sc, turning [4 rows]
- R18: 1 sc, 1 inc, 18 sc, 1 inc, 1 sc = 24 sc
- R19-22: 24 sc, turning [4 rows]
- R23: 1 sc, 1 inc, 20 sc, 1 inc, 1 sc = 26 sc
- R24-27: 26 sc, turning [4 rows]. Do not fasten off on the second piece.
Joining the Pants:
- R28: 12 sc (right leg), 2 sc (join), 12 sc (left leg) = 26 sc.
- R29-30: 24 sc (Note: The join naturally reduces the count to 24 as you work across the inner seams).
- R31: 1 sc, 1 dec, 18 sc, 1 dec, 1 sc = 22 sc
- R32-34: 22 sc, turning [3 rows]
- R35: 1 sc, 1 dec, 16 sc, 1 dec, 1 sc = 20 sc
- R36-38: 20 sc, turning [3 rows]
- R39: 1 dec, 16 sc, 1 dec = 18 sc
- R40: 18 sc
- R41: 1 dec, 14 sc, 1 dec = 16 sc
- R42: 16 sc
- R43: 1 dec, 12 sc, 1 dec = 14 sc
- R44: 14 sc
- R45: 1 dec, 10 sc, 1 dec = 12 sc
- R46: 12 sc
- R47: 1 dec, 8 sc, 1 dec = 10 sc
- R48: 10 sc
- R49: 1 dec, 6 sc, 1 dec = 8 sc
- R50: 8 sc
- R51: 1 sc, 1 ch, skip 1 sc, 4 sc, 1 ch, skip 1 sc, 1 sc = 8 sc. [This creates the buttonholes for the suspenders!]
- Finishing: Fasten off. Sew the 3 brown buttons to the back of the pants to match the buttonholes.
What it teaches: Flat-panel garment construction, creating functional armholes, and tailored waist shaping with buttonholes.
8. Bonus: Little Squirrel Friend
No doll is complete without a tiny companion! This little squirrel is designed to fit perfectly in Kaira’s pocket.
Head (Brown):
- R1: 6 sc in MR (6)
- R2: 6 inc (12)
- R3: (1 sc, inc) x 6 (18)
- R4-8: 18 sc (18) [5 rows]
- R9: (1 sc, dec) x 6 (12) [Insert 5 mm safety eyes between R6 and R7, spaced 3 sts apart.]
- R10: 12 sc (12)
- R11: (1 sc, inc) x 6 (18)
- R12-14: 18 sc (18) [3 rows]
- R15: (1 sc, dec) x 6 (12)
- R16: 6 dec (6). Fasten off and close.
Ears (Make 2):
- Instructions: Ch 4. Starting in 2nd ch from hook: 1 sc, 1 hdc, 1 sc. Fasten off and sew to the head.
Tail (Beige):
- R1: 2 ch in MR, 10 hdc, sl st (10)
- R2-5: 2 ch, 10 hdc, sl st (10) [4 rows]
- R6: 2 ch, 5 hdc dec, sl st. Fasten off.
What it teaches: Micro-amigurumi techniques, rapid shaping for small companions, and working with mixed stitch heights.
9. Assembly & Finishing
Now for the magic moment where Kaira truly comes to life!
- Head to Body: Sew the head securely to the top of the body using the long tail. Ensure the wire is fully inserted for neck stability.
- Facial Details: Embroider the nose (3 sts wide) centered between R24 and R25. Add white eye highlights, delicate eyelashes, and rosy cheeks using a touch of fabric paint or pastel chalk.
- Hair: Attach the synthetic red hair wefts to the head using fabric glue, parting it neatly and trimming to the desired length. Tie the 30 cm cotton ribbon around her head as a cute headband.
- Dress Up: Slip the boots onto her feet, pull up the tailored pants, and button the suspenders. Layer the blouse over the top.
- Final Touch: Place the little squirrel friend right into her front pocket!
What it teaches: Multi-step structural assembly, surface embroidery for expressive facial features, and professional finishing techniques for wearable doll accessories.
and styling.
Final Section: Where to Go from Here
Congratulations! By completing Kaira the Doll, you have mastered a wide array of intermediate amigurumi techniques: seamless limb joining, flat-panel garment construction, and precise mathematical stitch tracking. These skills are incredibly versatile. Next time, try experimenting with different yarn colorways to create a custom "seasonal" wardrobe for her, or adapt the pants and blouse pattern to fit other amigurumi dolls in your collection. Happy crocheting!