August 18, 2026
Rhythmite Pullover – A Cozy, Sideways-Crocheted Plus-Size Sweater
Wrap yourself in the textured, cozy embrace of the Rhythmite Pullover! This unique plus-size sweater is worked sideways in a squishy modified ribbing stitch, featuring a clever divided neckline and seamless shoulder straps. Perfect for advanced crocheters ready to tackle sideways construction and custom fitting.
Jump to pattern instructions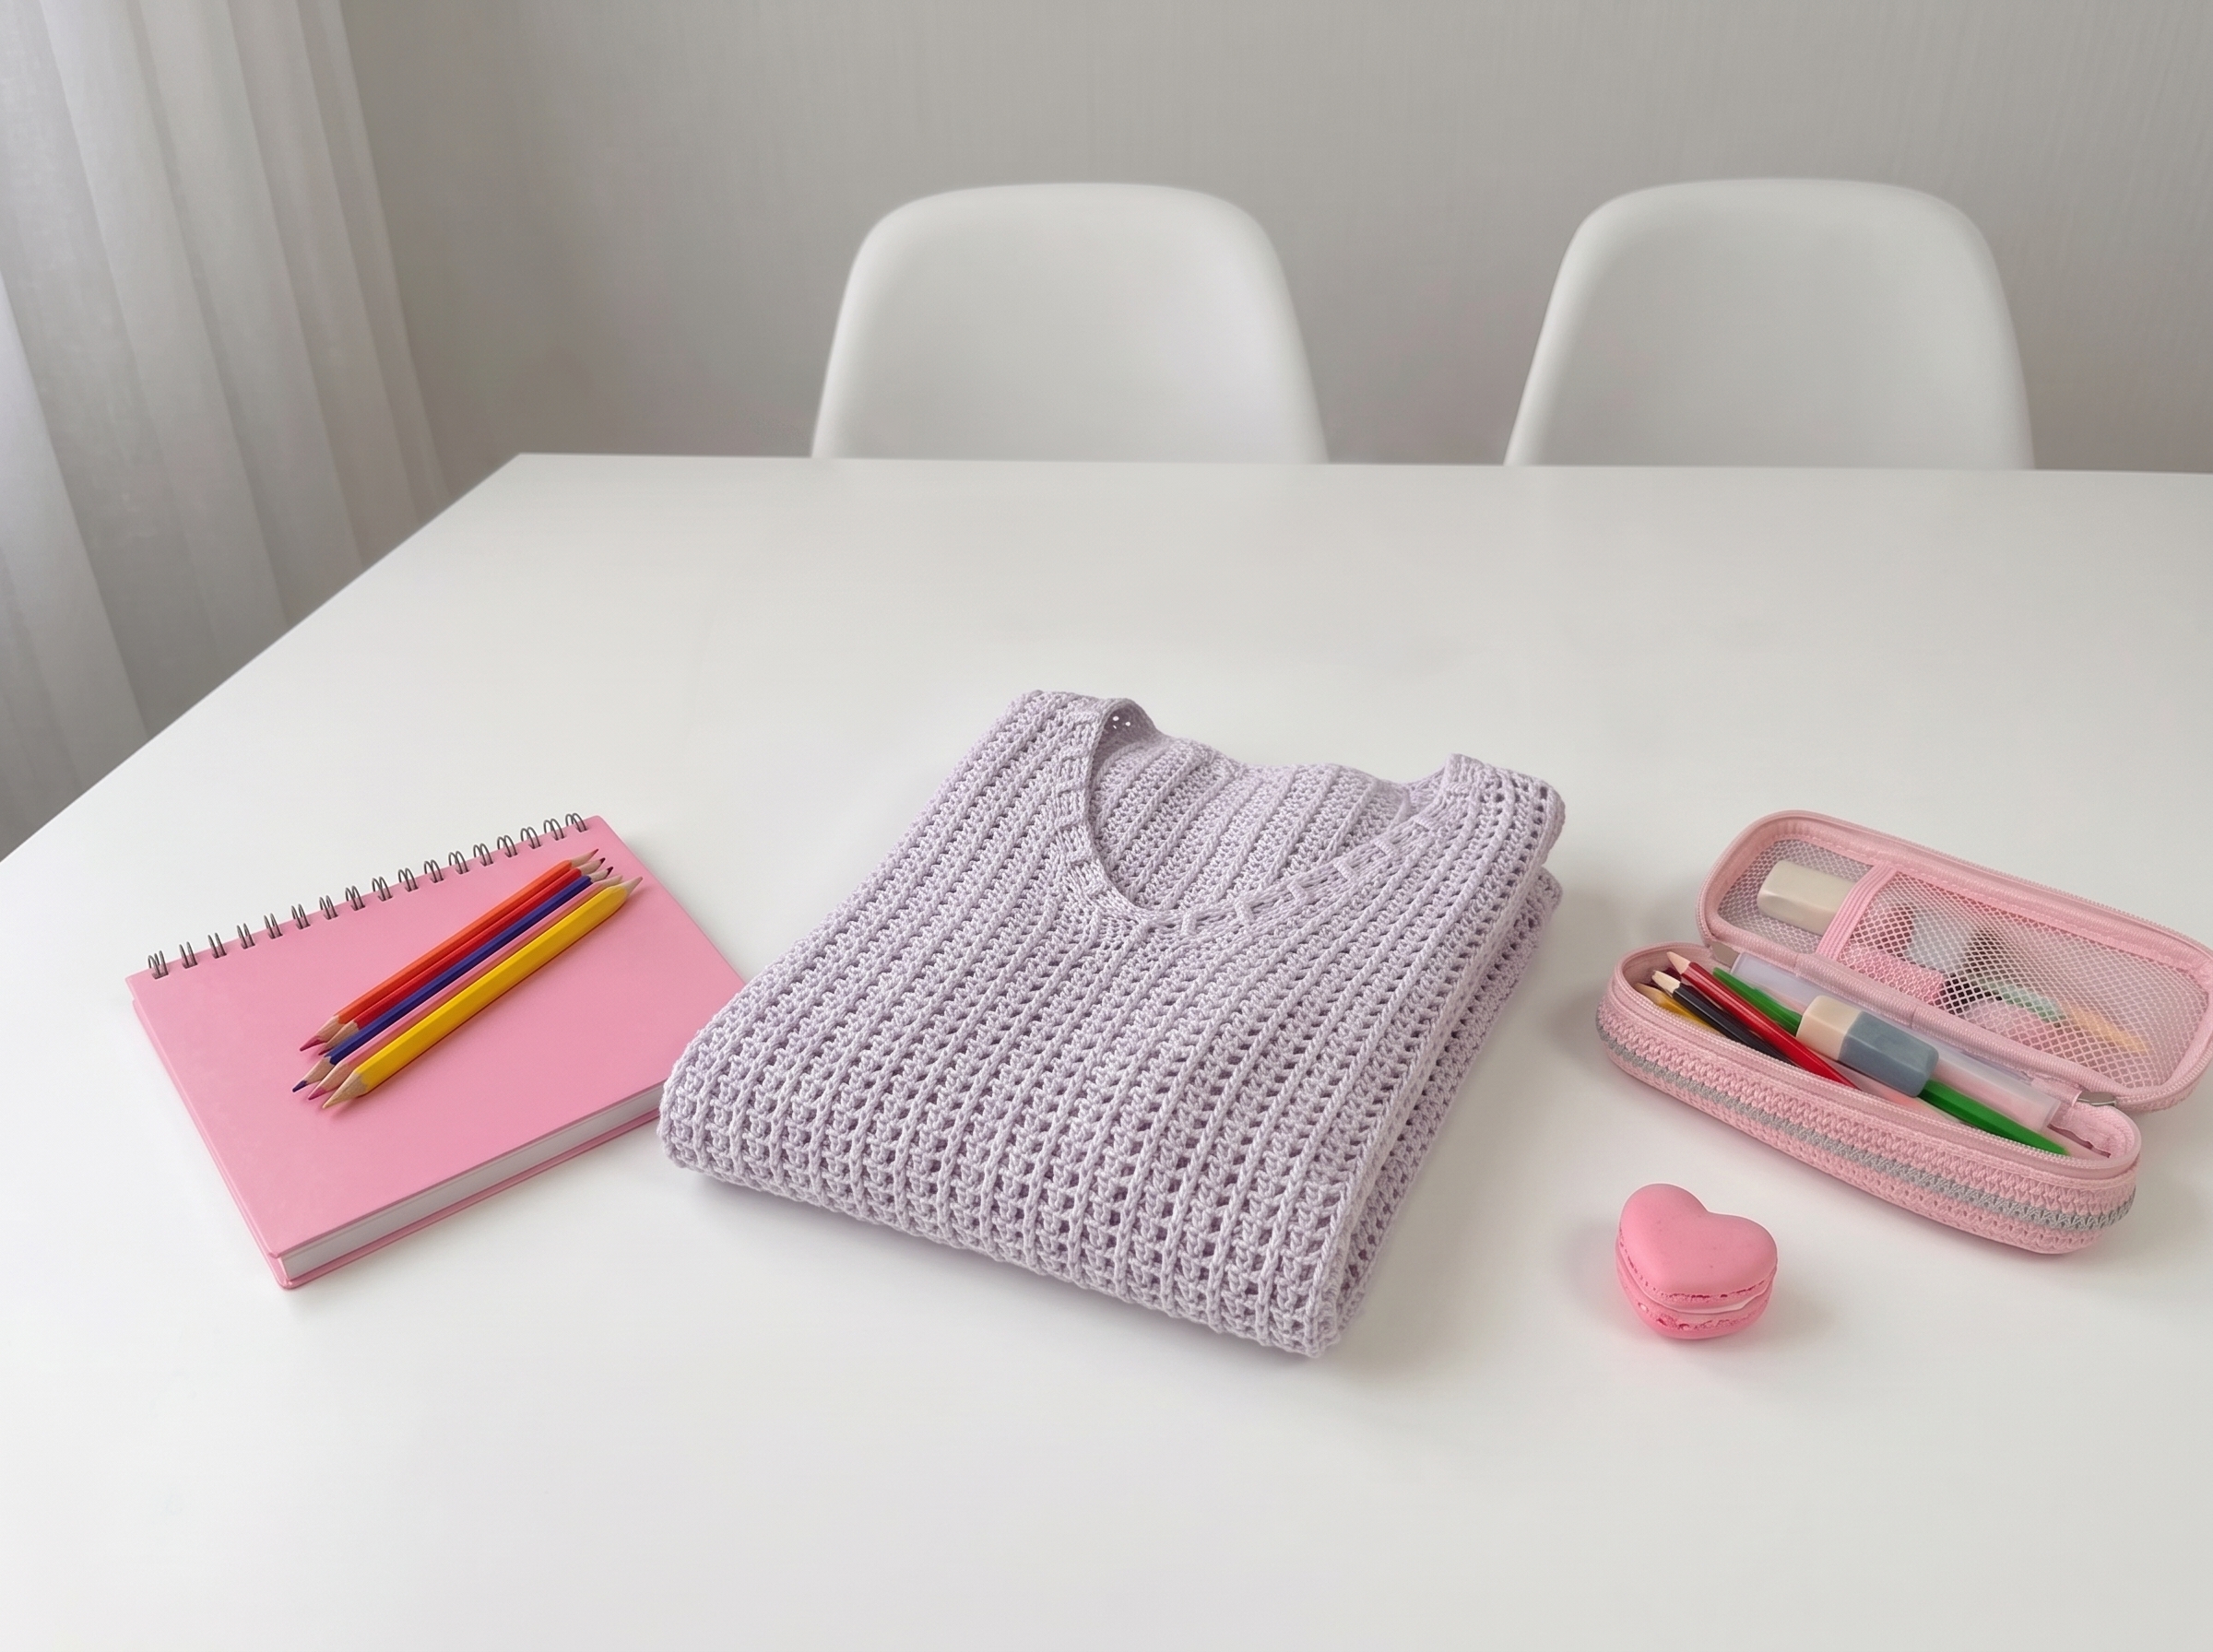
Rhythmite Pullover – Complete Step-by-Step Pattern
Grab your favorite merino yarn and get ready to create something truly special! The Rhythmite Pullover is a masterclass in textured crochet. Because it’s worked sideways, you’ll get to see the sweater grow horizontally, which is such a fun change of pace. Don't let the unique construction intimidate you—I'll walk you through every single step.
1. Materials & Gauge
Getting your gauge spot-on is the secret to a sweater that fits like a dream. Since this is a relaxed, oversized fit, blocking is your best friend!
- Yarn: Fibra Natura Dona by Universal Yarn (100% merino wool, 115m / 50g). Color #136 "Sesame". You'll need 8 (9, 10, 10, 11, 12, 12) skeins.
- Hook: 5.5 mm (or size needed to meet gauge).
- Notions: Stitch markers, stitch counter, tapestry needle.
- Gauge: 13 sts x 10 rows = 10 x 10 cm (4" x 4") in the modified ribbing pattern, after blocking.
- Finished Garment Measurements (Bust): 106 (114, 122, 130, 138, 146, 154) cm. Designed with approximately 27 cm (10.5") of positive ease.
What you'll master: Swatching for drape, understanding positive ease, and preparing your fibers for a luxurious blocked finish.
2. Special Stitches & Abbreviations
This pattern uses a few custom stitches to create that gorgeous, squishy "ribbing" texture. Take a moment to practice these before diving in!
- RS / WS: Right Side / Wrong Side.
- ch: chain
- sc: single crochet
- Mod-hdc (Modified half double crochet): Yarn over, insert hook into the last stitch of the previous row, yarn over and pull up a loop (3 loops on hook). Yarn over and pull through 1 loop (this creates a little chain-1 space). Yarn over and pull through all 3 loops on the hook.
- Mod-3cl (Modified 3-stitch cluster): [Yarn over, insert hook in next st, yarn over and pull up a loop, yarn over and pull through 2 loops] twice. Yarn over, insert hook from back to front around the previous cluster, yarn over and pull up a loop, yarn over and pull through 2 loops. [Yarn over, insert hook in next st, yarn over and pull up a loop, yarn over and pull through 2 loops]. Yarn over and pull through all loops on the hook.
What you'll master: Executing complex textured stitches and maintaining consistent tension across custom stitch patterns.
3. The Right Side (Front & Back)
We’re starting at the bottom right hem and working sideways across the body.
- Foundation: Ch 141.
- Row 1 (RS): 2 Mod-hdc in 4th ch from hook, skip next ch, 2 Mod-hdc in next ch; repeat from * to * to end, Mod-hdc in last ch, turn. (140 Mod-hdc)
- Row 2 (WS): Ch 2 (counts as Mod-hdc), skip 1 st, Mod-hdc in BLO of next st and each st across, Mod-hdc in top of initial 3 skipped chs, turn.
- Rows 3-16 (18, 20, 22, 24, 26, 28): Repeat Rows 1 and 2 for the ribbing pattern 7 (8, 9, 10, 11, 12, 13) times.
What you'll master: Sideways crochet construction and reading complex textured stitch patterns.
4. Shaping the Neckline
Now for the clever part! We divide the work to shape the front and back necklines. Place markers at stitch 64 (M1) and stitch 70 (M2) from the beginning of the next row.
Front Neck Shaping
- Row 1 (RS): Work pattern to M1, sc in marked st, turn. (64 sts)
- Row 2 (WS - Dec): Skip 1 st, sl st in BLO of next 2 sts, ch 1 (counts as st), Mod-hdc in BLO of each st across, Mod-hdc in top of ch-2, turn. (62 sts)
- Row 3 (RS - Dec): Ch 2, skip 1 st, work pattern to last 3 sts, Mod-hdc in next st, leave last 2 sts unworked, turn. (60 sts)
- Row 4 (WS - Dec): Repeat Row 2. (58 sts)
- Rows 5-10: Repeat Rows 3 and 4 three times. (46 sts)
- Row 11 (RS - Inc): Work pattern to last st, Mod-hdc in last st, work Mod-hdc (special increase), sc, turn. (48 sts)
- Row 12 (WS - Inc): Ch 4, Mod-hdc in 3rd ch from hook, Mod-hdc in next ch, skip next sc, Mod-hdc in BLO across to end. (50 sts)
- Rows 13-20: Repeat Rows 11 and 12 four times. (66 sts)
- Finishing: Drop the stitch and place it on a marker.
Back Neck Shaping
- Row 1 (RS): On the RS, attach yarn with a sl st at M2. Ch 2, skip 1 st, work pattern to last st, Mod-hdc in last st, turn. (70 sts)
- Row 2 (WS - Dec): Ch 2, skip 1 st, work pattern to 2 sts before end, Mod-hdc in next st, turn. (68 sts)
- Rows 3-18: Repeat Rows 1 and 2 of the ribbing pattern 8 times.
- Row 19: Repeat Row 1 of the ribbing pattern.
- Row 20: Ch 2, skip 1 st, work pattern in BLO across, 2 Mod-hdc in top of ch-2, ch 5, sl st in 1st Mod-hdc of the front neck shoulder. Fasten off.
What you'll master: Short-row shaping, custom neckline tailoring, and seamless shoulder transitions.
5. The Left Side (Front & Back)
Time to connect the pieces and work back across the left side of the sweater!
- Row 1 (RS): Pick up the dropped stitch from the front neck onto your hook. Work Row 3 of the ribbing pattern across all stitches of the back neck, across the ch-5 bridge, and across all stitches of the front neck. Turn. (140 sts)
- Row 2 (WS): Work Row 4 of the ribbing pattern.
- Rows 3-16 (18, 20, 22, 24, 26, 28): Repeat Rows 3 and 4 of the ribbing pattern 7 (8, 9, 10, 11, 12, 13) times. Fasten off.
What you'll master: Picking up dropped stitches and seamlessly continuing a complex stitch pattern across joined sections.
6. Sleeves
The sleeves are also worked sideways, starting from the shoulder cap and working down to the cuff!
- Foundation: Ch 9.
- Row 1 (RS): 2 Mod-hdc in 4th ch from hook, skip next ch, 2 Mod-hdc in next ch; repeat to end, Mod-hdc in last ch, turn. (8 Mod-hdc)
- Row 2 (WS - Inc): Ch 2, skip 1 st, Mod-hdc in BLO of each st across, 2 Mod-hdc in top of ch-2, turn. (9 Mod-hdc)
- Row 3 (RS - Inc): Ch 9, 2 Mod-hdc in 4th ch from hook, [skip next ch, 2 Mod-hdc in next ch] 2 times, skip next st, 2 Mod-hdc in next st; repeat to end, Mod-hdc in both loops of last st, leave 2 initial chs unworked, turn. (16 Mod-hdc)
- Row 4 (WS): Repeat Row 2. (17 Mod-hdc)
- Rows 5+ (Sizes 138-154 only): Repeat Rows 3 and 4 to reach 25 sts.
- Row 5 (5, 5, 5, 7, 7, 7) (RS - Inc): Ch 4 (42, 38, 38, 26, 26, 26), 2 Mod-hdc in 4th ch from hook, [skip next ch, 2 Mod-hdc in next ch] 20 times, skip next st, 2 Mod-hdc in next st; repeat to end, Mod-hdc in both loops of last st, turn. (62, 58, 54, 54, 50, 50, 50 sts)
- Rows 6-25 (27, 27, 27, 31, 31, 31): Repeat Rows 2 and 3 of the ribbing pattern 10 (11, 11, 11, 12, 12, 12) times.
- Row 26 (28, 28, 28, 32, 32, 32) (WS - Dec): Ch 2, skip 1 st, Mod-hdc in BLO of next 15 (15, 15, 15, 23, 23, 23) sts, 2 Mod-hdc together in both loops of last 2 sts, turn. (17, 17, 17, 17, 25, 25, 25 sts)
- Row 27: Repeat Row 3 of the pattern. (16, 16, 16, 16, 24, 24, 24 sts)
- Row 28 (30, 30, 30, 34, 34, 34) (WS - Dec): Ch 2, skip 1 st, Mod-hdc in BLO of next 7 (7, 7, 7, 15, 15, 15) sts, 2 Mod-hdc together, turn. (9, 9, 9, 9, 17, 17, 17 sts)
- Row 29: Repeat Row 3. (8, 8, 8, 8, 16, 16, 16 sts)
- Finishing: Fasten off.
What you'll master: Top-down sideways sleeve caps and integrating increases/decreases into a textured stitch pattern.
7. Finishing, Ribbing & Seaming
Let's bring it all together with some beautiful, stretchy ribbing and clever structural details!
Front & Back Hem Ribbing:
- Attach yarn on the RS at the bottom edge. Work the ribbing pattern (Rows 1-5 of the finishing ribbing) along the bottom edge of the front and back. Fasten off using a stretchy needle bind-off.
Neck Ribbing:
- Attach yarn to the left side of the ch-5 bridge. Work the neck ribbing pattern in the round, incorporating a Mod-3cl at the center front. Fasten off.
Shoulder Stabilizer Strap (Crucial Step!):
- To prevent the shoulders from stretching out, we add a chain strip on the Wrong Side.
- On the WS, attach yarn to the left shoulder seam. Ch 3, sl st in both loops of the space between the "leaf" clusters; repeat across to the neck ribbing. Repeat on the right side.
Seaming:
- Pin the sleeves to the body, matching the center of the sleeve cap to the shoulder seam. Sew the sleeves in place.
- Sew the side seams and the underarm sleeve seams using a mattress stitch or your preferred seamless join.
- Weave in all those ends, give it a luxurious soak, block it to your exact measurements, and let it dry flat.
What you'll master: Stretchy needle bind-offs, structural stabilization for heavy garments, and professional seaming techniques.
Final Section: Where to Go from Here
Take a deep breath and give yourself a massive hug—you just crocheted a stunning, custom-fit, sideways sweater! You’ve conquered modified stitch clusters, sideways construction, and complex neckline shaping.
Now that you understand how to manipulate the fabric horizontally, try adapting this technique to design your own sideways cardigans or color-blocked tunics. And don't forget to share your beautiful Rhythmite Pullover with the community; seeing your handmade wardrobe staples come to life is the best part of this journey. Happy crocheting!