August 30, 2026
The Basic Rib Sweater – A Masterclass in Texture, Drape, and Chic Side Slits
Wrap yourself in an absolute cloud of texture! The Basic Rib Sweater is a stunning, oversized pullover that features a luxurious mohair halo, a beautifully stretchy ribbed fabric, and those incredibly chic, architectural side slits. If you’re ready to level up your knitting game with seamless shoulder joins and clever pick-up techniques, this cozy masterpiece is your next great adventure.
Jump to pattern instructions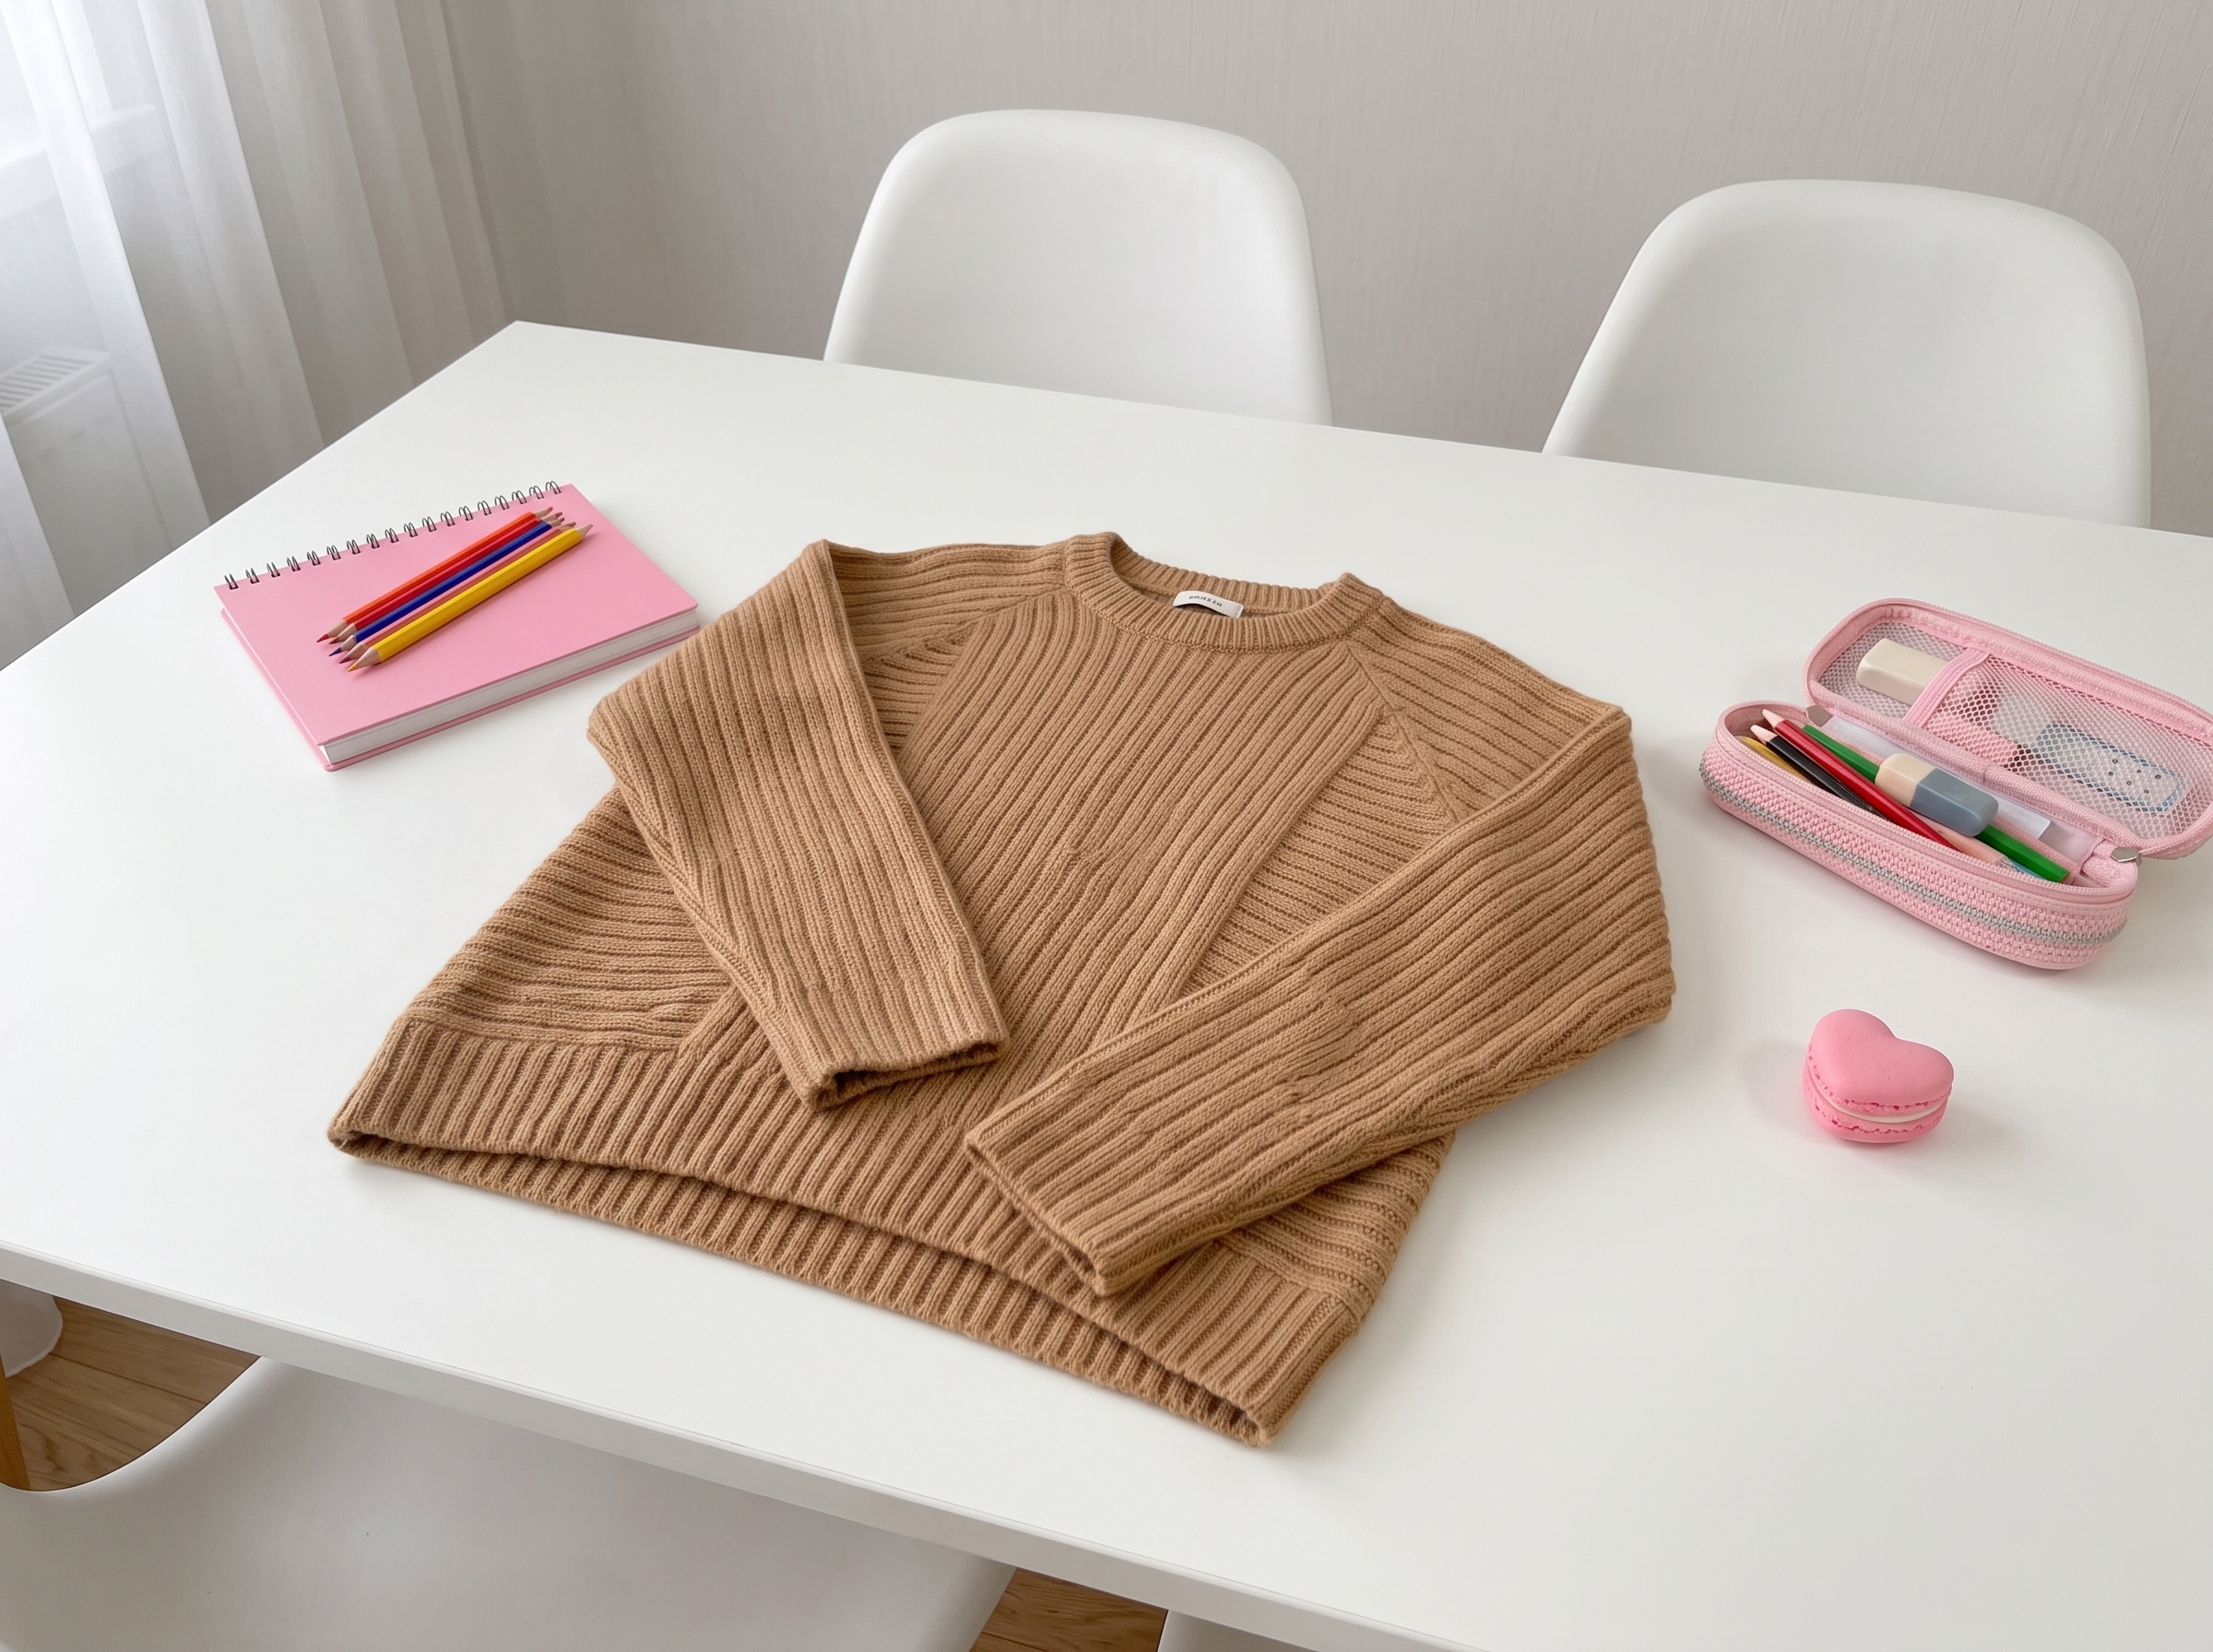
The Basic Rib Sweater – Complete Step-by-Step Guide
Grab your favorite cup of tea and settle in! We are about to knit a sweater that you will literally never want to take off. The magic of this design lies in its simplicity: a gorgeous ribbed stitch, held-double yarn for that dreamy halo, and a clever construction that creates beautiful side slits without any complicated seaming. Let’s dive in!
1. Gathering Your Supplies (The Secret to the Drape)
Because this sweater relies on a beautiful, ethereal drape, choosing the right yarn is half the fun. We are holding two strands together throughout the entire project to create a custom, cloud-like yarn.
- Yarn:
- Strand A: Fine Merino (approx. 175m / 50g). You'll need 4 to 6 skeins depending on your size.
- Strand B: Pearl Mohair (approx. 210m / 25g). You'll need 4 to 6 skeins.
- Pro Tip: Hold one strand of each together. The merino gives the sweater structure and warmth, while the mohair gives it that luxurious, fuzzy halo and incredible drape!
- Needles:
- 3.5 mm circular needles (80–100 cm length for the body, 40 cm for the sleeves).
- 3.0 mm circular needles (40 cm length) for the ribbing and neckband.
- 2.5 mm double-pointed needles (or a spare circular for the i-cord/side edges).
- Notions: Stitch markers, a tapestry needle, stitch holders or waste yarn, and a measuring tape.
- Gauge: 24 stitches x 36 rows = 10 x 10 cm (4" x 4") in the main ribbed pattern, after washing and blocking.
- Friendly Reminder: Please, please knit a swatch and wash it! Mohair blooms beautifully after its first bath, and you want to ensure your sweater fits perfectly on day one.
2. Techniques & Special Stitches
Don't let the unique construction intimidate you; it’s actually a very relaxing, rhythmic knit!
- Held Double: Simply knit with one strand of Merino and one strand of Mohair held together as if they were a single, thick yarn.
- 3-Needle Bind-Off: A magical technique where you use a third needle to bind off live stitches from two separate pieces (like the front and back shoulders) at the same time, creating a sturdy, beautiful, and completely seamless shoulder seam.
- Picking Up Stitches: We will be picking up stitches along the side edges of the body to knit the sleeves and the side panels seamlessly.
- I-Cord / Ribbed Edging: A narrow, tube-like or ribbed border that gives the side slits their crisp, architectural finish.
3. The Back & Front Panels
We start by knitting the front and back separately, bottom-up. This gives us a beautiful, uninterrupted canvas for the ribbed texture.
- Cast On: Using your 3.0 mm needles, cast on your size-specific number of stitches (ranging from 61 to 85 stitches).
- Ribbing: Work in your chosen ribbing pattern (usually a 1x1 or 2x2 rib) for about 51–55 cm for the back, and slightly shorter (36–38 cm) for the front to accommodate the neckline.
- Switching Needles: Switch to your 3.5 mm needles to work the main body in the established ribbed pattern.
- Neckline Shaping (Front Only): You'll gently decrease stitches at the neck edge to create a soft, relaxed scoop or V-neck.
- Shoulder Slopes: Work short rows or gentle bind-offs to shape the shoulders.
- Finishing: Place your live shoulder stitches on stitch holders. Do not bind off! We need those live stitches for the next magical step.
4. The Shoulders & Neckline
This is where the sweater really starts to look like a high-end boutique piece.
- Shoulder Seams: Turn your work inside out. Place the live stitches of the front and back shoulders onto your 3.5 mm needle. Use the 3-Needle Bind-Off to join them. This creates a gorgeous, flexible seam that lies perfectly flat against the skin.
- The Neckband: Switch to your 3.0 mm needles. Pick up stitches evenly around the newly shaped neckline. Work a few centimeters in ribbing, then fold the neckband in half to the inside and use a mattress stitch (or a false Kitchener stitch) to sew it down invisibly. This creates a perfectly crisp, professional neckline that won't stretch out over time.
5. Sleeves & The Clever Side Slits
Now for the signature look of this sweater: the dropped-shoulder illusion and the chic side slits!
- Picking Up for Sleeves: With the right side facing you, use your 3.5 mm needles to pick up stitches evenly along the armhole edges. Join in the round and knit the sleeves top-down, gently decreasing along the underarm until you reach the cuff. Finish with a cozy ribbed cuff.
- The Side Slits: This is the clever part! Instead of sewing a traditional side seam, you will pick up stitches along the side edges of the front and back panels.
- Working the Side Panels: You'll knit a narrow ribbed panel (or i-cord edge) that connects the front and back while leaving the bottom few inches open. This creates a beautiful, flowing side slit that gives the oversized sweater incredible movement and a flattering, modern silhouette.
- Tip: Take your time picking up these edge stitches. An even pick-up rate is the secret to a side slit that lays beautifully without puckering!
6. Finishing & The Magic of Blocking
We are in the home stretch!
- Weave in Ends: Take your time weaving in those mohair tails on the wrong side. A little trick: rub the ends between your fingers to felt them slightly, or use a tiny dab of fabric glue to keep them from slipping out of the fuzzy halo.
- Wet Blocking (Crucial Step!): Submerge your sweater in cool water with a gentle wool wash. Let it soak for 20 minutes. Never wring or twist mohair! Roll it in a clean towel to press out the water.
- Shaping: Lay the sweater flat on a dry towel or blocking mat. Gently pat it into your exact finished measurements. Pay special attention to the side slits—pin them gently so they open up beautifully and dry in that chic, architectural shape.
- Dry: Let it air dry completely. The blocking will relax the ribbing, bloom the mohair halo, and transform your knit into a luxurious, cloud-like garment.
Final Section: Where to Go from Here
Take a deep breath, put the sweater on, and look in the mirror. You did that! By completing the Basic Rib Sweater, you’ve conquered held-double yarns, the 3-needle bind-off, invisible neckbands, and clever side-slit construction. These are the exact techniques used by high-end fashion designers to create custom, drapey garments.
Now that you know how to manipulate these shapes, try experimenting with different yarn blends! A silk-merino blend would give this sweater a gorgeous, luminous drape for spring, while a rustic wool would make it an incredibly warm, textured winter coat. Happy knitting, and enjoy your beautiful new wardrobe staple!