August 27, 2026
The Lotta Dress – A Textured Top-Down Raglan Knit
Wrap yourself in elegance with the Lotta Dress! This stunning top-down raglan features a rich, textured stitch pattern that looks incredibly complex but is actually a soothing, rhythmic repeat. With a beautifully tailored yoke and custom body shaping, it’s a rewarding project for intermediate knitters ready to master textured fabrics and seamless construction.
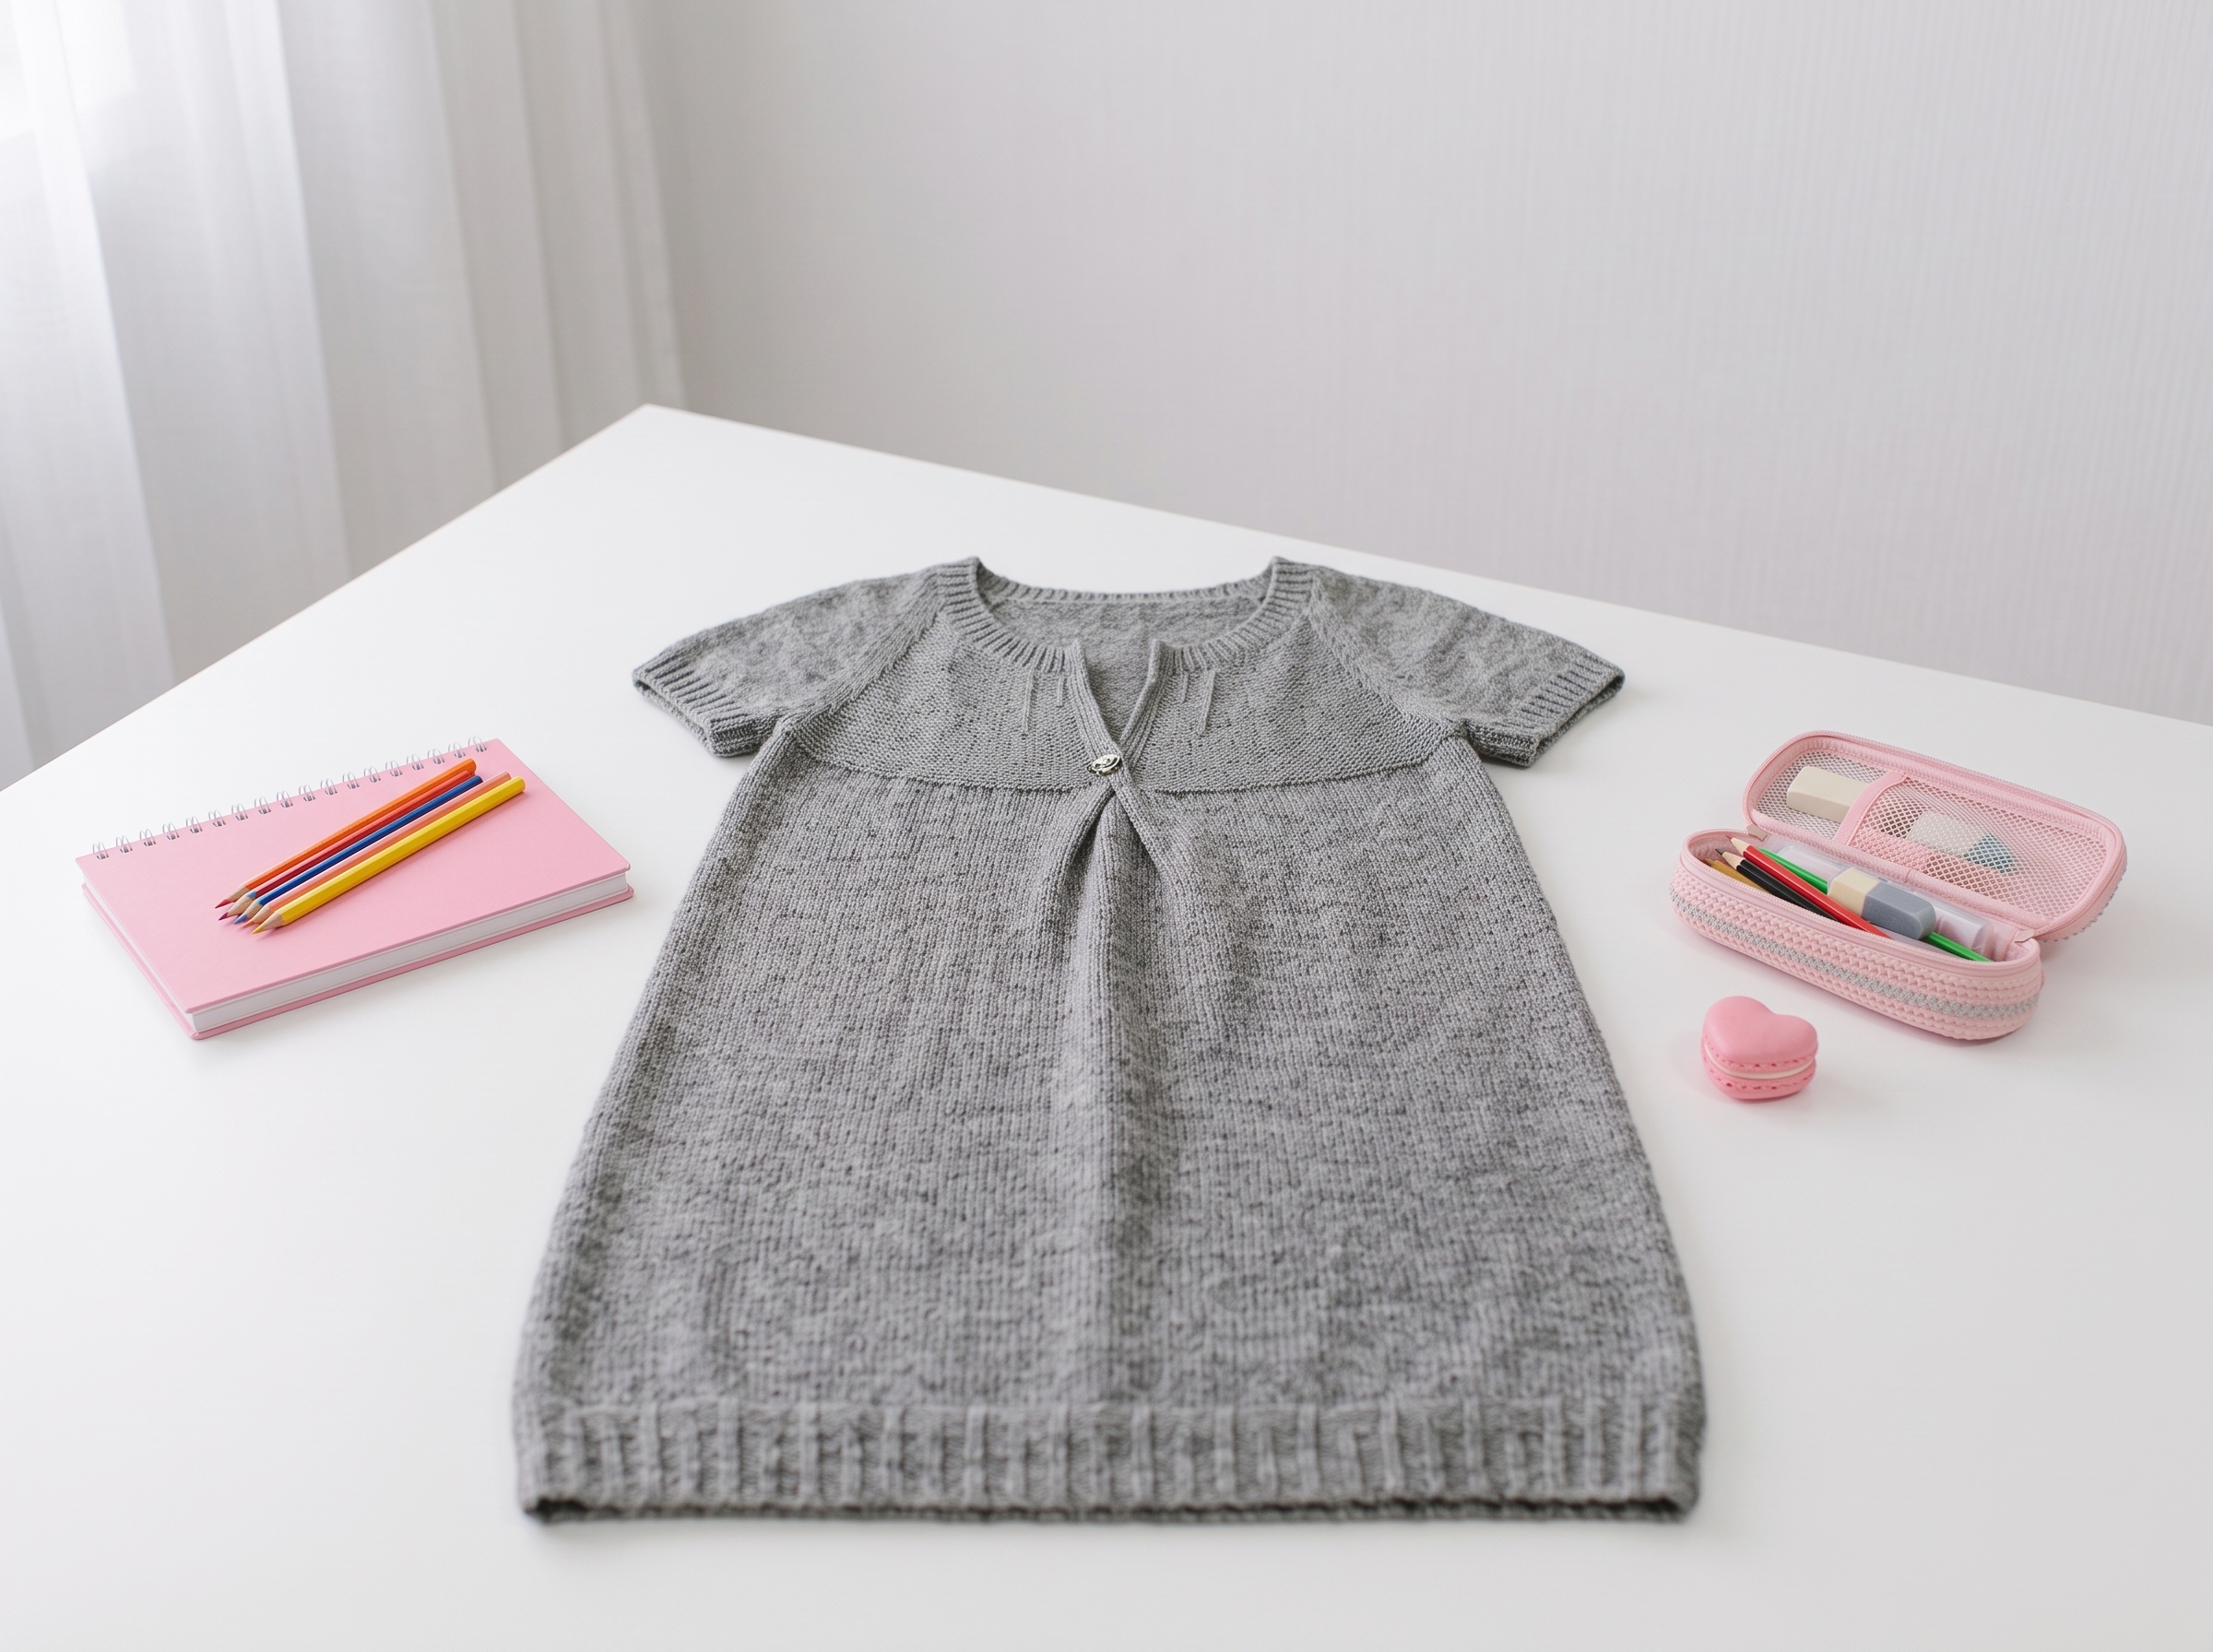
The Lotta Dress – Pattern Architecture & Guide
1. The Vibe & Materials
The Lotta Dress is designed to be a showstopper. The original pattern covers a wide range of sizes (from S up to 2XL) and relies on a gorgeous, dense textured stitch that gives the fabric a beautiful drape and structure.
- Yarn: You'll want a yarn with good stitch definition to make the textured pattern pop. A smooth wool, merino, or a wool-silk blend in a DK or Worsted weight is usually perfect for this type of structured dress.
- Needles: Main needles for the body (to match your gauge) and slightly smaller needles for the ribbed edges and neckline.
- Notions: Stitch markers (you'll need several for the raglan lines!), a tapestry needle, and waste yarn or stitch holders for the sleeves.
2. The Signature Textured Stitch
The magic of the Lotta Dress lies in its main fabric pattern. Based on the deciphered instructions, the core repeat is a variation of a twisted mock-rib or moss stitch.
- The Pattern Repeat:
[3 purl, 1 twisted knit] - How it works: You'll be purling 3 stitches, and then knitting 1 stitch through the back loop (twisted). On the wrong side, you'll likely purl the twisted stitches and knit the purl stitches to maintain the texture.
- Why it’s great: This creates a fabric that looks like intricate cables or brioche, but it’s much easier to execute and doesn't require a cable needle! It also gives the dress a lovely, forgiving stretch.
3. The Raglan Yoke (Worked Flat)
Unlike many top-down sweaters that start in the round, the Lotta Dress yoke is worked flat (back and forth) initially. This allows for a beautiful, tailored front neckline (likely a V-neck or a deep scoop) before joining in the round.
- Setup: You cast on and place markers to divide your work into: Left Front Panel, Left Sleeve, Back, Right Sleeve, and Right Front Panel.
- The Increases: As you work back and forth, you'll be doing raglan increases (usually a yarn over or a lifted M1L/M1R increase) on either side of the raglan markers on the Right Side rows.
- Integrating the Texture: As your stitch count grows, you'll gradually incorporate the new stitches into the
[3 purl, 1 twisted knit]pattern. The pattern guides you on exactly when to introduce the texture so the raglan lines remain clean and uninterrupted. - Joining in the Round: Once the front panels are wide enough to meet, you'll cast on a few stitches at the center front, join the work into a continuous circle, and continue the raglan increases in the round until the yoke is deep enough to fit comfortably across your bust and shoulders.
4. Separating the Sleeves & Body Shaping
Once the yoke fits perfectly across your shoulders, it’s time to divide the dress!
- The Separation: You'll knit across the back and front panels, but when you reach the sleeve stitches, you'll slip them onto a piece of waste yarn or a stitch holder.
- The Underarm: Cast on a few stitches (usually 4 to 8, depending on your size) at the underarm to bridge the gap, then continue across the front.
- Body Shaping: The dress is then worked straight down in the round. The pattern includes specific "shaping rows" (прибавления полотна/сужения) where you will strategically increase or decrease stitches at the sides to tailor the waist and hips, ensuring the dress skims your curves beautifully rather than hanging like a sack.
5. The Sleeves
Once the body is complete (or if you prefer to finish the sleeves first!), you'll pick up the live stitches from the waste yarn.
- Pickup: Pick up the held stitches, plus a few extra from the underarm cast-on to prevent holes.
- Sleeve Cap Shaping: The pattern uses a few short rows or targeted decreases right at the underarm to give the sleeve a natural, rounded drape.
- Tapering: You'll work the textured pattern down the arm, decreasing 2 stitches at the underarm marker every few inches to gently taper the sleeve toward the wrist.
- Cuff: Finish with a few inches of classic 1x1 or 2x2 ribbing to snug up the wrist, and bind off loosely.
Final Section: Where to Go from Here
The Lotta Dress is a masterclass in combining simple techniques to create a high-end, boutique-quality garment. Mastering that [3 purl, 1 twisted knit] repeat will open up a whole world of textured knitting for you!
A Quick Note on the Pattern Text: Because the PDF text extraction was heavily corrupted by OCR errors, I highly recommend double-checking your specific row counts and increase placements against the visual charts or the original Russian text if you have it.
If you'd like me to translate a specific section (like the exact waist shaping rows or the neckline setup), just copy and paste that block of text into our chat, and I’ll clean it up and translate it perfectly for you. Happy knitting!