September 13, 2026
Baby Corn on the Cob Cocoon – A Sweet & Cozy Newborn Pattern
Keep your little sprout warm and adorable in this "Corn on the Cob" sleeping bag! Featuring a soft, textured yellow body and realistic green husk leaves that wrap around, this pattern is perfect for newborn photoshoots or keeping baby cozy. It’s a fun, intermediate-friendly project that makes a unique and heartwarming gift.
Jump to pattern instructions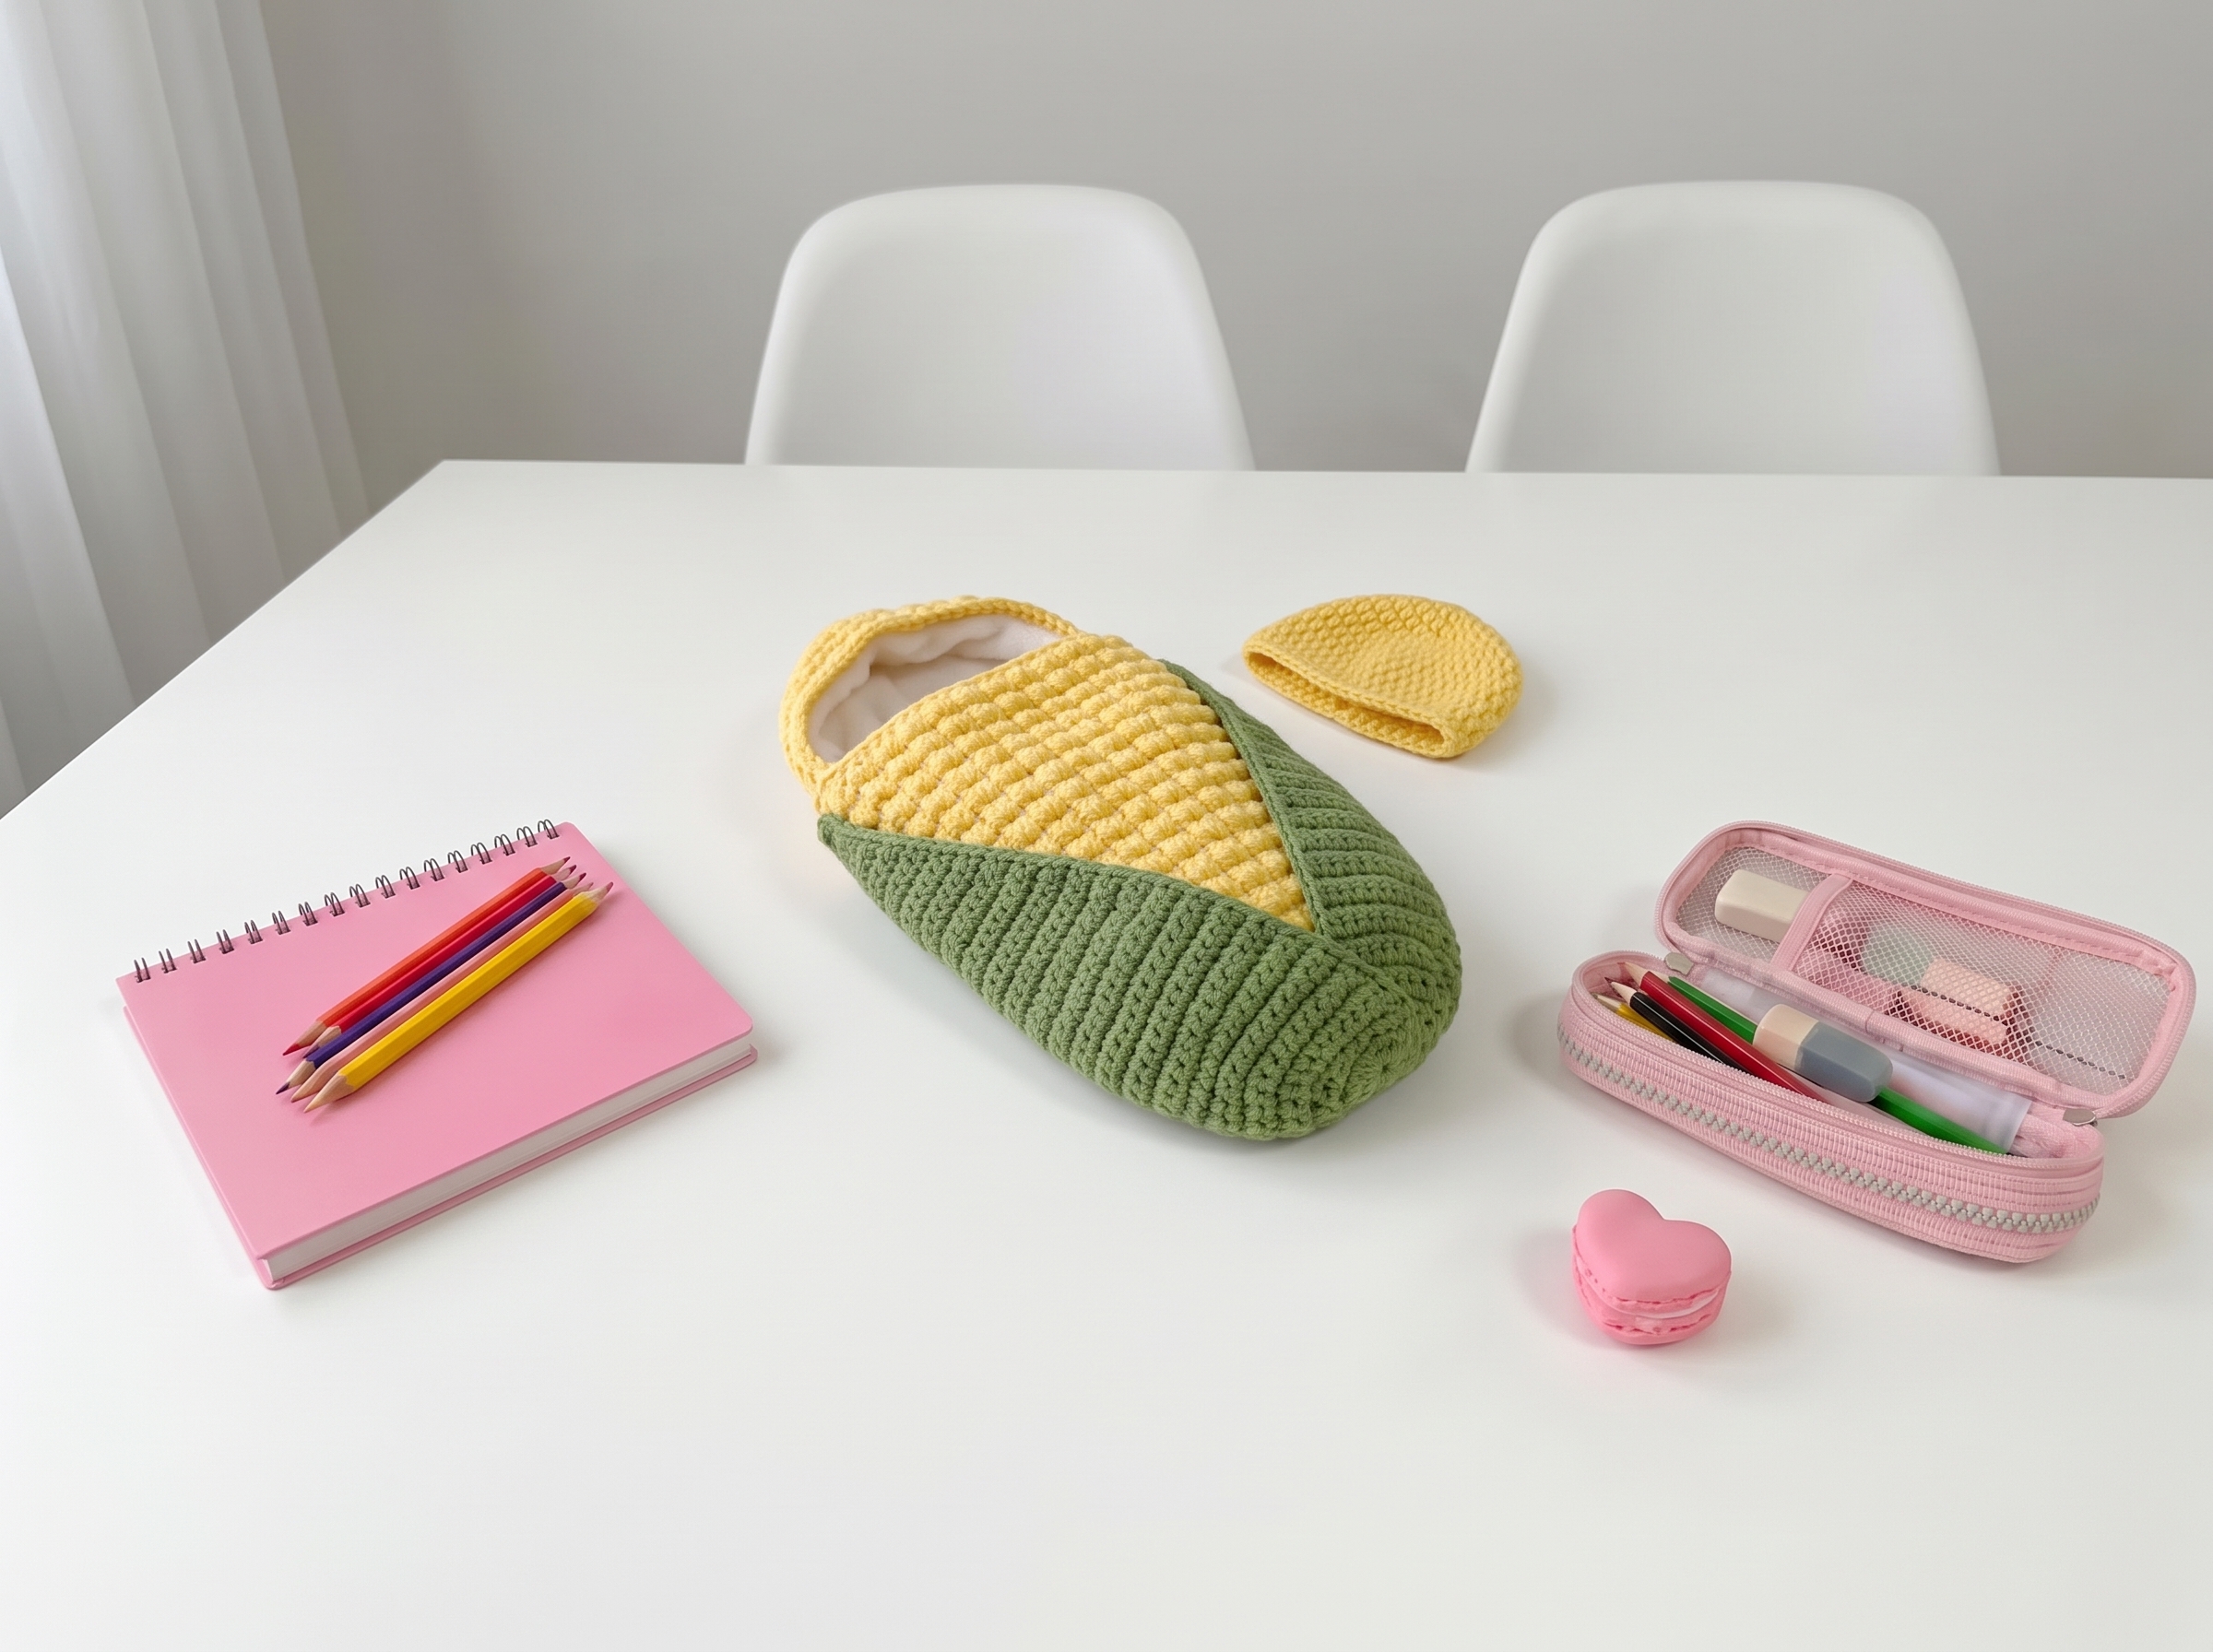
Baby Corn on the Cob Cocoon – Complete Step-by-Step Pattern
1. Gathering Your Supplies
To get that soft, squishy look perfect for a newborn, a soft acrylic or cotton blend yarn is best.
- Yarn: Worsted weight (Size 4) yarn.
- Yellow: Approx. 200g (for the corn cob body and hood). Tip: Use a variegated yellow/white yarn or hold a strand of white with yellow to get that realistic "corn kernel" speckled look seen in the photo!
- Green: Approx. 150g (for the husk leaves).
- Hook: 5.0 mm (US H/8) or the size needed to achieve a soft, flexible fabric.
- Notions: Tapestry needle for weaving in ends and sewing, scissors, and maybe a large button or snap for the leaves (optional).
- Finished Size: Fits newborn to 3 months (approx. 18-20 inches long).
What you'll master: Creating a large, seamless cocoon shape and assembling multi-part costume pieces.
2. Abbreviations & Special Techniques
Let’s quickly review a few terms. If you're new to any of these, don't worry—you'll be a pro by the time the baby is snug!
- ch: Chain
- sc: Single crochet
- hdc: Half double crochet
- sl st: Slip stitch
- Waistcoat Stitch (Optional): Insert your hook into the center "V" of the stitch below (like knitting) to create a dense, vertical texture that looks just like corn kernels!
3. The Corn Body (Yellow)
This is the main sack that wraps around the baby. We’ll work it as a long rectangle that folds up.
- Row 1: Ch 45. Sc in the 2nd ch from the hook and each ch across. (44 sc)
- Row 2-40: Ch 1, turn. Sc in each st across. (44 sc)
- Note: Work until the piece measures approximately 22 inches long.
- Texture Tip: If you want the bumpy "corn" look, try working in the Waistcoat Stitch (insert hook under the V of the stitch below) or simply alternate rows of sc and hdc. Using a variegated yellow/white yarn also helps!
- Finishing: Fasten off, leaving a long tail for sewing.
What you'll master: Creating a large, consistent fabric panel.
4. The Husk Leaves (Green)
These large leaves wrap around the yellow body to complete the corn look. We’ll make two large flaps.
Leaf 1 & 2 (Make 2):
- Row 1: Ch 30. Sc in the 2nd ch from the hook and each ch across. (29 sc)
- Row 2-15: Ch 1, turn. Sc in each st across. (29 sc)
- Row 16 (Tapering): Ch 1, turn. Sc2tog, sc in next 25 sts, sc2tog. (27 sc)
- Row 17: Ch 1, turn. Sc in each st across.
- Row 18: Ch 1, turn. Sc2tog, sc in next 23 sts, sc2tog. (25 sc)
- Row 19-20: Sc across.
- Finishing: Fasten off, leaving a long tail. The leaves should be long and slightly tapered at the top, like real corn husks.
What you'll master: Shaping large flat pieces with simple decreases.
5. Assembly & Finishing
Now for the magic moment where your corn cob comes to life!
- Form the Sack: Lay the yellow rectangle flat. Fold the bottom 14-15 inches up towards the top. This creates the "sack" for the baby's body.
- Sew the Sides: Using your long tail and a tapestry needle, whip stitch the side seams of the folded bottom section securely. Leave the top section open—this will be the hood!
- Shape the Hood: The top unfolded section (approx. 7-8 inches) is the hood. You can sew the very top edge together to close the hood, or leave it open and fold it over the baby's head like a cowl. The photo shows a rounded hood, so sewing the top edge closed works best.
- Attach the Leaves: Pin the two green leaves to the bottom corners of the yellow sack (on the outside). They should be positioned so they can wrap around the baby's body. Sew them securely at the base.
- Wrap it Up: When the baby is inside, wrap the green leaves around the yellow body and secure them with a large button, a snap, or just tuck them in!
What you'll master: Multi-step structural assembly and creating a functional, wearable costume.
Final Section: Where to Go from Here
Congratulations! You’ve just crafted an adorable Baby Corn Cocoon. This project is incredibly satisfying and makes for unforgettable newborn photos.
From here, try experimenting with different colors! You could make a "Purple Corn" version with variegated purple yarn, or even a "Carrot" version with orange and green tops. Happy crocheting, and enjoy your cozy little vegetable! 🌽