September 9, 2026
Cherry Blossom (Sakura) Keychain – A Delicate Spring Accessory
Bring a touch of spring to your keys or bag with these adorable Cherry Blossom keychains! Featuring delicate white petals with a soft pink center and a signature notched petal shape, this quick project is perfect for using up scrap yarn. It makes a lovely handmade gift or a cheerful addition to your own accessories.
Jump to pattern instructions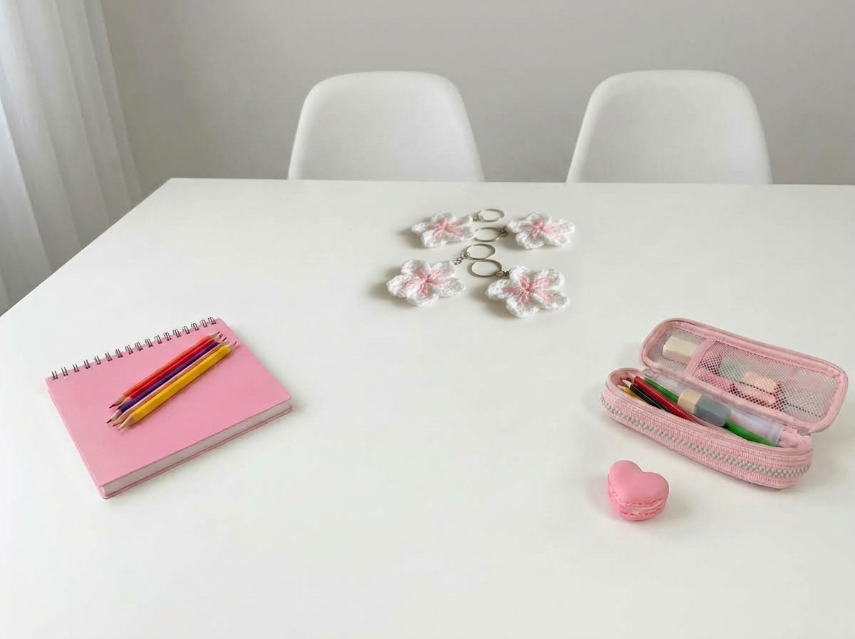
Cherry Blossom (Sakura) Keychain – Complete Step-by-Step Pattern
1. Gathering Your Supplies
To get that crisp, defined petal shape, a smooth cotton yarn is best.
- Yarn: Fine cotton yarn (e.g., YarnArt Jeans, Catania, or similar lace/sport weight).
- White: For the petals.
- Light Pink: For the center.
- Hook: 2.0 mm or 2.5 mm (choose a size that gives you a tight fabric so the stuffing/shape holds well).
- Notions:
- Keychain rings (split rings).
- Tapestry needle for weaving in ends.
- Scissors.
- Optional: A tiny bit of poly-fil if you want to stuff the center slightly for a 3D effect.
What you'll master: Working the classic "notched petal" stitch pattern and assembling multi-part accessories.
2. Abbreviations & Special Techniques
Let’s quickly review a few terms. The key to the sakura look is the "notch" in the petal!
- MR: Magic ring
- ch: Chain
- sc: Single crochet
- dc: Double crochet
- sl st: Slip stitch
- Notched Petal: A petal shape created by chaining, working double crochets, chaining again, and working more double crochets into the same space, creating a heart-like dip at the tip.
3. The Flower (Make 2 per Keychain)
We will create a two-tone flower with a pink center and white notched petals.
Step 1: The Center (Pink)
- R1: With Pink yarn, create a Magic Ring. Work 6 sc into the ring.
- Note: Do not fasten off yet if you want to switch colors directly, or fasten off and weave in ends if you prefer to sew the center on later. For this pattern, we will switch colors directly for a seamless look.
Step 2: The Petals (White)
- Setup: Switch to White yarn. Attach it to any stitch of the pink center (or simply start the petals if you didn't fasten off).
- Petal 1: Ch 3 (counts as first dc), 2 dc in the same stitch, ch 1, 2 dc in the same stitch, ch 3, sl st into the next stitch of the pink center.
- This sequence creates the heart-shaped/notched petal!
- Petals 2-5: Repeat the sequence above 4 more times. (Ch 3, 2 dc, ch 1, 2 dc, ch 3, sl st in next st).
- Finishing: Sl st to the top of the beginning ch-3 to close the round. Fasten off, leaving a long tail for sewing.
What you'll master: Creating the signature notched petal shape of the cherry blossom.
4. Assembly & Finishing
Now for the magic moment where your flowers become a keychain!
- Pair Up: Take two completed flowers. Place them back-to-back (wrong sides together) so the pink centers face out on both sides. This hides the starting tails and makes the keychain double-sided and sturdy.
- Sew (Optional but recommended): Using the long tails you left, whip stitch the two flowers together around the center base to secure them. This prevents them from flopping around on the ring.
- Attach to Ring: Open your split keychain ring. Slide both flowers onto the ring. You can attach them directly, or add a small jump ring/chain if you prefer them to dangle lower.
- Repeat: Make more pairs to create a set!
What you'll master: Assembling modular pieces and creating professional-looking finished accessories.
Final Section: Where to Go from Here
Congratulations! You’ve just crafted a beautiful set of Cherry Blossom keychains. This project is incredibly fast, making it perfect for using up scrap yarn, crafting last-minute party favors, or adding a touch of spring to your everyday carry.
From here, try experimenting with different color combinations! You could make "plum blossoms" with deep pink petals and red centers, or "apple blossoms" with pale pink petals and yellow centers. You could even turn these flowers into hair clips, brooches, or garlands. Happy crocheting! 🌸