August 20, 2026
The Rice Jumper – A Cozy, Relaxed-Fit Knit with a Beautiful Textured Front
Welcome to the Rice Jumper! This gorgeous, free-fit sweater features a dropped shoulder, a relaxed straight silhouette, and a stunning central textured motif framed by a classic double moss stitch. Knit seamlessly from the bottom up, it’s a rewarding project that results in a truly professional, boutique-quality wardrobe staple.
Jump to pattern instructions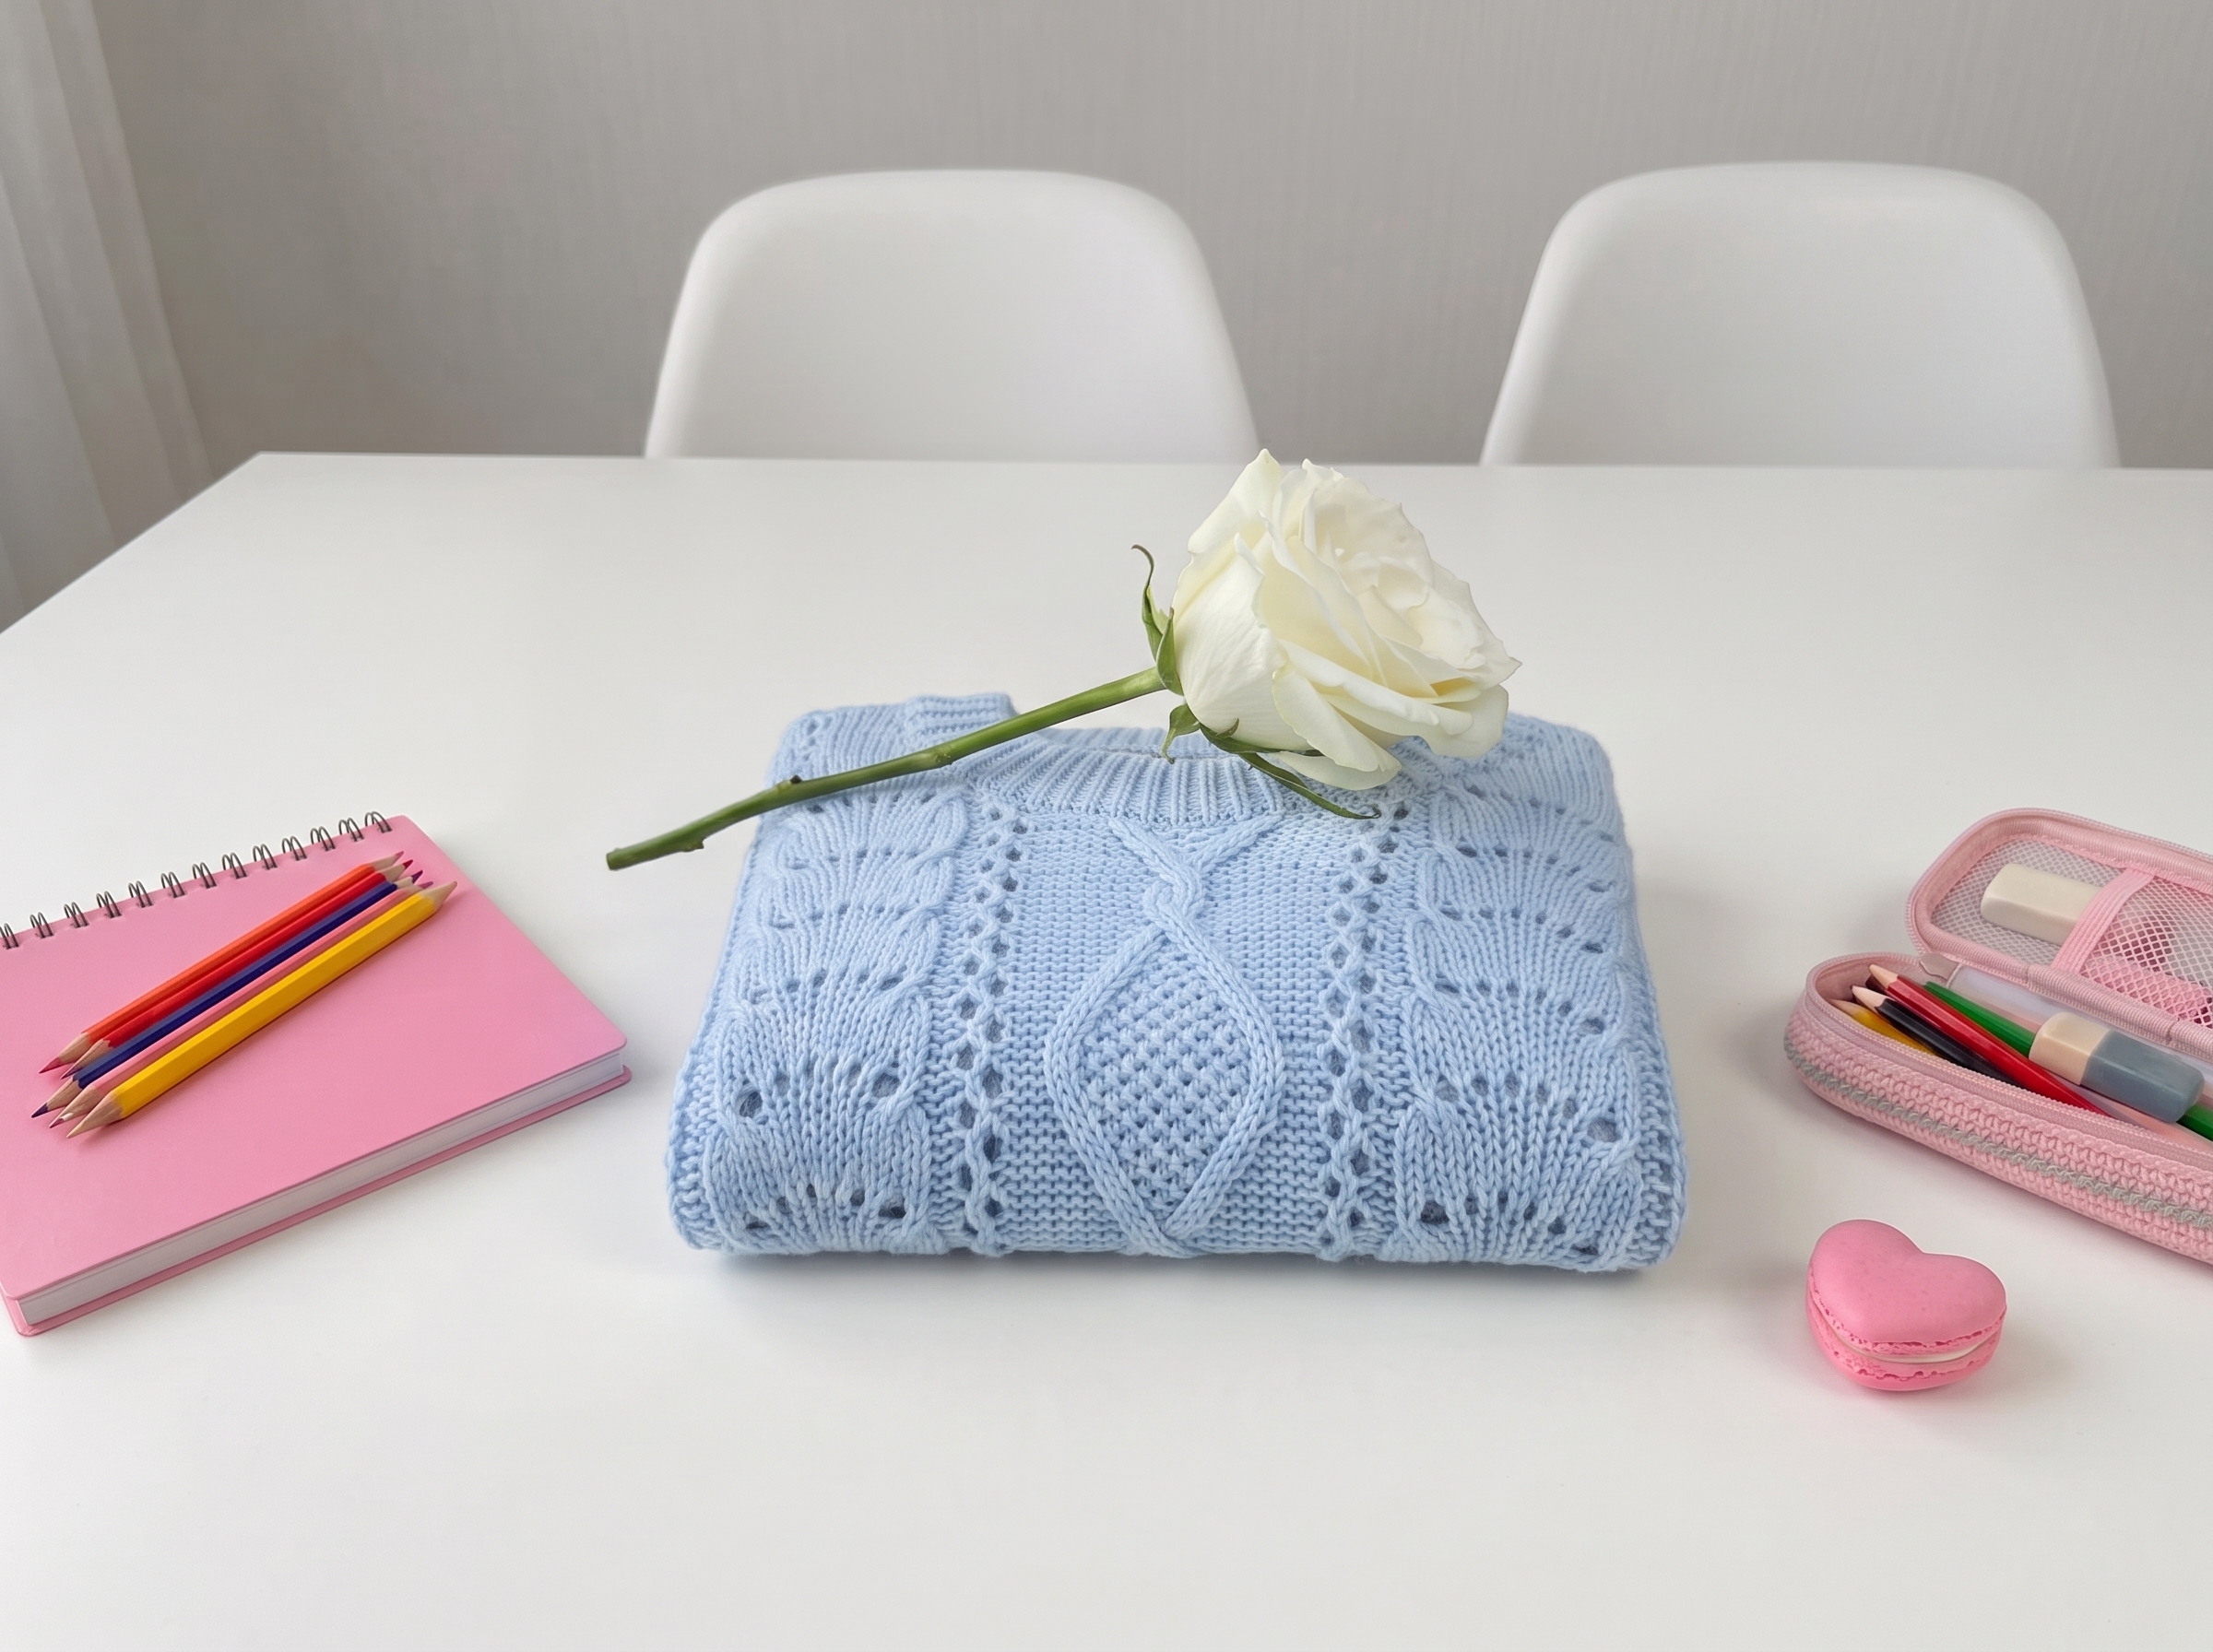
The Rice Jumper – Complete Step-by-Step Knitting Pattern
Grab your favorite yarn and get comfortable! We’re about to knit a sweater that you’ll never want to take off. The Rice Jumper is all about cozy textures and a relaxed fit. We’ll be working from the bottom up, splitting for the armholes, and using some clever short-row shaping for the shoulders. Let’s dive in!
1. Materials & Gauge
Getting your gauge right is the secret to a sweater that fits beautifully. Please, please knit a swatch and wash it before you begin!
- Yarn: Nako Calico (or any similar worsted/Aran weight yarn).
- Size S: 4 skeins
- Size M: 4.5 skeins
- Size L: 5.5 skeins
- Needles:
- 4.5 mm circular needles (40 cm and 80 cm lengths) for the main body.
- 3.5 mm circular needles for the ribbing, cuffs, and neckband.
- Notions: Stitch markers, tapestry needle, scissors, measuring tape, and a 3.0 mm crochet hook (for a magical neckband finish!).
- Gauge: 19 stitches x 26 rows = 10 x 10 cm (4" x 4") in the Double Moss stitch, worked on 4.5 mm needles, after blocking.
- Pro Tip: If your gauge is off, change your needle size! Don't adjust the pattern math; just adjust your tools.
2. Abbreviations & Special Techniques
- k / p: knit / purl
- k2tog / ssk: knit 2 together (right-leaning) / slip, slip, knit (left-leaning)
- M1R / M1L: Make 1 Right / Make 1 Left (lifted increases)
- Double Moss Stitch (Двойной рис):
- Row 1 (RS): k2, p2 repeat to end.
- Row 2 (WS): p2, k2 repeat to end.
- Row 3 (RS): p2, k2 repeat to end.
- Row 4 (WS): k2, p2 repeat to end.
- (Repeat these 4 rows for the pattern).
- Short Rows (Wrap & Turn / German Short Rows): Used for shaping the shoulders and sleeve caps. When the pattern says to turn, bring the yarn to the front, slip the next stitch, and turn your work. On the return row, you'll work the wrapped stitch together with its wrap to hide the hole.
3. The Body (Bottom-Up)
We start at the bottom hem and work our way up in the round until we reach the armholes.
Cast On & Ribbing:
- Using your 3.5 mm needles, cast on 182 (200, 218) stitches + 1 stitch for joining.
- Join in the round, being careful not to twist. (You now have 182 (200, 218) sts).
- Work 10 rows (about 4 cm) in twisted 1x1 ribbing (k1 tbl, p1).
Main Body Setup:
- Switch to your 4.5 mm needles.
- Setup Row: We are dividing the body into three sections: the left side, the central motif, and the right side.
- Place a marker. Work 10 (15, 20) sts in Double Moss stitch.
- Place a marker. Work the next 70 sts according to your Central Motif Chart.
- Place a marker. Work the remaining 102 (115, 128) sts in Double Moss stitch.
- Continue working in the round, following your chart for the central 70 stitches and keeping the sides in Double Moss, until the body measures your desired length (minus about 5 cm for the armhole depth). Try it on to check the length!
4. Dividing for Armholes & Front/Back
Now we stop working in the round and start working the front and back flat.
Splitting the Work:
- Work to the first marker. Remove markers. You now have the Front on your needle. Place the Back stitches on a spare needle or stitch holder.
- Note on Edge Stitches: For a beautiful, clean edge for picking up stitches later, work the first stitch of every RS row as a purl (grandmother's style), and slip the last stitch of every row purlwise.
Working the Front & Back Flat:
- Armhole Decreases: At the beginning of the next 2 rows (RS and WS), work a decrease (ssk on RS, p2tog on WS).
- Continue working your pattern (Double Moss on the sides, Chart in the center) while repeating these edge decreases until you've shaped the armholes.
- Work straight until the armhole measures about 18-20 cm (or your desired depth to the shoulder).
5. Neckline & Shoulder Shaping
We’ll shape the neck and shoulders using short rows for a smooth, custom fit without any jagged bind-off edges.
Front Neckline:
- Work to the center of the front. Bind off the center 16 (18, 20) stitches.
- Attach a new ball of yarn to the second side and work both sides of the neck simultaneously, decreasing 1 stitch at the neck edge every RS row until the neck depth is reached.
Shoulder Slopes (Short Rows):
- Once the neck is shaped, we’ll use short rows to slope the shoulders.
- How to do it: Work across the shoulder stitches, stopping a few stitches before the end. Turn your work, work back, and on the next row, work a few stitches past the previous turn before turning again.
- Repeat this, stepping further into the shoulder each time, until all shoulder stitches are incorporated.
- Bind off loosely or place on a holder. Repeat for the back shoulder.
6. Seaming the Shoulders
- Turn the sweater inside out.
- Using the 3-needle bind-off method (or a crochet hook and a slip-stitch seam), join the front and back shoulder stitches together. This creates a sturdy, flexible, and beautifully finished shoulder seam!
7. The Sleeves (Top-Down)
We’ll pick up stitches right around the armhole and work down to the cuffs.
Picking Up & Sleeve Cap:
- Using your 3.5 mm needles, pick up stitches evenly around the armhole edge. Aim for a ratio of about 3 stitches for every 4 rows (or 2 stitches for every 3 rows).
- You should have about 85 (87, 91) stitches total. Place a marker for the beginning of the round.
- Sleeve Cap (Short Rows): To give the sleeve a nice rounded cap that fits perfectly into the shoulder, we work a few short rows back and forth before joining in the round. Work a decrease at the edge, turn, work back, and gradually work further into the sleeve each row until you've worked all the way around.
- Once the cap is shaped, join in the round and switch to your 4.5 mm needles.
Sleeve Body & Decreases:
- Work in the established pattern (Double Moss / Chart).
- Decreases: Decrease 4 stitches (2 at the beginning of the round, 2 at the end) every 16th row (or as needed to fit your arm length). Wait, the pattern actually says to decrease 4 sts together at the underarm marker. Let's clarify: Decrease 2 sts at the underarm marker every few rounds to taper the sleeve gently.
- Continue until the sleeve reaches your desired length (minus the cuff).
Cuffs:
- Switch back to your 3.5 mm needles.
- Work 15 rows in 1x1 ribbing.
- Bind off loosely using a stretchy "needle bind-off" (or your favorite stretchy bind-off) so the cuff easily slips over your hand. Repeat for the second sleeve.
8. The Magical Neckband
This is where the sweater goes from "homemade" to "handcrafted boutique." We’re going to use a crochet chain trick for an impossibly clean neckline!
- The Chain: Using your 3.0 mm crochet hook and working on the Right Side of the sweater, work a slip-stitch chain (or a standard crochet chain) evenly around the entire neckline. Don't cut the yarn; just leave the loop on the hook.
- Picking Up (Front Layer): Switch to your 3.5 mm knitting needles. Pick up and knit stitches through the back bumps of the crochet chain you just made.
- Picking Up (Back Layer): Turn the work to the Wrong Side. Using a second 3.5 mm needle (or the other end of your circular), pick up stitches directly from the base of the chain on the wrong side.
- Joining: Knit one row, knitting one stitch from the front needle and one from the back needle together. This locks the chain perfectly between two layers of knitting!
- Ribbing: Work 8-10 rows in 1x1 ribbing.
- Bind Off: Bind off loosely in pattern.
Result: A neckline that looks identical on both the inside and the outside, with zero puckering. It’s pure magic!
9. Finishing & Blocking
- Weave in Ends: Take your time weaving in all those tails on the wrong side.
- Wash & Block: Hand wash your sweater in cool water (30°C) with a gentle wool wash. Do not wring or twist! Roll it in a towel to press out the excess water. Lay it flat on a dry towel, gently pat it into your exact finished measurements, and let it air dry.
- Blocking will even out your stitches, relax the double moss texture, and give the sweater that final, luxurious drape.
Final Thoughts
Take a step back and admire your work! You’ve just knit a beautifully structured, textured sweater using some fantastic techniques like bottom-up construction, short-row shaping, and a professional crochet-chain neckband.
The Rice Jumper is the kind of piece you’ll reach for again and again. Wear it with pride, and don't forget to snap a photo of your finished masterpiece. Happy knitting!