August 18, 2026
The Vagabond Vintage Cardigan – A Masterclass in Tailored Knitting
Step into vintage elegance with the Vagabond cardigan! Featuring chic stripes, custom-fit bust darts, and cleverly constructed hidden pockets, this gorgeous knit is a wardrobe staple that will teach you the secrets of professional garment tailoring.
Jump to pattern instructions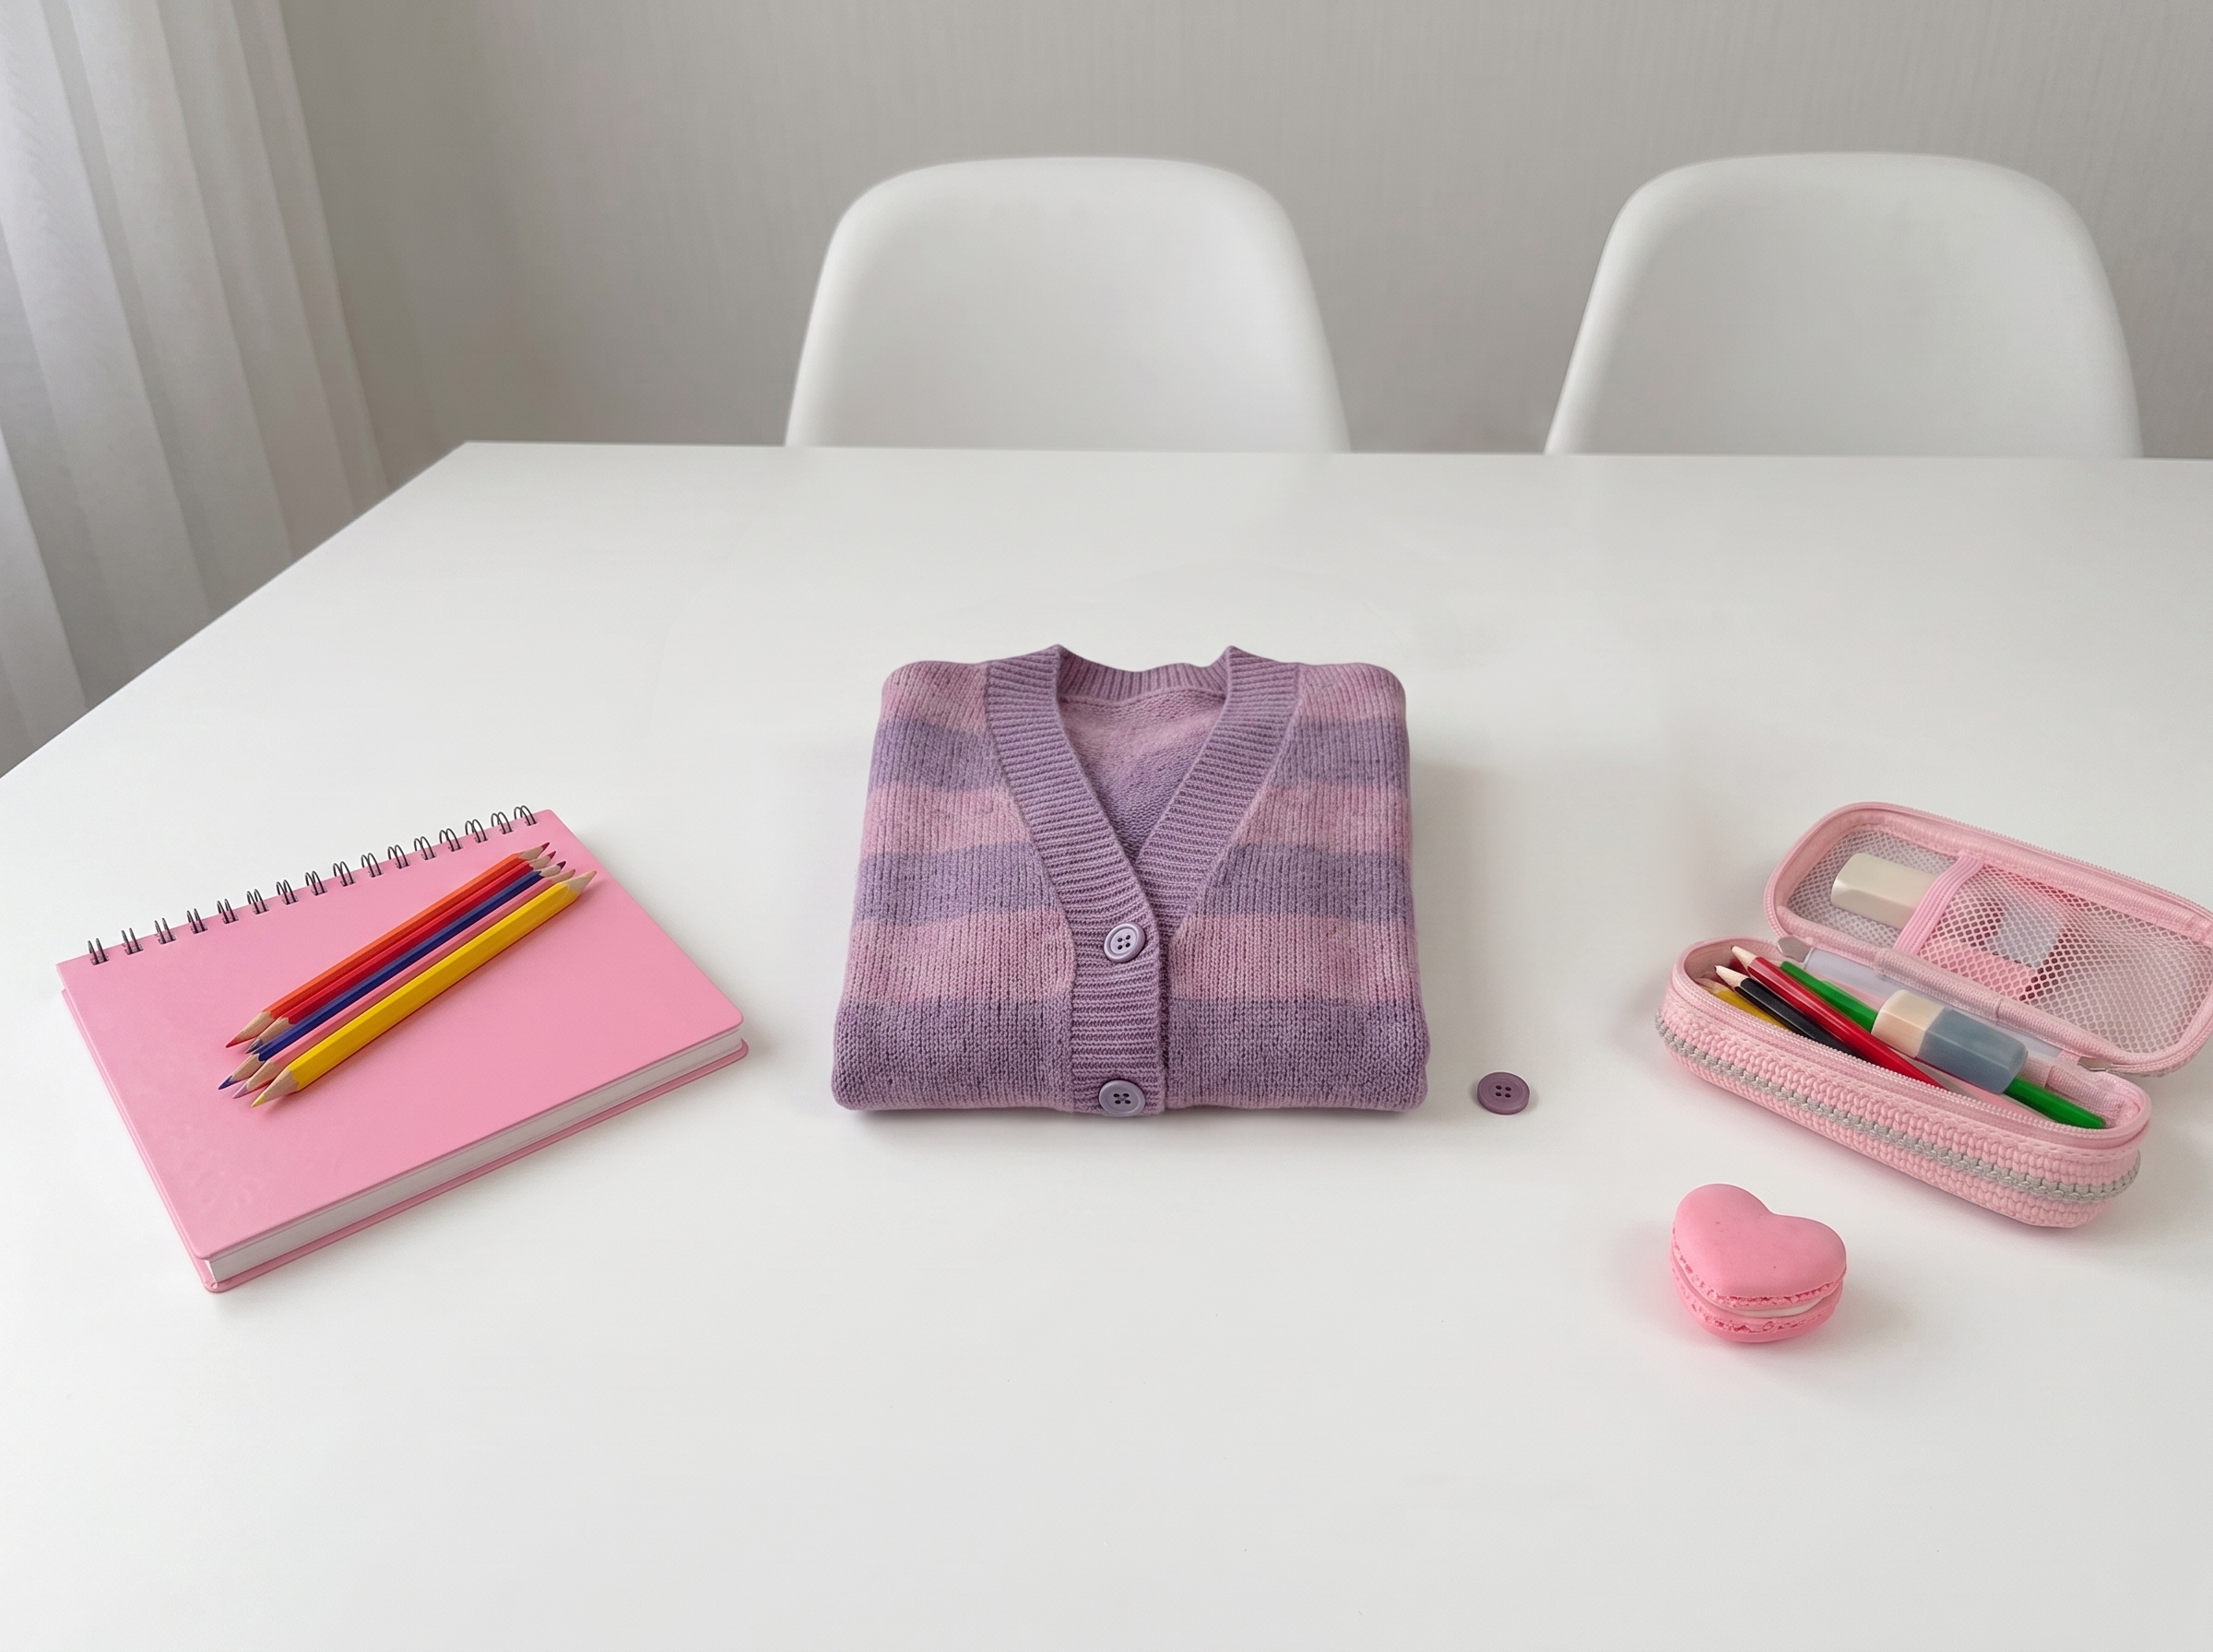
The Vagabond Vintage Cardigan – Complete Step-by-Step Guide
Grab your favorite fingering-weight yarn and a cup of tea, because we are about to knit a true masterpiece! The Vagabond cardigan is famous in the knitting community for its incredible vintage silhouette, tailored fit, and brilliant construction methods.
Instead of sewing pieces together and hoping they fit, we’re going to use short rows for custom bust darts, pick up pockets directly from the fabric, and knit the sleeves top-down. It sounds advanced, but I’m going to walk you through every single step just like we’re sitting on the couch knitting together!
1. Gathering Your Supplies
Because this pattern relies heavily on drape and precise tailoring, taking the time to swatch and prep your materials is going to make all the difference.
- Yarn: Fingering or light sport-weight yarn.
- Yarn A (Main Color): For the body and primary stripes.
- Yarn B (Contrast Color): For the secondary stripes and pocket details.
- Needles:
- 3.0 mm (US 2.5) straight or circular needles (for ribbing and pocket edges).
- 3.75 mm (US 5) straight or circular needles (for the main body).
- Notions: A small crochet hook (an absolute lifesaver for picking up pocket stitches!), stitch markers, a tapestry needle for Kitchener stitch, and some waste yarn.
- Gauge: Always knit a stockinette swatch in your main yarn on the 3.75 mm needles, wash it, and block it. Adjust your needle size until you match the pattern's recommended gauge!
2. Decoding the Techniques
Before we cast on, let’s chat about a few special techniques we’ll be using. Don't worry, they are much easier than they sound!
- M1L / M1R (Make 1 Left / Right): These are lifted increases used to expand the armholes beautifully without leaving holes.
- W&T (Wrap and Turn / ОБП): This is how we knit short rows for the bust darts. You'll slip a stitch, bring the yarn to the front, slip it back, and turn your work. When you come back to it later, you'll pick up that little "wrap" and knit it together with the stitch to hide the hole.
- Kitchener Stitch: A method of grafting live stitches together using a tapestry needle so the seam completely disappears. We'll use this to close the tops of our pockets!
3. The Back & Fronts (Where the Magic Happens)
We are going to knit the back and the two fronts flat, from the bottom up. The most exciting (and slightly intimidating!) part of this pattern is that the V-neck shaping, the horizontal bust darts, and the armhole expansion all happen at the same time.
Take a deep breath, grab your size-specific row counts from your pattern notes, and let's break down the logic so you know exactly why you're doing what you're doing.
The Bust Darts (Short Rows)
To give the cardigan a beautiful, custom fit that doesn't pull across the chest, we use horizontal short rows.
- When your piece reaches the dart placement row, you will knit across until you have a specific number of stitches left (this varies by size), and then execute a Wrap and Turn (W&T).
- You'll work back and forth, wrapping a few stitches earlier on each subsequent row. This builds extra fabric right where you need it over the bust.
- Once the dart is complete, you'll work a "smoothing row" where you pick up all those wraps and knit them together with their stitches. It looks like magic when it blocks out!
Armhole Expansion
While you're working up toward the shoulders, you'll also be adding width to the sides of your garment to create a relaxed, dropped armhole.
- On specific right-side rows, you'll work your edge stitch, knit 1, M1R, knit to the last 2 stitches, M1L, knit 1, edge stitch.
- This creates a gorgeous, invisible diagonal line of increases right along the side seam.
Shoulder & Back Neck Slope
As you approach the top of the shoulders, you'll use a clever yarn-over technique at the very edge of your rows to create a smooth, sloped shoulder line and a slightly raised back neck. This means less stair-stepping and a much more professional seam when we join the shoulders later!
4. The Hidden Pockets
This is the part that makes knitters gasp! We aren't sewing on patch pockets; we are building them right into the side seams using a crochet hook.
- Prep the Slit: Lay your front panel right-side up. Using your crochet hook and Yarn B, pull a loop down to the wrong side between the specific stitches marked for your size (usually around the 7th or 8th stitch from the side seam, and a few rows up from the bottom ribbing).
- Pick Up Stitches: Switch to your 3.75 mm needles. Starting from the side seam, pick up the edge stitches for the pocket opening, then pick up the horizontal stitches across the slit. You'll use that tail of Yarn B you pulled down to cast on the final edge stitch.
- Knit the Bag: Knit the pocket bag flat in stockinette stitch. To make it taper nicely toward the bottom, you'll decrease 4 stitches on the right side (using centered double decreases near the edges) every few rows.
- Close it Up: Once the pocket bag is the perfect depth, leave the stitches live on your needle. Thread your tapestry needle and use the Kitchener Stitch to graft the top of the pocket bag closed.
- Secure the Sides: Use your yarn tails to neatly whip-stitch the sides of the pocket bag to the wrong side of the cardigan front.
Tip: Leave extra-long tails when starting and ending your pockets! You'll need them to sew the bags down securely.
5. The Sleeves (Top-Down & Seamless)
Say goodbye to sewing in set-in sleeves! We are picking up stitches directly around the armhole and working our way down to the cuffs.
- The Sleeve Cap: Pick up stitches evenly around the armhole edge. To create that nice rounded shoulder cap, we’ll use short rows (Wrap and Turn) back and forth across the top of the shoulder, gradually incorporating more stitches until you've worked all the way around the underarm.
- The Arm: Once you're joined in the round (or working flat if you prefer to seam the underarm later), you'll just knit straight down, introducing Yarn B for the striped pattern.
- Tapering: To shape the sleeve, you'll decrease 2 stitches (using k2tog and ssk) on either side of the center underarm stitch at regular intervals (every 4th or 6th row, depending on your size).
- The Cuff: Switch to your smaller 3.0 mm needles and work a few inches of 1x1 ribbing. Bind off loosely in pattern so it stretches comfortably over your hand!
6. The Button Bands & Neckline
A vintage cardigan needs a crisp, structured button band.
- Pick up stitches evenly along the front edges and around the back neck.
- Switch to your 3.0 mm needles and work in 1x1 ribbing (k1, p1).
- Don't forget to plan out your buttonholes on the right front band! Space them evenly, working a simple yarn-over / k2tog buttonhole on the right side, and purling the corresponding stitches on the wrong side.
- Bind off very loosely in ribbing to prevent the band from rippling or pulling the front of the cardigan inward.
7. Assembly & The Magic of Blocking
We are in the home stretch!
- Shoulder Seams: Lay your back and front pieces right sides together. Use the 3-needle bind-off method, or a sturdy mattress stitch, to join the sloped shoulders you created earlier.
- Weave in Ends: Take your time weaving in all those tails, especially around the pockets and the color-change stripes.
- Wet Blocking (Do Not Skip This!): Submerge your finished cardigan in cool water with a gentle wool wash for 20 minutes. Gently press the water out (never wring!), roll it in a towel, and lay it flat on a blocking mat.
- Pin to Shape: Use T-pins to gently stretch and shape the cardigan to your exact finished measurements. Pin the bust darts so they lay flat and smooth against the body. As it dries, the yarn will bloom, the stitches will even out, and the garment will transform into a professional, boutique-quality piece.
- Buttons: Sew your vintage-style buttons onto the left front band, directly opposite your buttonholes.
Final Section: Where to Go from Here
Take a step back and admire your work—you just knit the Vagabond! By tackling this pattern, you’ve leveled up your knitting game in a massive way. You’ve mastered horizontal short-row darts, invisible armhole increases, crochet-hook pocket pickups, and Kitchener stitch. These are the exact techniques used by high-end fashion designers to create custom-fitted garments.
Now that you know how to manipulate flat fabric to fit a 3D body, the sky is the limit. Try knitting your next sweater with a different stripe sequence, or use the bust-dart technique to tailor a simple tee pattern to your exact measurements. Happy knitting, and enjoy your beautiful new wardrobe staple!