August 21, 2026
Adorable Amigurumi Ladybug – A Sweet & Quick Crochet Pattern
Wait, a bee? Not quite!* Looks like we have a delightful case of mistaken identity with the filename, because this pattern is actually for an absolutely charming, pocket-sized Ladybug! Featuring cute little horns, textured puff-stitch hands, and removable spotted wings, this project is a joyful, confidence-building make that’s perfect for crafters of all levels.
Jump to pattern instructions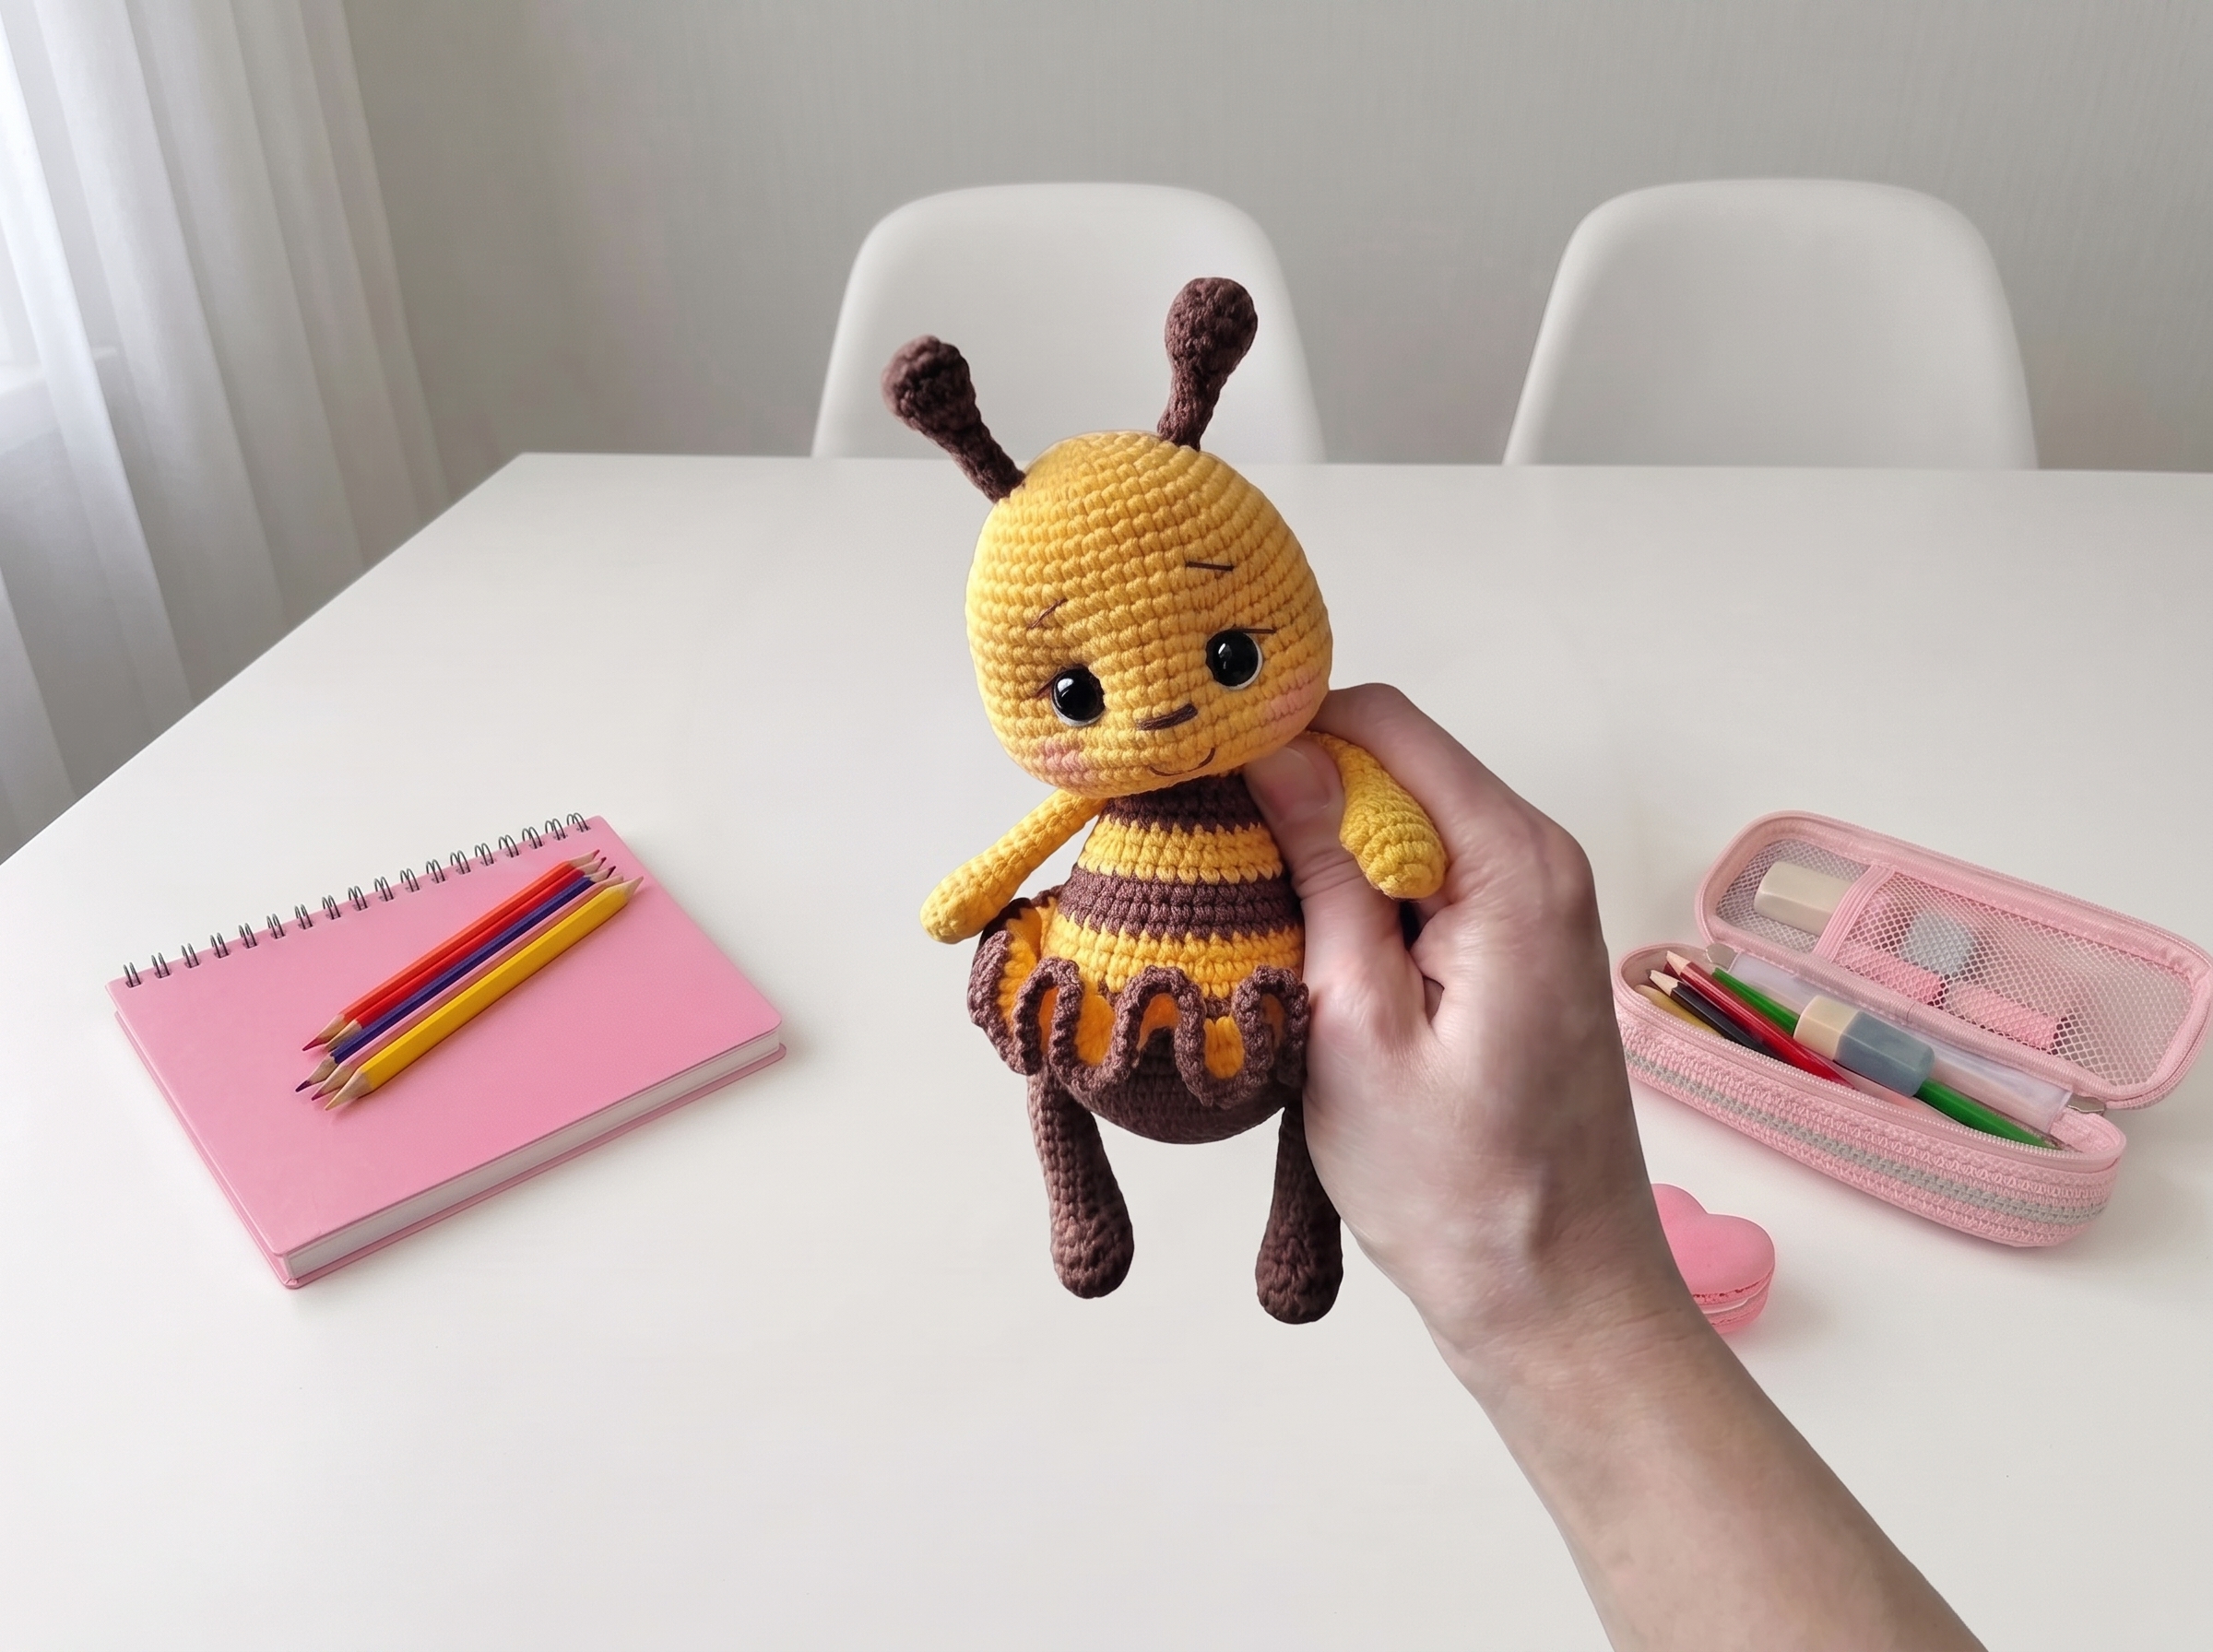
Adorable Amigurumi Ladybug – Complete Step-by-Step Pattern
1. Materials & Abbreviations
Let's gather our supplies! This little bug works up quickly, and using a smooth cotton blend will give those cute little details crisp, beautiful stitch definition.
- Yarn: YarnArt Jeans (or similar cotton blend, approx. 160m / 50g).
- Graphite (Color #28) for the head, body, limbs, and spots.
- Red (Color #26) for the wings and lower body.
- White (Color #62) for the eye highlights.
- Hook: 2.0 mm (or the size needed to achieve a tight, stuff-proof gauge).
- Notions: 10 mm safety eyes, poly-fil stuffing, long tapestry needle, black embroidery floss, scissors, stitch marker, and 2 tiny red beads (optional, for decorating the horns).
- Abbreviations:
- MR – magic ring
- ch – chain
- sc – single crochet
- hdc – half double crochet
- inc – increase (2 sc in one stitch)
- dec – decrease (2 sc crocheted together)
- sl st – slip stitch
What you'll master: Proper tool selection for fine cotton yarns, gauge management, and familiarization with standard international crochet abbreviations.
2. Head
The head is worked in a continuous spiral, featuring a clever increase sequence to create those signature chubby ladybug cheeks, followed by structured decreases to shape the face.
- R1 (Graphite): 6 sc in MR (6)
- R2: 6 inc (12)
- R3: (1 sc, inc) x 6 (18)
- R4: 1 sc, inc, (2 sc, inc) x 5, 1 sc (24)
- R5: (3 sc, inc) x 6 (30)
- R6: 2 sc, inc, (4 sc, inc) x 5, 2 sc (36)
- R7: 36 sc (36)
- R8: (5 sc, inc) x 6 (42)
- R9: 42 sc (42)
- R10: 3 sc, inc, (6 sc, inc) x 5, 3 sc (48)
- R11: 48 sc (48)
- R12: (7 sc, inc) x 6 (54)
- R13-16: 54 sc (54) [4 rows]
- R17 (Cheek Shaping): 17 sc, (1 sc, inc) x 3, 8 sc, (inc, 1 sc) x 3, 17 sc (60)
- R18-20: 60 sc (60) [3 rows]
- R21: (3 sc, dec) x 12 (48)
- R22: 3 sc, dec, (6 sc, dec) x 5, 3 sc (42)
- R23: (5 sc, dec) x 6 (36)
- Important detail: Insert 10 mm safety eyes between R15 and R16, spaced exactly 7 stitches apart.
- R24: 2 sc, dec, (4 sc, dec) x 5, 2 sc (30)
- R25: (3 sc, dec) x 6 (24)
- R26: 1 sc, dec, (2 sc, dec) x 5, 1 sc (18)
- Finishing: Fasten off, leaving a tail. Stuff the head firmly, paying special attention to plumping up those adorable cheeks!
What you'll master: Spiral increase sequences, strategic cheek shaping, and precise safety eye placement.
3. Body
The body transitions beautifully from graphite to red, mimicking the classic ladybug color split, and tapers down to a neat, rounded base.
- R1 (Graphite): 6 sc in MR (6)
- R2: 6 inc (12)
- R3: (1 sc, inc) x 6 (18)
- R4: 1 sc, inc, (2 sc, inc) x 5, 1 sc (24)
- R5: (3 sc, inc) x 6 (30)
- R6: 2 sc, inc, (4 sc, inc) x 5, 2 sc (36)
- R7: (5 sc, inc) x 6 (42)
- R8: 3 sc, inc, (6 sc, inc) x 5, 3 sc (48)
- R9: (7 sc, inc) x 6 (54)
- R10-13: 54 sc (54) [4 rows]
- R14: (7 sc, dec) x 6 (48)
- R15: 48 sc in BLO (48) [This creates a neat ridge for the color change]
- Change to Red Yarn.
- R16: 3 sc, dec, (6 sc, dec) x 5, 3 sc (42)
- R17: 42 sc (42)
- R18: (5 sc, dec) x 6 (36)
- R19-20: 36 sc (36) [2 rows]
- R21: 2 sc, dec, (4 sc, dec) x 5, 2 sc (30)
- R22-23: 30 sc (30) [2 rows]
- R24: (3 sc, dec) x 6 (24)
- R25-26: 24 sc (24) [2 rows]
- R27: 1 sc, dec, (2 sc, dec) x 6, 1 sc (18)
- R28: 18 sc (18)
- Finishing: Fasten off, leaving a long tail for sewing. Stuff the body firmly before closing.
What you'll master: Clean mid-project color changes, utilizing BLO for structural definition, and structured torso decreasing.
4. Horns (Make 2)
These little antennae add so much personality! We'll stuff them firmly so they stand up proudly.
- R1 (Graphite): 6 sc in MR (6)
- R2: 6 inc (12)
- R3-4: 12 sc (12) [2 rows]
- R5: 6 dec (6)
- Important detail: Stuff this part very firmly so the horn holds its shape.
- R6-9: 6 sc (6) [4 rows]
- Finishing: Fasten off, leaving a long tail. Sew them symmetrically to the head, right around rows 4 and 5. (Feel free to glue a tiny red bead to the tip of each for an extra cute touch!)
What you'll master: Micro-amigurumi techniques and dense stuffing for structural stability.
5. Arms (Make 2)
The arms feature a sweet little "paw" detail created with a puff stitch, giving the ladybug a friendly, waving appearance.
- R1 (Graphite): 6 sc in MR (6)
- R2: 6 inc (12)
- R3-4: 12 sc (12) [2 rows]
- R5: 1 puff stitch (3 hdc with a common top), 11 sc (12)
- R6: 12 sc (12)
- R7: (1 sc, dec) x 4 (8)
- Important detail: Stuff the hand lightly so it remains flexible.
- R8-15: 8 sc (8) [8 rows]
- Finishing: Stuff the arm up to R11. Fold the top opening in half and work 4 sc through both layers to close it flat. Leave a long tail, and sew the arms to the sides of the body, right between rows 27 and 28.
What it teaches: Creating textured puff stitches, partial stuffing for natural limb articulation, and flat-folding techniques for seamless closures.
6. Legs (Make 2)
The legs are shaped with a slightly flattened base, giving the ladybug a stable, sitting posture.
- R1 (Graphite): 6 sc in MR (6)
- R2: 6 inc (12)
- R3: (1 sc, inc) x 6 (18)
- R4: 18 sc (18)
- R5: 5 sc, 4 dec, 5 sc (14)
- R6: 5 sc, 2 dec, 5 sc (12)
- R7: 5 sc, 1 dec, 5 sc (11)
- R8-16: 11 sc (11) [9 rows]
- Finishing: Stuff the leg up to R10. Work 2 shift stitches to align the seam, then fold the top opening in half and work 5-6 sc through both layers to close it flat. Leave a long tail, and sew the legs to the lower front of the body, between rows 11 and 12.
What you'll master: Progressive limb decreasing, partial stuffing for a natural drape, and flat-folding techniques for seamless closures.
7. Wings & Spots
The iconic ladybug wings are worked flat, folded, and seamed, while the spots are tiny, quick circles that bring the whole look together.
Wings (Make 2, Red Yarn):
- R1: 6 sc in MR (6)
- R2: 6 inc (12)
- R3: (1 sc, inc) x 6 (18)
- R4: 1 sc, inc, (2 sc, inc) x 5, 1 sc (24)
- R5: (3 sc, inc) x 6 (30)
- R6-10: 30 sc (30) [5 rows]
- R11: (3 sc, dec) x 6 (24)
- R12-14: 24 sc (24) [3 rows]
- R15: 1 sc, dec, (2 sc, dec) x 5, 1 sc (18)
- R16-18: 18 sc (18) [3 rows]
- R19: (1 sc, dec) x 6 (12)
- R20: 12 sc (12)
- Finishing: Fold the wing perfectly in half and work 6 sc through both layers to close the straight edge. Fasten off and hide the tail.
Spots (Graphite Yarn):
- Small Spots (Make 4): 6 sc in MR. Fasten off, leaving a tail.
- Large Spots (Make 2): 6 sc in MR, 6 inc (12). Fasten off, leaving a tail.
- Assembly: Sew the spots onto the red wings in a classic, asymmetrical ladybug pattern.
What you'll master: Working flat semi-circles, folding and seaming for 3D shapes, and rapid micro-amigurumi detailing.
8. Final Assembly & Embroidery
Now for the magic moment where your ladybug truly comes to life!
- Head to Body: Sew the head securely to the top of the body using the long tail left on the body. Ensure the stuffing is firm and evenly distributed.
- Facial Details: Using white embroidery floss, stitch a tiny highlight in the upper outer corner of each safety eye. Use black floss to embroider delicate, curved eyelashes and sweet little eyebrows above the eyes.
- Wings: Pin the wings to the back of the body (around rows 14-18 of the body) to check the placement. Sew them down securely along the folded inner edge.
- Final Fluff: Give those cheeks a gentle squeeze, adjust the horns, and admire your handiwork!
What you'll master: Multi-step structural assembly, surface embroidery for expressive facial features, and professional finishing techniques.
Final Section: Where to Go from Here
Congratulations! By completing this adorable ladybug, you have mastered foundational spiral shaping, clever cheek sculpting, and intricate multi-part assembly. This project is a fantastic confidence-builder and makes the perfect handmade gift.
From here, try experimenting with different colorways to create a whole "garden friends" collection (hello, striped bees and green caterpillars!), or adapt the wing technique to design custom butterfly or dragonfly accessories. Happy crocheting!