August 21, 2026
Bolshish Bear – A Cute, Chunky Amigurumi Bear Pattern
**Excerpt:** Meet Bolshish, an adorable, slightly chunky amigurumi bear with a sweet expression and poseable limbs! This pattern is an absolute joy to make, featuring seamless limb attachment and a cleverly sculpted muzzle. Perfect for intermediate crocheters looking to create a cuddly new friend for themselves or a loved one.
Jump to pattern instructions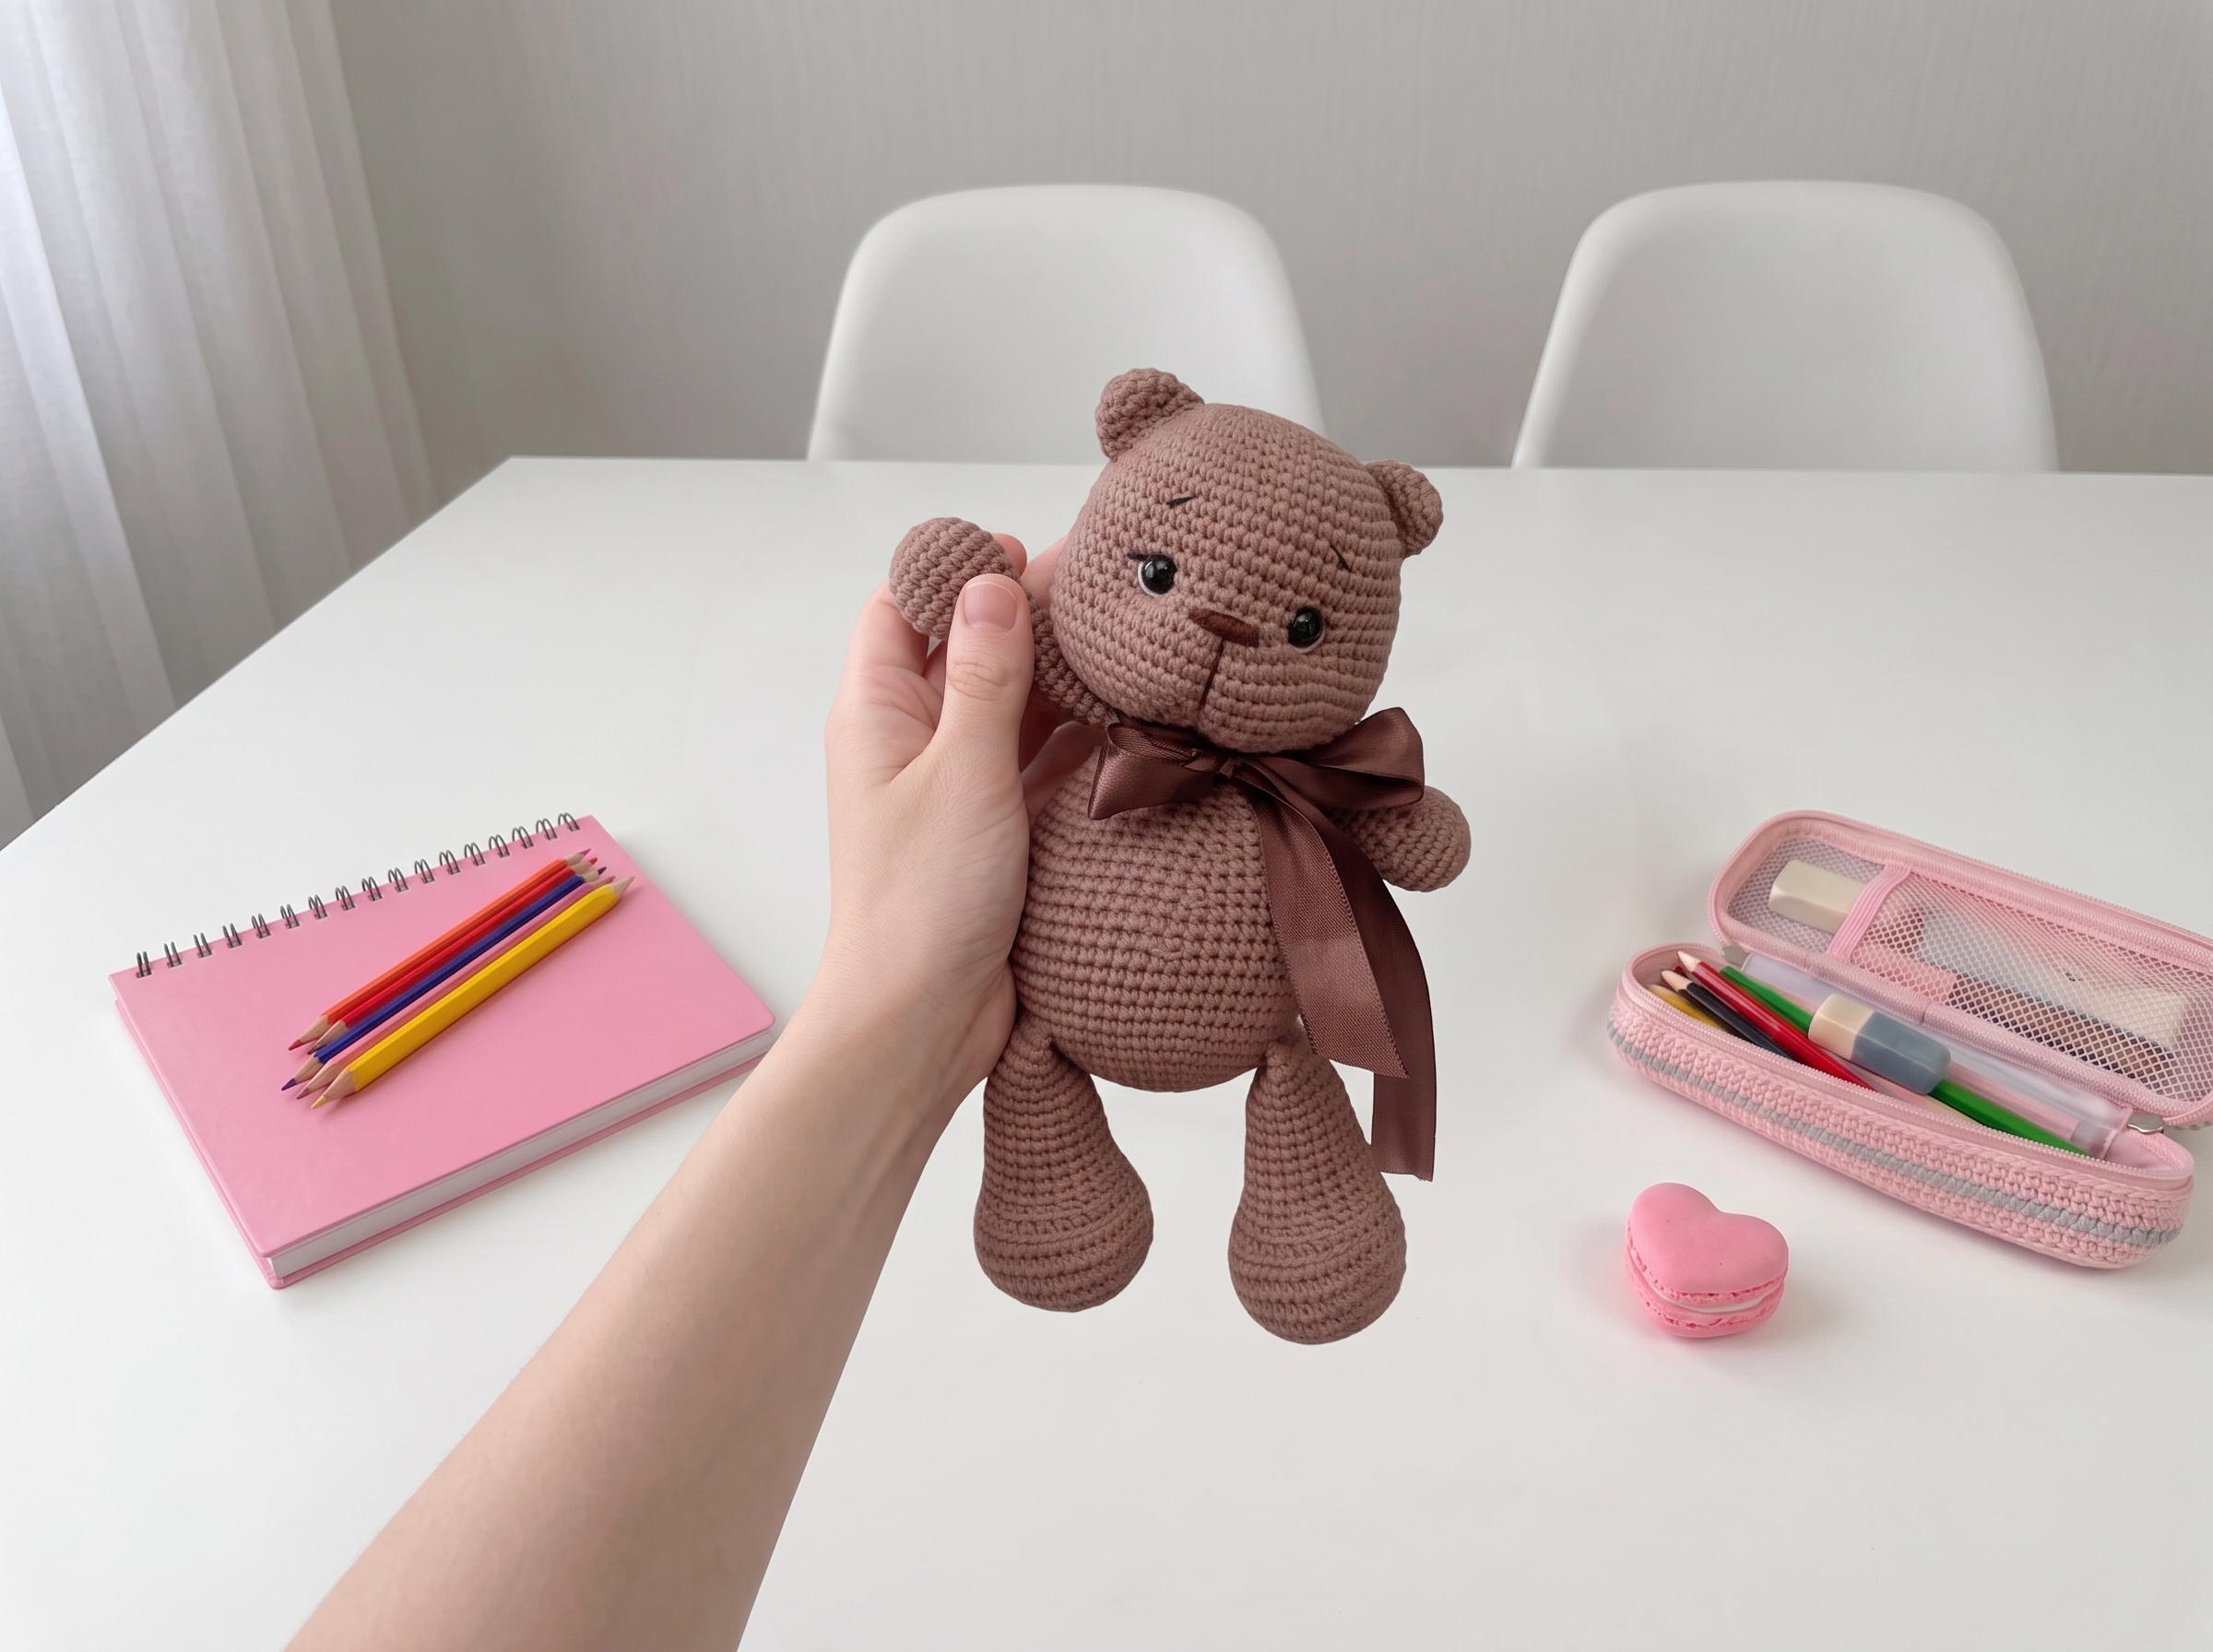
Bolshish Bear – Complete Step-by-Step Pattern
Original design by Darya Titova. Let’s get our hooks ready and bring this little guy to life!
1. Materials & Abbreviations
Grab your favorite cotton blend yarn and a cozy spot on the couch. Using a tight gauge is the secret to keeping your bear’s stuffing safely inside!
- Yarn: YarnArt Jeans (or similar cotton blend, approx. 160m/50g). You'll need White (or your favorite main color), plus small amounts of black and brown embroidery thread for his sweet little face.
- Hook: 2.0 mm (or a size that gives you a tight, stuff-proof gauge).
- Notions: 10 mm safety eyes, poly-fil stuffing, tapestry needle, stitch marker, and scissors.
- Abbreviations:
- MR – magic ring
- sc – single crochet
- inc – increase (2 sc in one stitch)
- dec – decrease (2 sc crocheted together)
- sl st – slip stitch
2. Lower Paws / Legs (Make 2)
We’re starting from the bottom up! These legs have a lovely, rounded foot that gives the bear a stable, seated posture.
- R1: 8 sc in MR (8)
- R2: 8 inc (16)
- R3: (1 sc, inc) x 8 (24)
- R4: (2 sc, inc) x 8 (32)
- R5: (3 sc, inc) x 8 (40)
- R6-9: 40 sc (4 rows)
- R10: 12 sc, 8 dec, 12 sc (32)
- R11: 8 sc, 8 dec, 8 sc (24)
- R12-21: 24 sc (10 rows)
- Finishing: Stuff the paw firmly. Fold the top opening in half and work 12 sc through both layers to close it flat. Sl st, cut yarn, and weave in the end.
Tip: When folding the top flat, make sure the seam aligns nicely with the back of the leg for a natural look!
3. Upper Paws / Arms (Make 2)
These arms are wonderfully chunky and will look so cute hugging a honey pot (or just hanging by his sides).
- R1: 6 sc in MR (6)
- R2: 6 inc (12)
- R3: (1 sc, inc) x 6 (18)
- R4: (2 sc, inc) x 6 (24)
- R5-7: 24 sc (3 rows)
- R8: (2 sc, dec) x 6 (18)
- R9: (1 sc, dec) x 6 (12)
- R10-17: 12 sc (8 rows)
- Finishing: Stuff lightly. Fold the top in half and work 6 sc through both layers. Sl st, cut yarn.
4. Body
The body is worked in the round, and we’ll be attaching the legs and arms directly as we go. This creates such a sturdy, seamless joint!
- R1: 6 sc in MR (6)
- R2: 6 inc (12)
- R3: (1 sc, inc) x 6 (18)
- R4: (2 sc, inc) x 6 (24)
- R5: (3 sc, inc) x 6 (30)
- R6: (4 sc, inc) x 6 (36)
- R7: (5 sc, inc) x 6 (42)
- R8: (6 sc, inc) x 6 (48)
- R9: (7 sc, inc) x 6 (54)
- R10: (8 sc, inc) x 6 (60)
- R11 (Attach Legs): 10 sc, work 12 sc together with the first leg, 16 sc, work 12 sc together with the second leg, 10 sc (60)
- R12-16: 60 sc (5 rows)
- R17: (8 sc, dec) x 6 (54)
- R18-19: 54 sc (2 rows)
- R20: (7 sc, dec) x 6 (48)
- R21-22: 48 sc (2 rows)
- R23: (6 sc, dec) x 6 (42)
- R24-25: 42 sc (2 rows)
- R26: (5 sc, dec) x 6 (36)
- R27: 36 sc
- R28: (4 sc, dec) x 6 (30)
- R29: 30 sc
- R30: (3 sc, dec) x 6 (24)
- R31 (Attach Arms): 5 sc, work 6 sc together with the first arm, 7 sc, work 6 sc together with the second arm (24)
- Finishing: Sl st, cut yarn, and weave in the end. Stuff the body firmly before moving on to the head.
5. Head
The head features a clever increase round that creates a subtle, chubby cheek area. I just love how this shapes the face!
- R1: 6 sc in MR (6)
- R2: 6 inc (12)
- R3: (1 sc, inc) x 6 (18)
- R4: (2 sc, inc) x 6 (24)
- R5: (3 sc, inc) x 6 (30)
- R6: (4 sc, inc) x 6 (36)
- R7: (5 sc, inc) x 6 (42)
- R8: (6 sc, inc) x 6 (48)
- R9: (7 sc, inc) x 6 (54)
- R10: (8 sc, inc) x 6 (60)
- R11-16: 60 sc (6 rows)
- R17: 30 sc, 6 inc, 30 sc (66)
- (Note: The original pattern text had a slight math typo here, but 30 + 6 + 30 gives us the correct 66 stitches!)
- R18-21: 66 sc (4 rows)
- R22: (9 sc, dec) x 6 (60)
- R23: (8 sc, dec) x 6 (54)
- R24: (7 sc, dec) x 6 (48)
- R25: (6 sc, dec) x 6 (42)
- R26: (5 sc, dec) x 6 (36)
- R27: (4 sc, dec) x 6 (30)
- R28: (3 sc, dec) x 6 (24)
- Finishing: Stuff the head firmly. Fasten off, leaving a long tail for sewing to the body.
6. Ears (Make 2)
Simple, perky little ears that fold over just right.
- R1: 6 sc in MR (6)
- R2: 6 inc (12)
- R3-4: 12 sc (2 rows)
- Finishing: Fold in half and work 6 sc through both layers. Sl st, leaving a long tail for sewing.
7. Assembly & Facial Features
Now for the magic moment where your bear gets his personality!
- Eyes: Insert the 10 mm safety eyes just above the increase rounds on the head. Give them a little space so he has a sweet, gentle gaze.
- Ears: Sew the ears to the top sides of the head.
- Muzzle & Embroidery: This is where the magic happens! Use your black and brown embroidery thread to sculpt the muzzle. Embroider a cute little nose, add some white "eye whites" to give his eyes a spark of life, and stitch some delicate eyelashes and expressive eyebrows.
- Final Join: Sew the head securely to the body using the long tail you left.
Tip: Take your time with the facial embroidery. A few extra stitches for eyebrows or a slight yarn-sculpted indent on the muzzle can make the bear look incredibly lifelike and expressive!
Final Section: Where to Go from Here
Congratulations, you’ve just crocheted Bolshish! There is something so special about watching a pile of yarn turn into a cuddly companion. This pattern is a wonderful exercise in seamless limb attachment and facial embroidery.
From here, try experimenting with different yarn colorways—maybe a brown bear with a honey-colored tummy, or a pastel bear for a nursery. You can also use the basic body and head proportions to design your own woodland friends, like a fox or a bunny. Happy crocheting, and don't forget to share your finished bears with the community!