September 26, 2026
Cozy Knit-Look Throw Blanket Pattern
There is something incredibly soothing about a blanket that looks like it was hand-knitted, even if you only know how to crochet. This cozy throw features a rich, sweater-like texture that drapes beautifully over the back of a couch or the foot of a bed. It is the ultimate comfort project. The stitch pattern is so simple and repetitive that you can easily work on it while watching your favorite movie or listening to a podcast. Grab your favorite neutral yarn, and let us create a timeless piece for your home together.
Jump to pattern instructions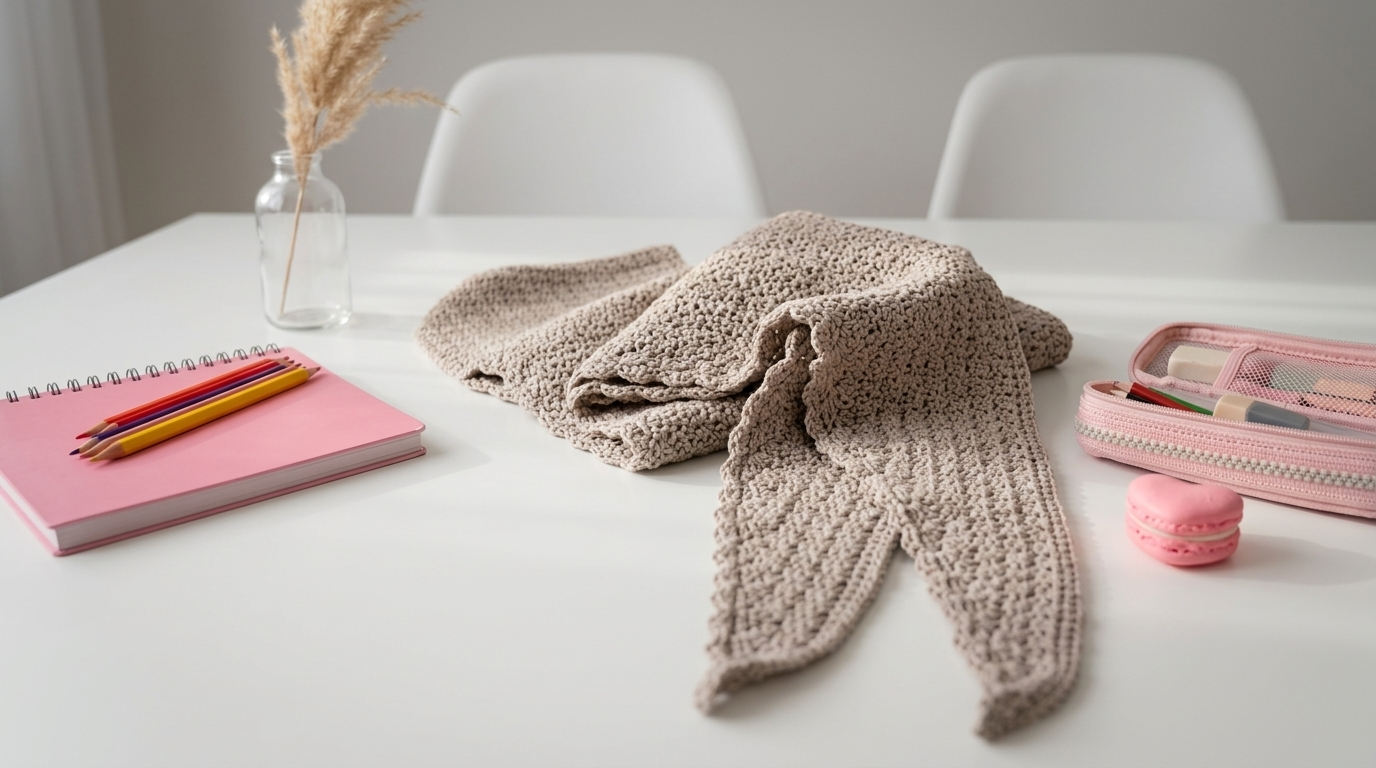
Cozy Knit-Look Throw Blanket Pattern
Difficulty: Beginner friendly (a perfect project for mastering consistent tension)
Finished Size: Approximately 50 inches wide by 60 inches long (Standard Throw size). Easily adjustable by changing your foundation chain.
Time to Complete: 2 to 3 weeks of relaxed evening crocheting.
What You Will Need
Yarn:
- Worsted weight (Size 4) yarn. A soft acrylic, wool blend, or cotton-acrylic mix works beautifully for this. You want something with a bit of loft to make the texture pop.
- You will need approximately 1,800 to 2,200 yards (about 6 to 8 standard skeins).
- Tip: Choose a solid, light, or medium color. Very dark colors can hide this specific texture, and variegated yarns might make it look busy. A warm oatmeal, taupe, or soft grey is perfect.
Tools:
- 6.0 mm (J/10) or 6.5 mm (K/10.5) crochet hook. Using a slightly larger hook than recommended for your yarn will give the blanket a lovely, soft drape.
- Yarn needle with a large eye for weaving in ends.
- Sharp scissors.
- Stitch markers (optional, but helpful for finding your first and last stitches).
The Basics (US Terms)
- ch = chain
- hdc = half double crochet
- sl st = slip stitch
- 3rd loop = the horizontal bar located just behind the standard "V" of the half double crochet stitch. (I will explain exactly how to find this in the instructions).
Let Us Get Started
The magic of this blanket lies in a simple trick: working your stitches into the "third loop" of the half double crochet. This pushes the front loops forward, creating a texture that looks exactly like stockinette knitting.
The Foundation Chain: Chain 102. Tip: Chain loosely. If you tend to chain tightly, use a hook one size larger just for this first row, then switch back to your main hook. A tight foundation chain will make the edges of your blanket pucker.
Row 1: Setting the Base
- Work 1 half double crochet (hdc) in the 3rd chain from your hook.
- Work 1 hdc in every chain across the row. (You should have 100 stitches).
- Chain 2 and turn your work. Note: The chain 2 at the beginning of each row does not count as a stitch. We will work directly into the first stitch.
Row 2 and Beyond: The Knit Stitch
This is where the magic happens. Look closely at the top of your hdc stitches from the previous row. You will see the usual "V" shape. Directly behind that "V", there is another horizontal bar running across the front of your work. That is the third loop.
- Insert your hook under only that third horizontal loop (leave the front "V" loops untouched on top).
- Yarn over, pull up a loop, yarn over, and pull through all 3 loops on your hook. This is your first hdc in the third loop.
- Continue working 1 hdc in the third loop of every stitch across the row.
- When you reach the end, make sure you work into the very last stitch (it can be easy to miss!).
- Chain 2 and turn your work.
Repeat Row 2 until your blanket measures approximately 60 inches long, or until you have used up all your yarn.
Finishing the Last Row: When you reach your desired length, work one final row of standard half double crochets (inserting your hook under both loops of the "V", just like in Row 1). This creates a clean, sturdy top edge that matches your foundation row.
Cut the yarn, leaving a 6-inch tail. Pull it through the last loop to secure it.
The Border (Optional but Recommended)
Because this stitch naturally creates a beautiful, rolled edge, you can actually leave the blanket exactly as it is for a very modern, minimalist look. However, if you prefer a flat, finished edge, here is a simple border.
- Join your yarn to any corner of the blanket.
- Chain 1. Work single crochets evenly all the way around the blanket.
- Aim for about 2 or 3 single crochets for every row end along the sides, and 1 single crochet for every stitch along the top and bottom.
- Work 3 single crochets in each corner to keep the edges flat.
- Join with a slip stitch to the first single crochet. Fasten off and weave in your ends.
A Few Friendly Tips
- Finding the third loop: It can feel a bit tricky for the first few rows. Turn your work sideways and look at the top of the stitch. You will see the V, and right behind it, a little shelf or bar. Hook under that shelf. Once your hands learn the rhythm, it becomes incredibly soothing.
- Counting your stitches: It is very easy to accidentally drop a stitch at the end of a row when working in the third loop. I highly recommend placing a stitch marker in the very first and very last stitch of every row until you get the hang of it.
- Weaving in ends: Because the texture is so dense and bumpy, weaving in your ends is actually quite easy. Thread your tail onto a yarn needle and weave it horizontally through the back bumps of the stitches. It will hide perfectly.
- Blocking: This blanket does not strictly require blocking, but if your edges are a little uneven, you can lightly steam it. Hover a steam iron over the fabric (do not press down) to relax the fibers and even out the tension.
I really hope you enjoy making this blanket. It is one of those rare projects that is as relaxing to make as it is to use. The repetitive motion is wonderful for clearing your mind, and the result is a cozy, timeless piece you will reach for every single day.
If you run into any trouble finding that third loop or just want to share a picture of your finished throw, please reach out. I love seeing what you create.
Happy crocheting.