August 21, 2026
Flowers Jumper – A Cozy, Textured Knit with a Beautiful Central Motif
Welcome to the Flowers Jumper! This relaxed-fit, straight-silhouette sweater features a gorgeous dropped sleeve, a classic round neckline, and a stunning central diamond motif framed by a classic double moss stitch. It’s a rewarding project for intermediate knitters ready to master seamless construction, short-row shaping, and professional finishing.
Jump to pattern instructions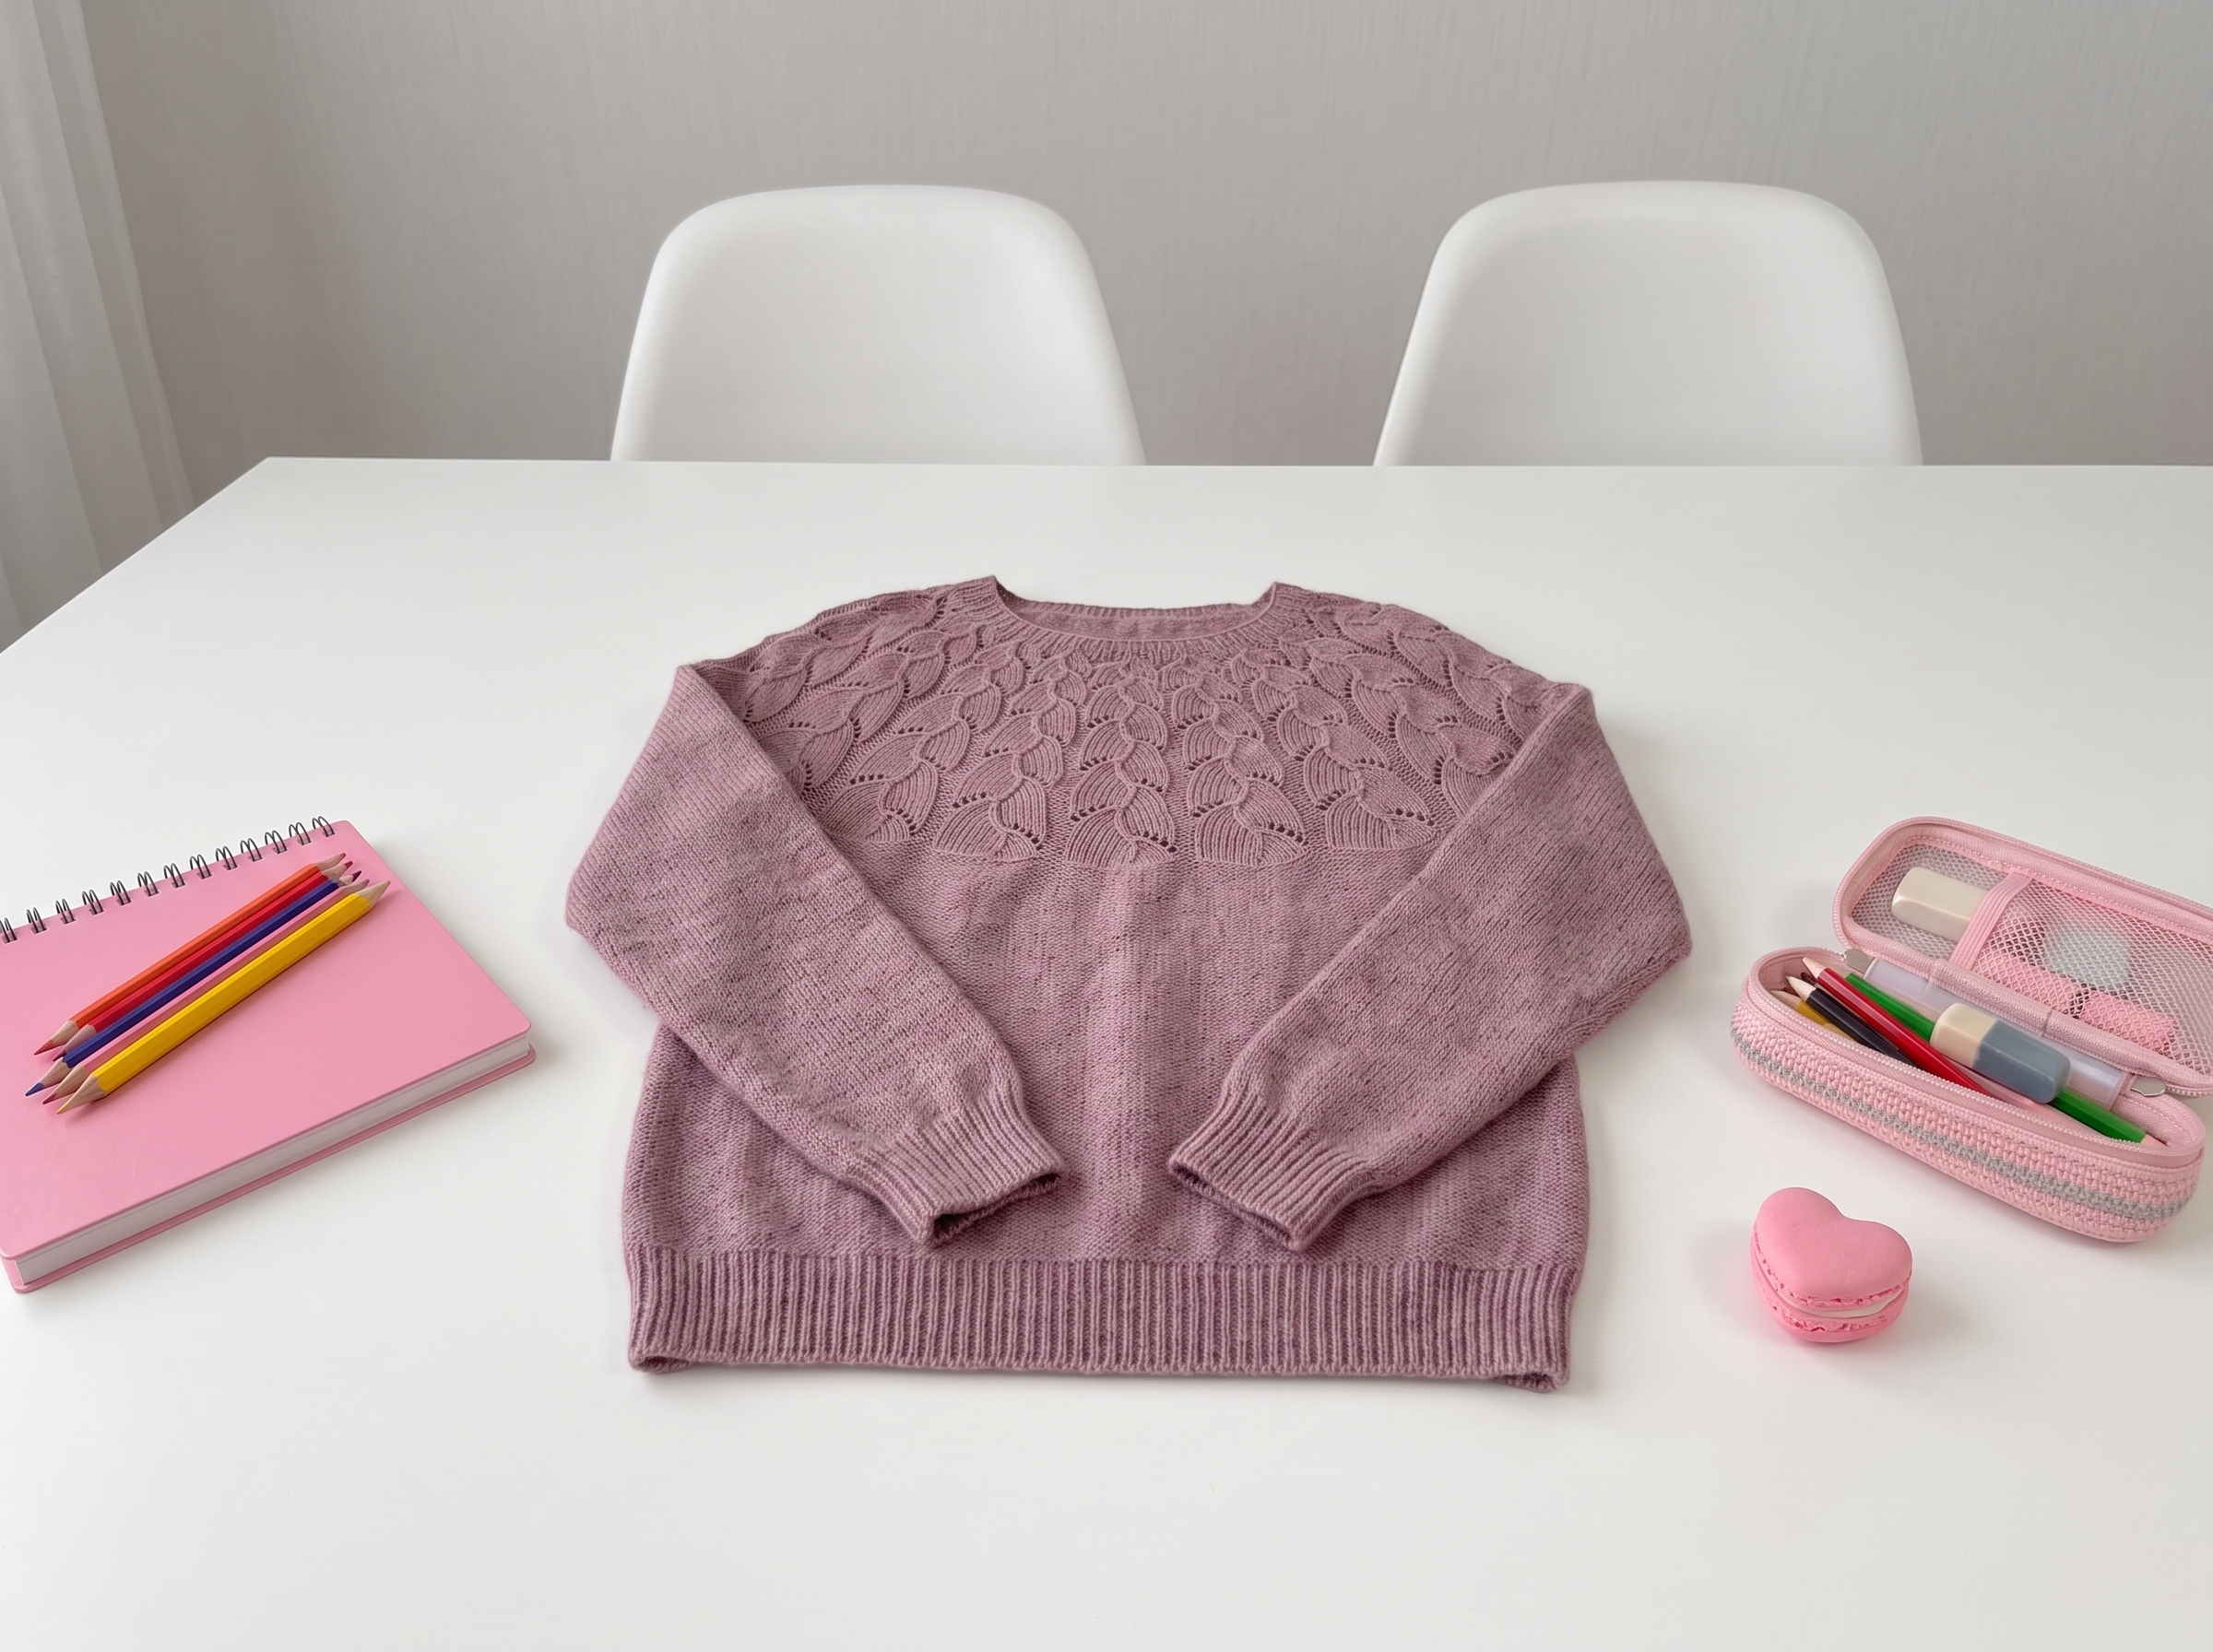
Flowers Jumper – Complete Step-by-Step Knitting Pattern
1. Gathering Your Supplies
Let’s get everything ready! This sweater is all about beautiful drape and texture, so choosing a yarn you love to work with is half the fun. The original design uses a lovely cotton-blend, but any yarn that hits the gauge will work beautifully.
- Yarn: Nako Calico (or any similar yarn matching the gauge).
- Size S: 4 skeins
- Size M: 4.5 skeins
- Size L: 5.5 skeins
- Needles:
- 4.5 mm circular needles (for the main body)
- 3.5 mm circular needles (for the ribbing, cuffs, and neckline)
- 3.0 mm circular needles (optional, for a flawless "false kitchener" neckline)
- Notions: Tapestry needle, scissors, contrast waste yarn, stitch markers, measuring tape, and a 3.0–3.5 mm crochet hook.
- Gauge: 19 stitches x 26 rows = 10 x 10 cm (4" x 4") in the "double moss" stitch on 4.5 mm needles, after washing and blocking.
- Pro Tip: Please, please knit a swatch and block it! Natural fibers and blends change significantly after their first bath, and you want your sweater to fit perfectly on day one.
What you'll master: Accurate gauge swatching, understanding the importance of wet blocking, and selecting the right tools for a professional finish.
2. Abbreviations & Special Techniques
Before we dive in, let’s quickly review a few terms. If you're new to any of these, don't worry—they are easier than they look, and you'll be a pro by the time we reach the sleeves!
- МНР (BOR): Beginning of Round marker
- Лиц.п (k): Knit stitch
- Изн.п (p): Purl stitch
- Double Moss Stitch: A beautiful, reversible texture. (In the round: alternate k1, p1 on odd rounds, and p1, k1 on even rounds. Flat: knit the knits and purl the purls on RS; on WS, knit the purls and purl the knits).
- Wrap & Turn (Short Rows): Used to shape the shoulders smoothly. We'll wrap the stitch before turning to prevent holes, then pick up that wrap on the way back to hide it seamlessly.
3. The Body (Bottom-Up)
We’re starting at the bottom hem and working our way up in the round. This gives the sweater a clean, seamless look right from the start.
- Cast On: Using your 3.5 mm needles, cast on 182 (200, 218) stitches + 1 stitch for joining in the round.
- Ribbing: Work 10 rows (about 4 cm) in twisted 1x1 ribbing. This creates a snug, professional-looking hem that won't flare.
- Transition: Switch to your 4.5 mm needles.
- Setup Row: We’re going to set up the beautiful central motif! The central pattern consists of 70 stitches. Place your BOR marker, work 10 (15, 20) stitches in double moss, place a marker, work the 70-stitch central chart, place a marker, and work the remaining 102 (115, 128) stitches in double moss to the end of the round.
- Body: Continue working in the round, following the chart for the central motif and maintaining the double moss stitch on the sides, until the piece reaches your desired length to the armholes.
- Note: The pattern suggests a specific number of chart repeats, but feel free to try it on and add or remove length to suit your personal style!
What you'll master: Seamless circular knitting, reading complex textured charts, and customizing garment length.
4. Dividing for Front and Back
Now it’s time to shape the top of the sweater! We’ll split the work and knit the front and back flat, which allows us to create beautiful armhole and neckline shaping.
- Division: Place markers to divide your stitches into the Front (90, 100, 108 sts) and the Back (92, 100, 110 sts).
- Front: We’ll start with the front. Transfer the back stitches to a piece of waste yarn or a spare cable.
- Edge Stitches: For a clean finish that makes seaming a breeze, we’ll use a special edge stitch: slip the first stitch purlwise, and knit the last stitch of every row.
What you'll master: Transitioning from circular to flat knitting and preparing pieces for seamless assembly.
5. Shaping the Front & Back
This is where the sweater truly takes shape. Don't be intimidated by the decreases and short rows; we’re just sculpting the fabric to fit your body beautifully.
Armhole Decreases:
- Work the established pattern, decreasing 1 stitch at each edge on the first few rows to create a gentle, curved armhole.
Neckline Shaping:
- Once the armholes are established, we’ll bind off the center stitches to create the neck opening.
- Then, we’ll work each shoulder separately, decreasing at the neck edge every few rows to create a soft, sloping curve.
Shoulder Slope (Short Rows):
- To prevent the shoulders from gaping, we’ll use short rows (Wrap & Turn). We’ll work partway across the shoulder, wrap the next stitch, and turn. On the way back, we’ll work past the wrap, turn again, and repeat until all shoulder stitches are incorporated.
- Don't worry if it looks a little messy right now! Once blocked, those wraps will disappear, leaving a perfectly smooth, tailored slope.
- Repeat: Do the exact same process for the Back piece, adjusting the neckline depth as specified in the pattern.
What you'll master: Professional armhole shaping, neckline binding, and the magic of short rows for custom-fit shoulders.
(Note: The pattern provides specific row-by-row instructions for Sizes S, M, and L. Be sure to follow the numbers in parentheses that correspond to your chosen size!)
6. Shoulder Seams
Let’s bring the front and back together!
- Turn the sweater inside out. Align the front and back shoulder stitches.
- You can use the 3-Needle Bind-Off method for a sturdy, invisible seam, or use a crochet hook to slip-stitch the live stitches together. Both methods create a beautiful, flat join that won't stretch out of shape.
What you'll master: Joining live stitches for a clean, professional shoulder seam.
7. The Neckline
A well-finished neckline makes all the difference between a "homemade" and a "handcrafted" garment. We’re going to use a clever pickup method for a flawless result.
- Tambour Chain Pickup: Using a 3.0–3.5 mm crochet hook, work a chain of slip stitches evenly around the entire neck edge (into every stitch on the straight edges, and into every row on the vertical edges). Don’t cut the yarn!
- False Kitchener: Switch to your 3.5 mm (or 3.0 mm) knitting needles. Pick up stitches through the back bumps of the crochet chain you just made.
- Ribbing: Work 1x1 ribbing for about 8–28 rows (depending on whether you want a narrow band or a cozy mock neck).
- Bind Off: Bind off loosely using an elastic method (like the "backwards loop" or tapestry needle method) so the neckline stretches comfortably over your head.
What you'll master: The tambour chain pickup method and elastic bind-offs for a professional, stretchy neckline.
8. The Sleeves
We’re picking up right from the armholes and working top-down. This means you can easily try the sweater on and adjust the sleeve length to your exact liking!
- Pickup: Using 3.5 mm needles, pick up stitches evenly around the armhole opening (aiming for a 3:2 ratio, or about 64, 68, or 70 stitches depending on your size).
- Sleeve Cap Short Rows: Just like the shoulders, we’ll use a few short rows at the top of the sleeve to create a rounded cap that sits perfectly in the armhole without puckering.
- Sleeve Body: Once the cap is shaped, join in the round and place your BOR marker. Continue working the established pattern, decreasing 2 stitches at the underarm marker every 12–16 rows to taper the sleeve gracefully.
- Cuff: Switch to your 3.5 mm needles. Decrease a few stitches to snug up the circumference, then work 12 rows of twisted 1x1 ribbing. Bind off elastically.
- Repeat: Do the exact same for the second sleeve.
What you'll master: Picking up underarm stitches without gaps, executing short rows for sleeve caps, and tapering sleeves symmetrically.
9. Finishing & Wet Blocking
This is the grand finale, and arguably the most satisfying part of the process!
- Weave in Ends: Take your time weaving in all those tails on the wrong side using a tapestry needle.
- Wash & Block: Submerge your sweater in cool water (no more than 30°C / 86°F) with a gentle wool or delicate wash. Soak for 20 minutes, then gently press out the water. Do not wring or twist! Roll it in a clean towel to absorb excess moisture.
- Shape: Lay the sweater flat on a dry towel or blocking mat. Gently pat and stretch it into its final measurements, paying special attention to opening up the double moss stitch and smoothing out the shoulder short rows.
- Dry: Let it air dry completely away from direct heat or sunlight.
What you'll master: Proper wet blocking techniques that transform textured knitting into a luxurious, boutique-quality garment.
Final Section: Where to Go from Here
Take a deep breath and look at what you’ve just created! By completing the Flowers Jumper, you’ve conquered bottom-up circular construction, complex chart reading, short-row shoulder shaping, and seamless vertical seaming. These are truly advanced, custom-tailoring techniques that will elevate every garment you knit from now on.
Now that you know how to manipulate these shapes, try experimenting with different yarns! A chunky merino would make this an incredibly cozy winter staple, while a crisp linen-cotton blend would make it the ultimate breezy summer cardigan. Happy knitting, and enjoy your beautiful new wardrobe staple!