August 27, 2026
Little Witch Amigurumi – A Spooky-Sweet Crochet Pattern
Welcome to the magical world of amigurumi! This charming Little Witch pattern is an absolute joy to make. Featuring a fully posable wire frame, beautifully textured hair, a classic pointed hat, and even a cute little pumpkin accessory, this project is perfect for intermediate crafters ready to add some magical flair to their handmade collection.
Jump to pattern instructions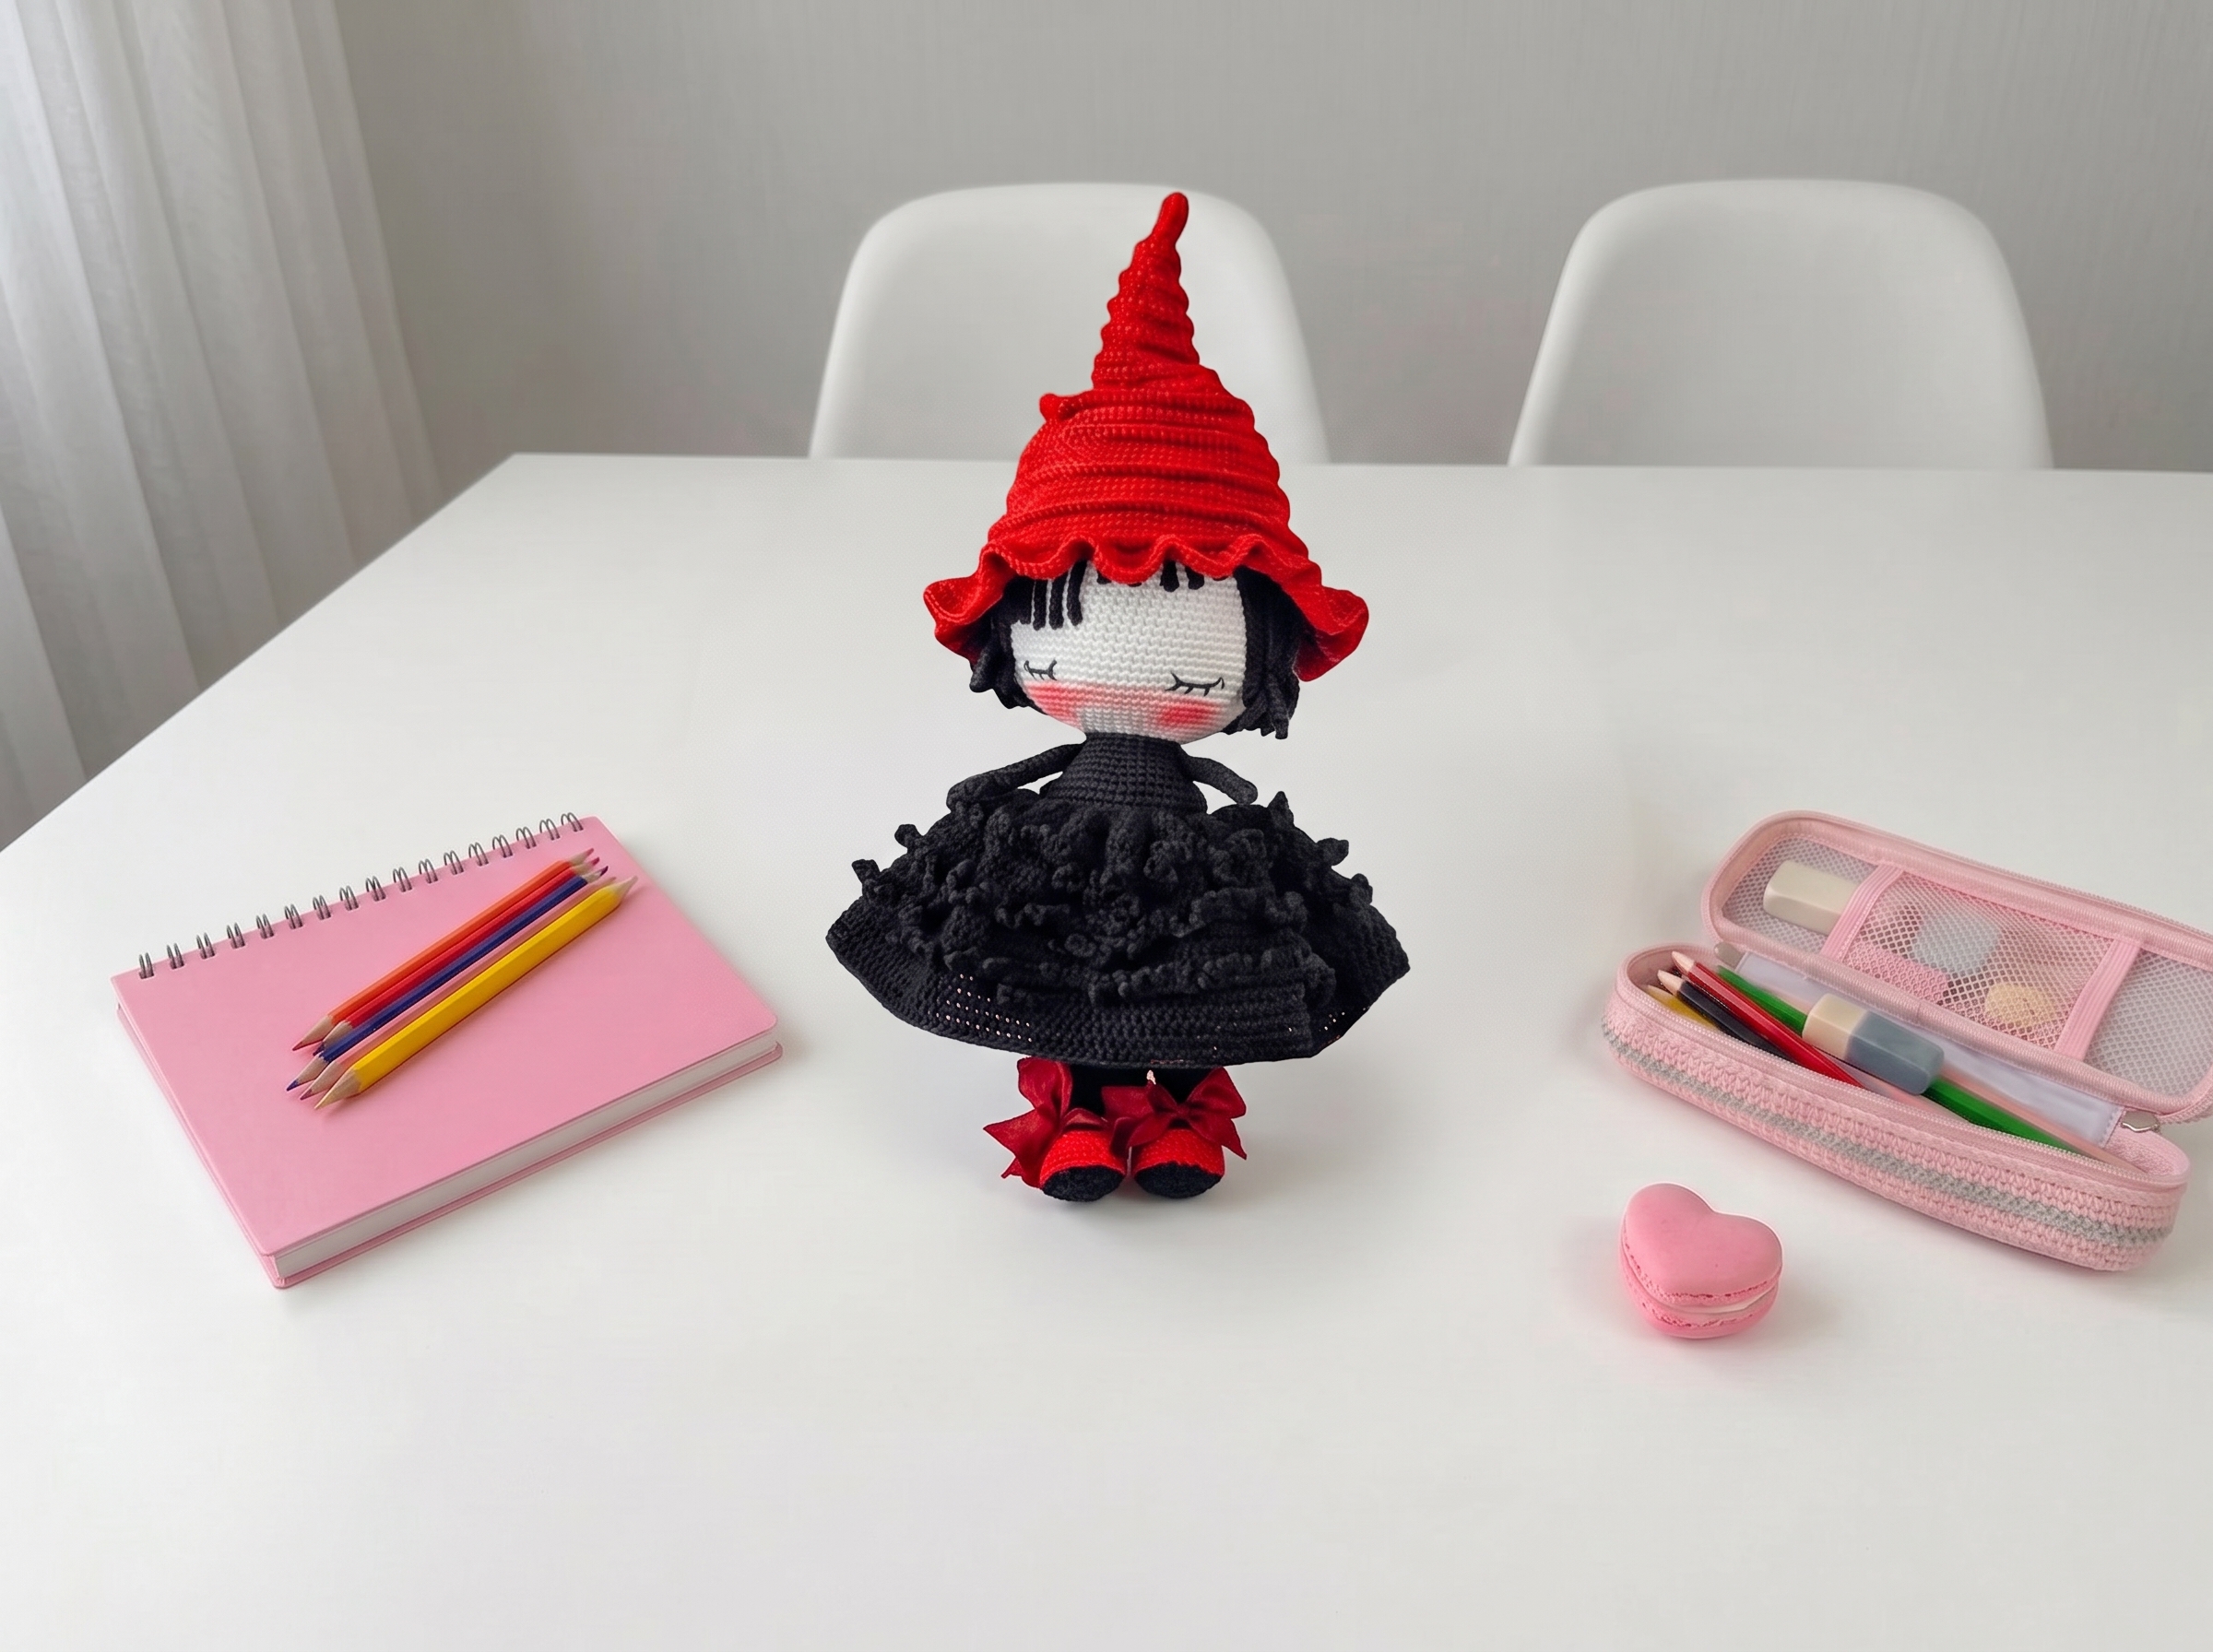
Little Witch Amigurumi – Complete Step-by-Step Pattern
1. Gathering Your Magical Supplies
Let’s get everything ready! Using high-quality cotton blend yarns will give your little witch beautiful stitch definition, making all those tiny outfit details truly pop.
- Yarn: Cotton blends (approx. 160m–330m / 50g–100g). You'll need:
- Light Beige (for skin)
- Dark Blue & Black (for the dress and hat)
- White (for lace and accents)
- Gray & Dark Brown (for shoes and details)
- Khaki & Mustard (for the adorable pumpkin!)
- Hooks: 1.75 mm and 2.0 mm (or sizes needed to achieve a tight, stuff-proof gauge).
- Notions: 6 mm safety eyes (2 pcs), 4 mm & 5 mm safety eyes (for the pumpkin), poly-fil stuffing, 35 cm of 2.5 mm craft wire (for posable limbs), electrical tape, tapestry needle, scissors, sewing pins, hot glue, white lace, white felt or foamiran, and dark brown oil paints or pastels (for those cute freckles and blush!).
Friendly Tip: The pattern mentions a "shifting stitch" (петля смещения). Don't let this sound intimidating! It’s just a clever little trick: at the end of a round, you crochet one extra single crochet and move your marker over by one stitch. This keeps your spiral seam perfectly straight and invisible.
2. Head & Facial Features
We’ll start with the head, working in a continuous spiral to build a beautifully rounded shape.
- R1: 6 sc in MR (6)
- R2: 6 inc (12)
- R3: (1 sc, inc) x 6 (18)
- R4: (2 sc, inc) x 6 (24)
- R5: (3 sc, inc) x 6 (30)
- R6: 2 sc, inc, (4 sc, inc) x 5, 2 sc (36)
- R7: (5 sc, inc) x 6 (42)
- R8: 3 sc, inc, (6 sc, inc) x 5, 3 sc (48)
- R9: (7 sc, inc) x 6 (54)
- R10: 4 sc, inc, (8 sc, inc) x 5, 4 sc (60)
- R11-19: 60 sc (9 rows)
- R20: 25 sc, ch 1, skip 1 st, 8 sc, ch 1, skip 1 st, 25 sc (58)
- Note: These chain spaces create the perfect little openings for her eyes!
- R21: 60 sc (Work 1 sc into each chain space)
- R22-25: 60 sc (4 rows)
- R26: (2 sc, dec) x 15 (45)
- R27: (3 sc, dec) x 9 (36)
- R28: 2 sc, dec, (4 sc, dec) x 5, 2 sc (30)
- R29: (3 sc, dec) x 6 (24)
- R30: (2 sc, dec) x 6 (18)
- R31-38: 18 sc (8 rows) (This forms the neck. Stuff the head firmly before this section!)
Facial Magic: Insert the 6 mm safety eyes into the chain spaces of R20. Use a long tapestry needle to do a little "yarn sculpting" (pulling thread from the back of the head to the corners of the eyes) to give her a sweet, expressive look. Embroider the nose, white eye highlights, and delicate eyebrows. Finally, use a tiny brush and dark brown oil paint (or pastels) to add a sprinkle of freckles and a hint of blush to her cheeks.
3. Hair & The Iconic Witch Hat
The Hair: We’ll build the hair cap first, then add the flowing locks.
- Cap: Work in light beige, starting with 6 sc in MR, increasing evenly to 40 sc by R5.
- Locks: Without cutting the yarn, you’ll chain long strands (e.g., 40 chains), work slip stitches or sc back down the chain, and slip stitch into the next stitch of the cap. You'll make 20 long strands for the back and shorter strands for the bangs.
- Tip: It looks like a lot of chains, but it goes surprisingly fast, and the result is beautifully textured, flowing hair! Pin the strands in place before sewing or hot-gluing them down.
The Hat:
- Work in black, starting with a small MR and gradually increasing to form a tall, classic cone shape (up to 66 sc).
- For the brim, you’ll work into the front loops only, rapidly increasing to create a wide, floppy, authentic witch-hat brim (up to 112 sc).
- Finishing Touch: Use a needle and black thread to pinch and sew a few subtle "folds" near the base of the hat to give it that perfectly slouchy, worn-in witchy vibe.
4. Arms & Legs (With Posable Wire!)
To make your witch truly interactive, we’re adding wire armatures to her limbs.
Arms:
- Work in light beige, starting with 6 sc in MR and increasing to 12 sc.
- R6: 5 sc, 1 puff stitch (3 dc with a common top), 6 sc. (This creates a cute little thumb!)
- Work down to 10 sc, then switch to white and black yarn to create her classic striped sleeves.
- Assembly: Before closing, insert a piece of wire wrapped in electrical tape. Stuff lightly so she remains bendable.
Legs & Shoes:
- Start with a light beige foot, shaping a little heel with short rows.
- Switch to gray for the shoe, then black for the leg.
- Pro Tip: Cut a tiny circle from a plastic lid or thick cardboard to act as a shoe sole. Sandwich it inside the foot as you crochet for a sturdy, standing base! Insert the wire armature before finishing the leg.
5. Body & Dress
The body is worked seamlessly from the legs upward, creating a sturdy core for our little witch.
- Joining: After finishing the second leg, chain a few stitches to bridge the gap, then crochet around both legs to begin the torso.
- Shaping: Work in burgundy, gradually decreasing to shape a sweet, tapered waist.
- Arm Join: Midway up the body, you’ll seamlessly crochet the arms directly into the sides of the torso. Make sure her little thumbs are facing forward!
- The Skirt: Switch to dark blue. At the waistline, work a round of hdc into the front loops to create a beautiful, ruffled base for the skirt. Work straight down for several rows, then finish by sewing a delicate strip of white lace around the bottom hem.
- Collar: Add a sweet, frilly white collar at the neckline using a combination of sc, hdc, and dc clusters.
6. Bonus: The Little Pumpkin
No witch is complete without a magical familiar or accessory! This tiny pumpkin is a quick and delightful add-on.
- Body: Work in mustard yellow, starting with 6 sc in MR and increasing to 24 sc. Work a few rows, then use a tapestry needle to wrap yarn tightly around the pumpkin from top to bottom, creating those classic pumpkin ridges.
- Stem: Work a tiny brown cylinder and sew it to the top.
- Face: Add tiny white felt circles and 4 mm/5 mm safety eyes, then embroider little green eyebrows. She’s ready for Halloween!
7. Assembly & Final Touches
Now for the magic moment where your witch truly comes to life!
- Neck & Head: Insert the neck wire into the body, apply a dab of hot glue for stability, and securely sew the head to the body.
- Hair & Hat: Arrange the hair strands, securing the bangs and pinning the back strands behind the ears. Place the hat on her head and sew it down discreetly.
- Limbs: Bend the wire armatures to give her a playful, dynamic pose, and sew the feet securely to the base.
- Final Details: Tie a little black ribbon into a bow for her hat, and place the tiny pumpkin in her arms or by her side.
Final Section: Where to Go from Here
Congratulations, you’ve just conjured up an absolutely enchanting Little Witch! By completing this pattern, you’ve practiced some fantastic advanced techniques: wire armatures for posability, seamless limb joining, intricate hair texturing, and even a bit of mixed-media face painting.
These skills are incredibly versatile. Next time, why not experiment with different colorways to create a whole "coven" of witches? You could make a pastel "spring witch" with a floral dress, or a "winter witch" in cozy blues and silvers. Happy crocheting, and may your handmade magic bring lots of joy!