October 19, 2026
Loop Blossom Garland
A row of tiny crochet blossoms in teal, chocolate, sky blue, blush pink, cherry red, mustard, and olive green, each tied with a twisted red and white bow, like a little spring parade strung along a piece of jute twine. Every flower is a small round center with a fan of chunky loops, so it works up in minutes. Make one for a keepsake, or make a whole rainbow and hang them across a window, a shelf, or a mantel. Pour something warm, pick your favorite scraps, and let us make a garland.
Jump to pattern instructions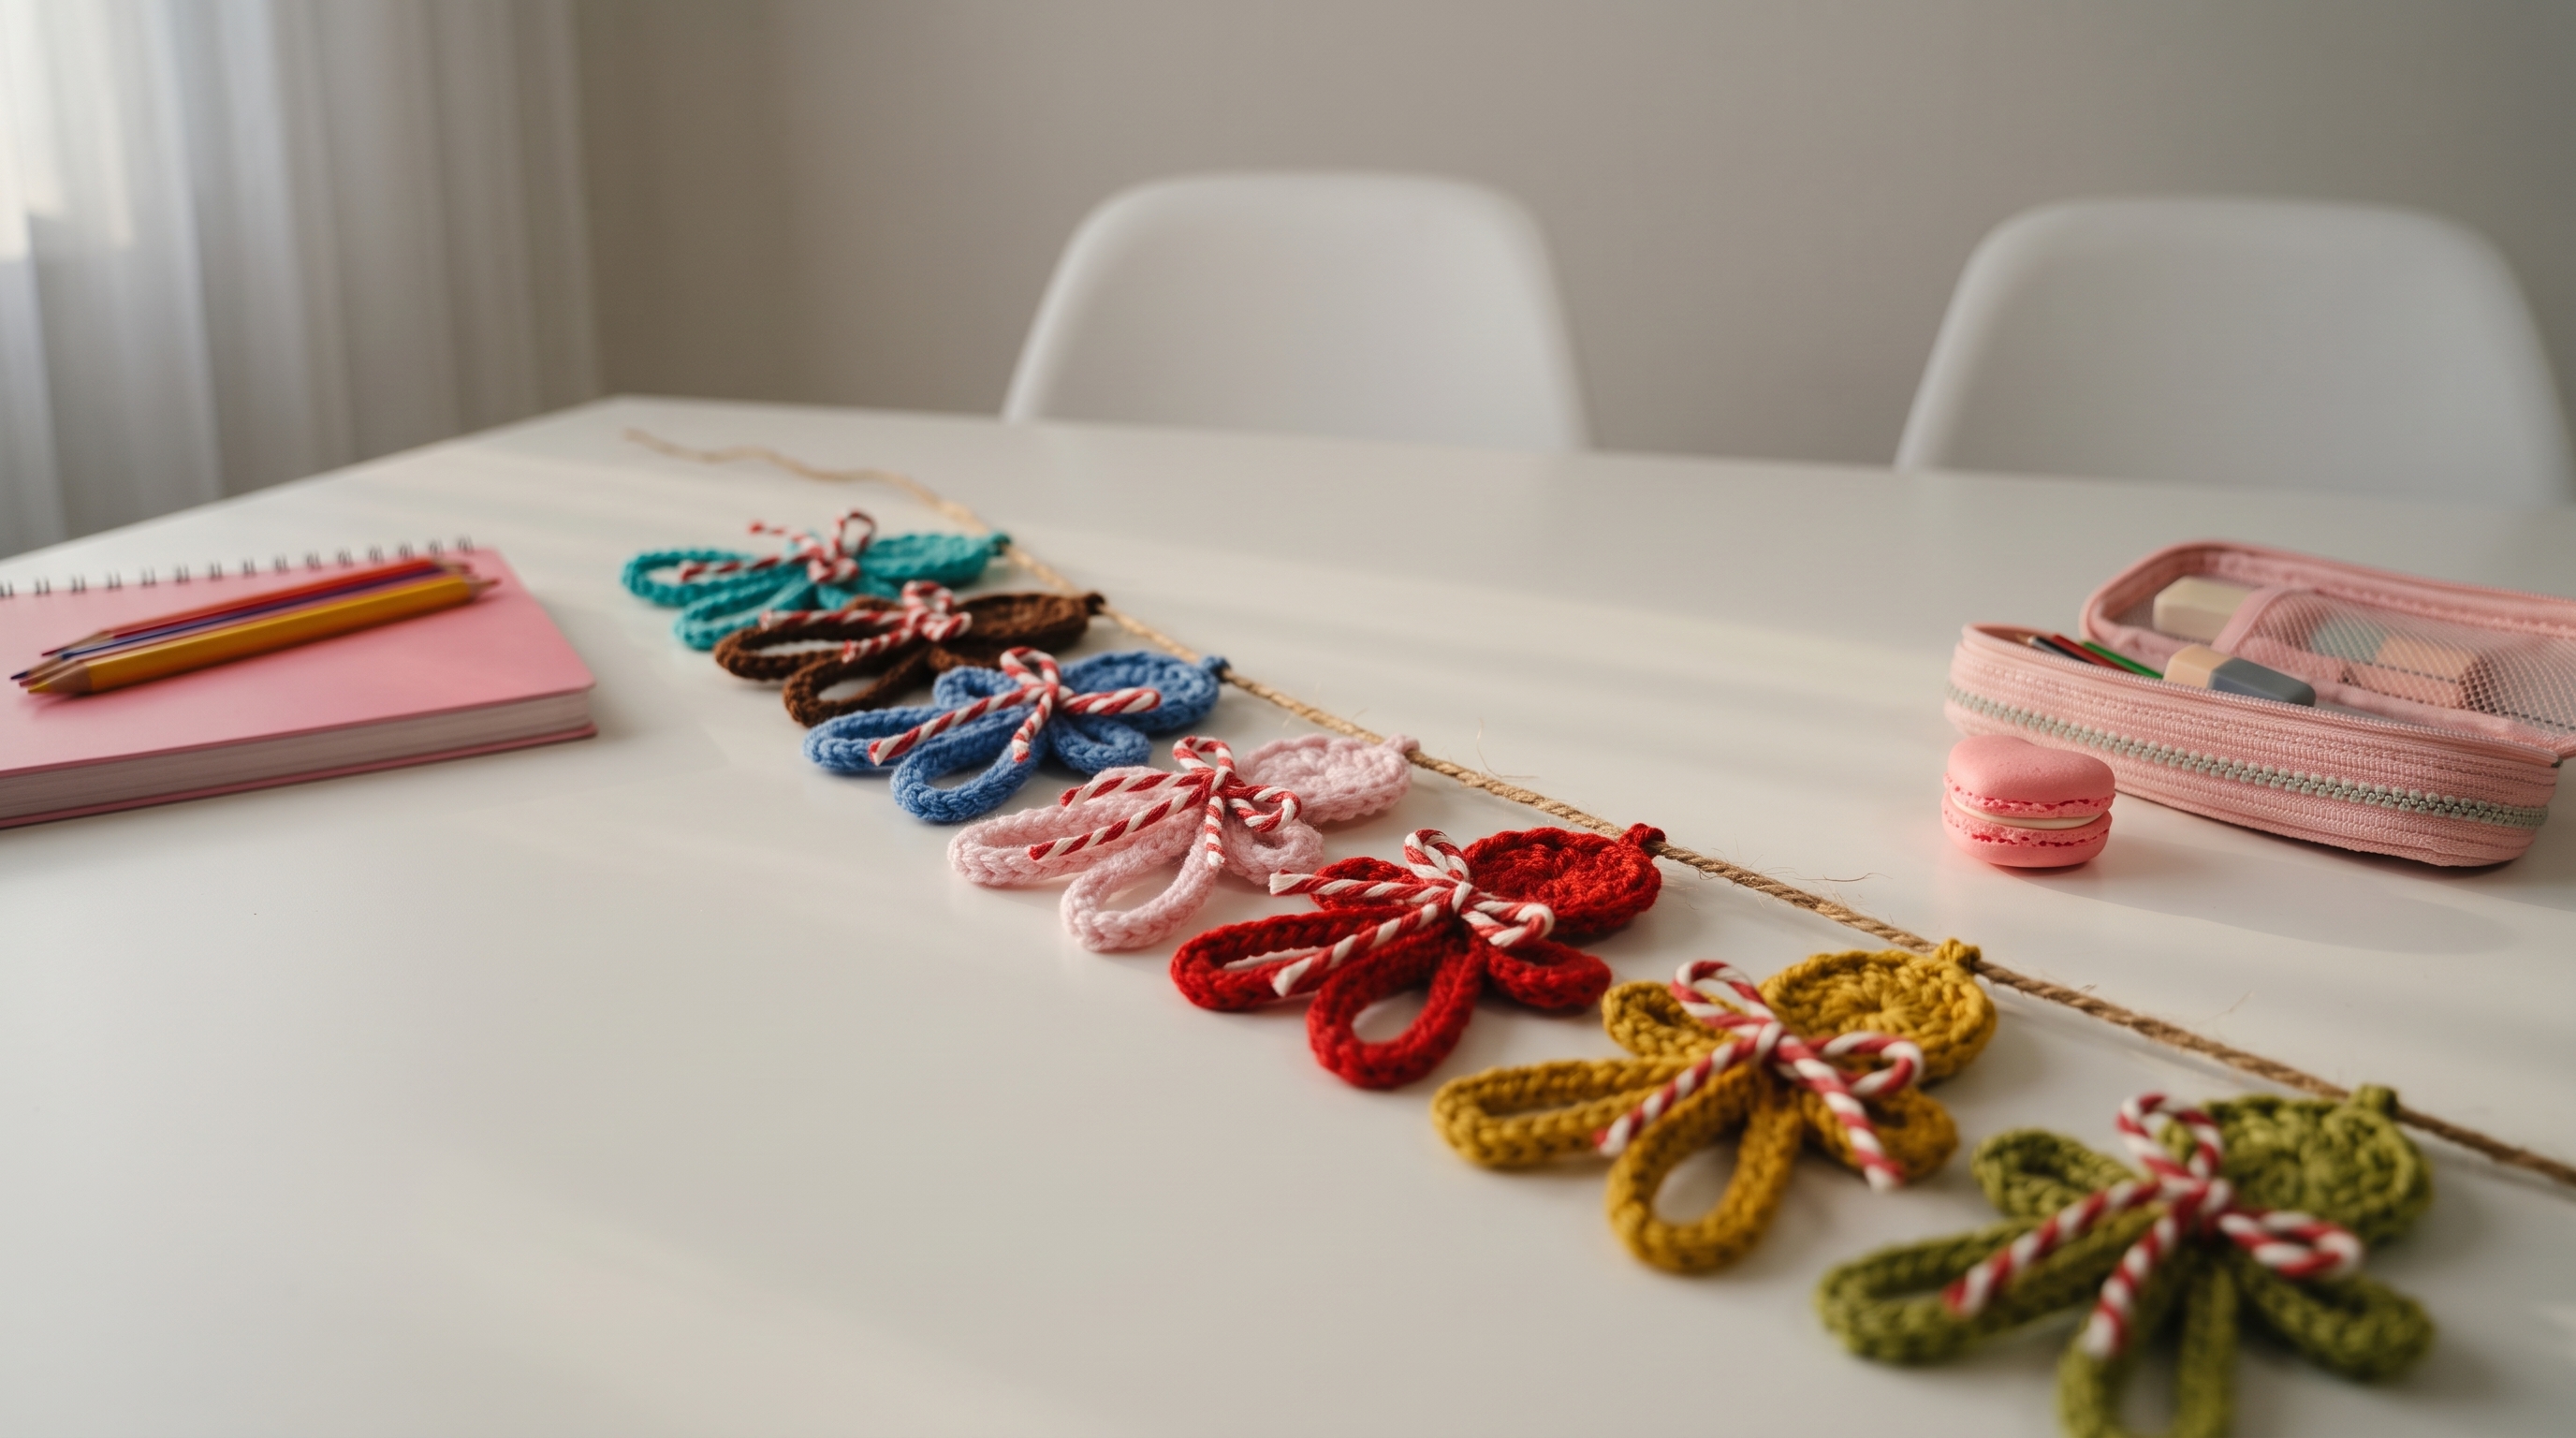
Loop Blossom Garland
Difficulty: Beginner friendly (basic stitches, and every flower is made the same way)
Finished Size: Each flower is about 4 inches (10 cm) long and 3 inches (7.5 cm) wide. The garland is about 60 inches (150 cm) long with 7 flowers.
Time to Complete: About 20 minutes per flower, or 2 to 3 hours for the whole garland.
What You Will Need
Yarn:
- 7 colors of DK weight cotton, about 12 yards (11 m) each, such as teal, chocolate brown, sky blue, blush pink, cherry red, mustard, and olive green
- Red (R), about 5 yards (4.5 m), and white (W), about 5 yards (4.5 m), for the twisted bows
- Tip: Use a DK weight 100% cotton yarn. Cotton gives crisp stitches and the loops hold their shape. A smaller hook than usual keeps the fabric tight, so the loops stand up and do not flop.
Tools:
- 3.0 mm (D/3) crochet hook
- 60 inches (150 cm) of jute twine or thin rope, for hanging
- Yarn needle with a large eye for sewing and weaving in ends
- Stitch markers
- Sharp scissors
- Optional: spray starch or fabric stiffener, for extra-firm loops
The Basics (US Terms)
- MR = magic ring
- ch = chain
- sc = single crochet
- inc = increase (work 2 single crochets into the same stitch)
- sl st = slip stitch
- st(s) = stitch(es)
- Each flower is worked in continuous rounds, except for the loops. Use a stitch marker to mark the first stitch of each round.
Let Us Get Started
Each flower is made of a round center and four loop petals worked off one side. Make 7 flowers, one in each color.
The Flower (Make 7)
The center:
- Round 1: Work 6 sc into a magic ring. (6 stitches)
- Round 2: Inc in every stitch around. (12 stitches)
- Round 3: (1 sc, inc) repeat 6 times. (18 stitches)
- Round 4: (2 sc, inc) repeat 6 times. (24 stitches)
The loops:
- Round 5: Sc in each of the next 12 stitches. (12 stitches) This finishes the smooth half of the center.
- Now work the loops over the last 12 stitches of Round 4. Each loop is made like this:
- Loop: Ch 18, then sl st in the same stitch where you started the chain, to make a ring. Work 20 sc into the ring of chains. Join with a sl st to the first sc of the loop. Then sl st in each of the next 2 stitches of the center.
- Repeat the loop 4 times in total, using the 12 stitches (3 stitches per loop). (4 loops)
- Fasten off, and weave in the ends. Each loop should be about 3 inches (7.5 cm) long. The fan of loops spreads out like petals or a ruffle.
- Gently open each loop, and arrange them in a fan shape. If you like, spray them lightly with starch, and let them dry.
The Twisted Bow (Make 7)
Worked with red and white yarn.
- Cut 2 strands of red and 2 strands of white, each about 24 inches (60 cm) long.
- Hold all 4 strands together, and knot one end. Hook the knot over a doorknob, or have a friend hold it.
- Twist the strands tightly in one direction, until they start to kink back on themselves.
- Fold the cord in half, and let it twist into a rope. Knot the ends together to hold it.
- Trim the cord to about 12 inches (30 cm), and tie it in a bow, with 2 loops and 2 short tails. Trim the tails to about 1 inch (2.5 cm). The cord should look like a thin red and white candy cane stripe.
Assembly and Finishing
This is where your garland comes together. Take your time laying everything out before you sew.
Making the Garland:
- Lay out the 60 inch (150 cm) jute twine on a table. Tie a loop at each end, so you can hang it.
- Lay the flowers on the twine, about 6 inches (15 cm) apart, with the smooth center on one side and the loops on the other. Alternate the direction of the flowers, or keep them all pointing the same way, as in the photo.
- Slide the twine behind the smooth center of each flower, and sew the flower to the twine with a few stitches, through the back of the center. Make sure the twine passes through the center, so the flower hangs flat.
- Pin each bow to the base of the loops, where they meet the center, and sew it on with a few small stitches.
- Weave in all remaining ends.
Hanging the Garland:
- Hang the loops at each end over nails, hooks, or a curtain rod.
- Fluff each flower, and adjust the loops so they fan out evenly.
A Few Friendly Tips
- Keep it snug: Keep your tension tight and even, especially when you work the sc around the loop. Tight stitches make loops that stand up on their own.
- Even loops: Use a stitch marker on the first stitch of each loop, so you can count the sc around the chain.
- Firm loops: Spray the finished flowers lightly with starch, and shape the loops with your fingers. Leave them to dry flat.
- Different shapes: For a rounder flower, work loops all the way around the center, using 24 stitches and 8 loops. For a daisy look, make each loop shorter, with ch 12 and 14 sc.
- Make it your own: Try a seasonal palette, such as red, green, and gold for the holidays, or pastels for spring. You can also tie a small bell or bead to each flower.
- Different uses: Use a single flower as a gift topper, a hair clip, a brooch, or a magnet. Sew a pin back to the center, and wear it on a coat.
- Longer garland: For a longer garland, make more flowers, and use a longer length of twine. A flower every 6 inches (15 cm) makes it look full.
- Safe for little ones: The garland has no small parts, but the twine and the bows can be a hazard. Hang it out of reach of babies and pets.
- Care: Spot clean, or hand wash gently, and lay flat to dry. Reshape the loops while the flowers are damp.
I hope you enjoy making this cheerful little garland. It is such a quick, fun project, and it makes a wonderful handmade gift.
If you run into any trouble or just want to share how your garland turned out, please reach out. I love seeing what you create.
Happy crocheting!