August 21, 2026
Off-the-Shoulder Crochet Sweater – A Stylish Sideways Construction
Elevate your handmade wardrobe with this chic, straight-fit off-the-shoulder sweater! Worked sideways in a beautiful, airy textured stitch, this pattern features elegant shoulder slopes, a relaxed wide neckline, and cozy cuffed sleeves. Perfect for intermediate crocheters ready to try a unique, seamless construction method.
Jump to pattern instructions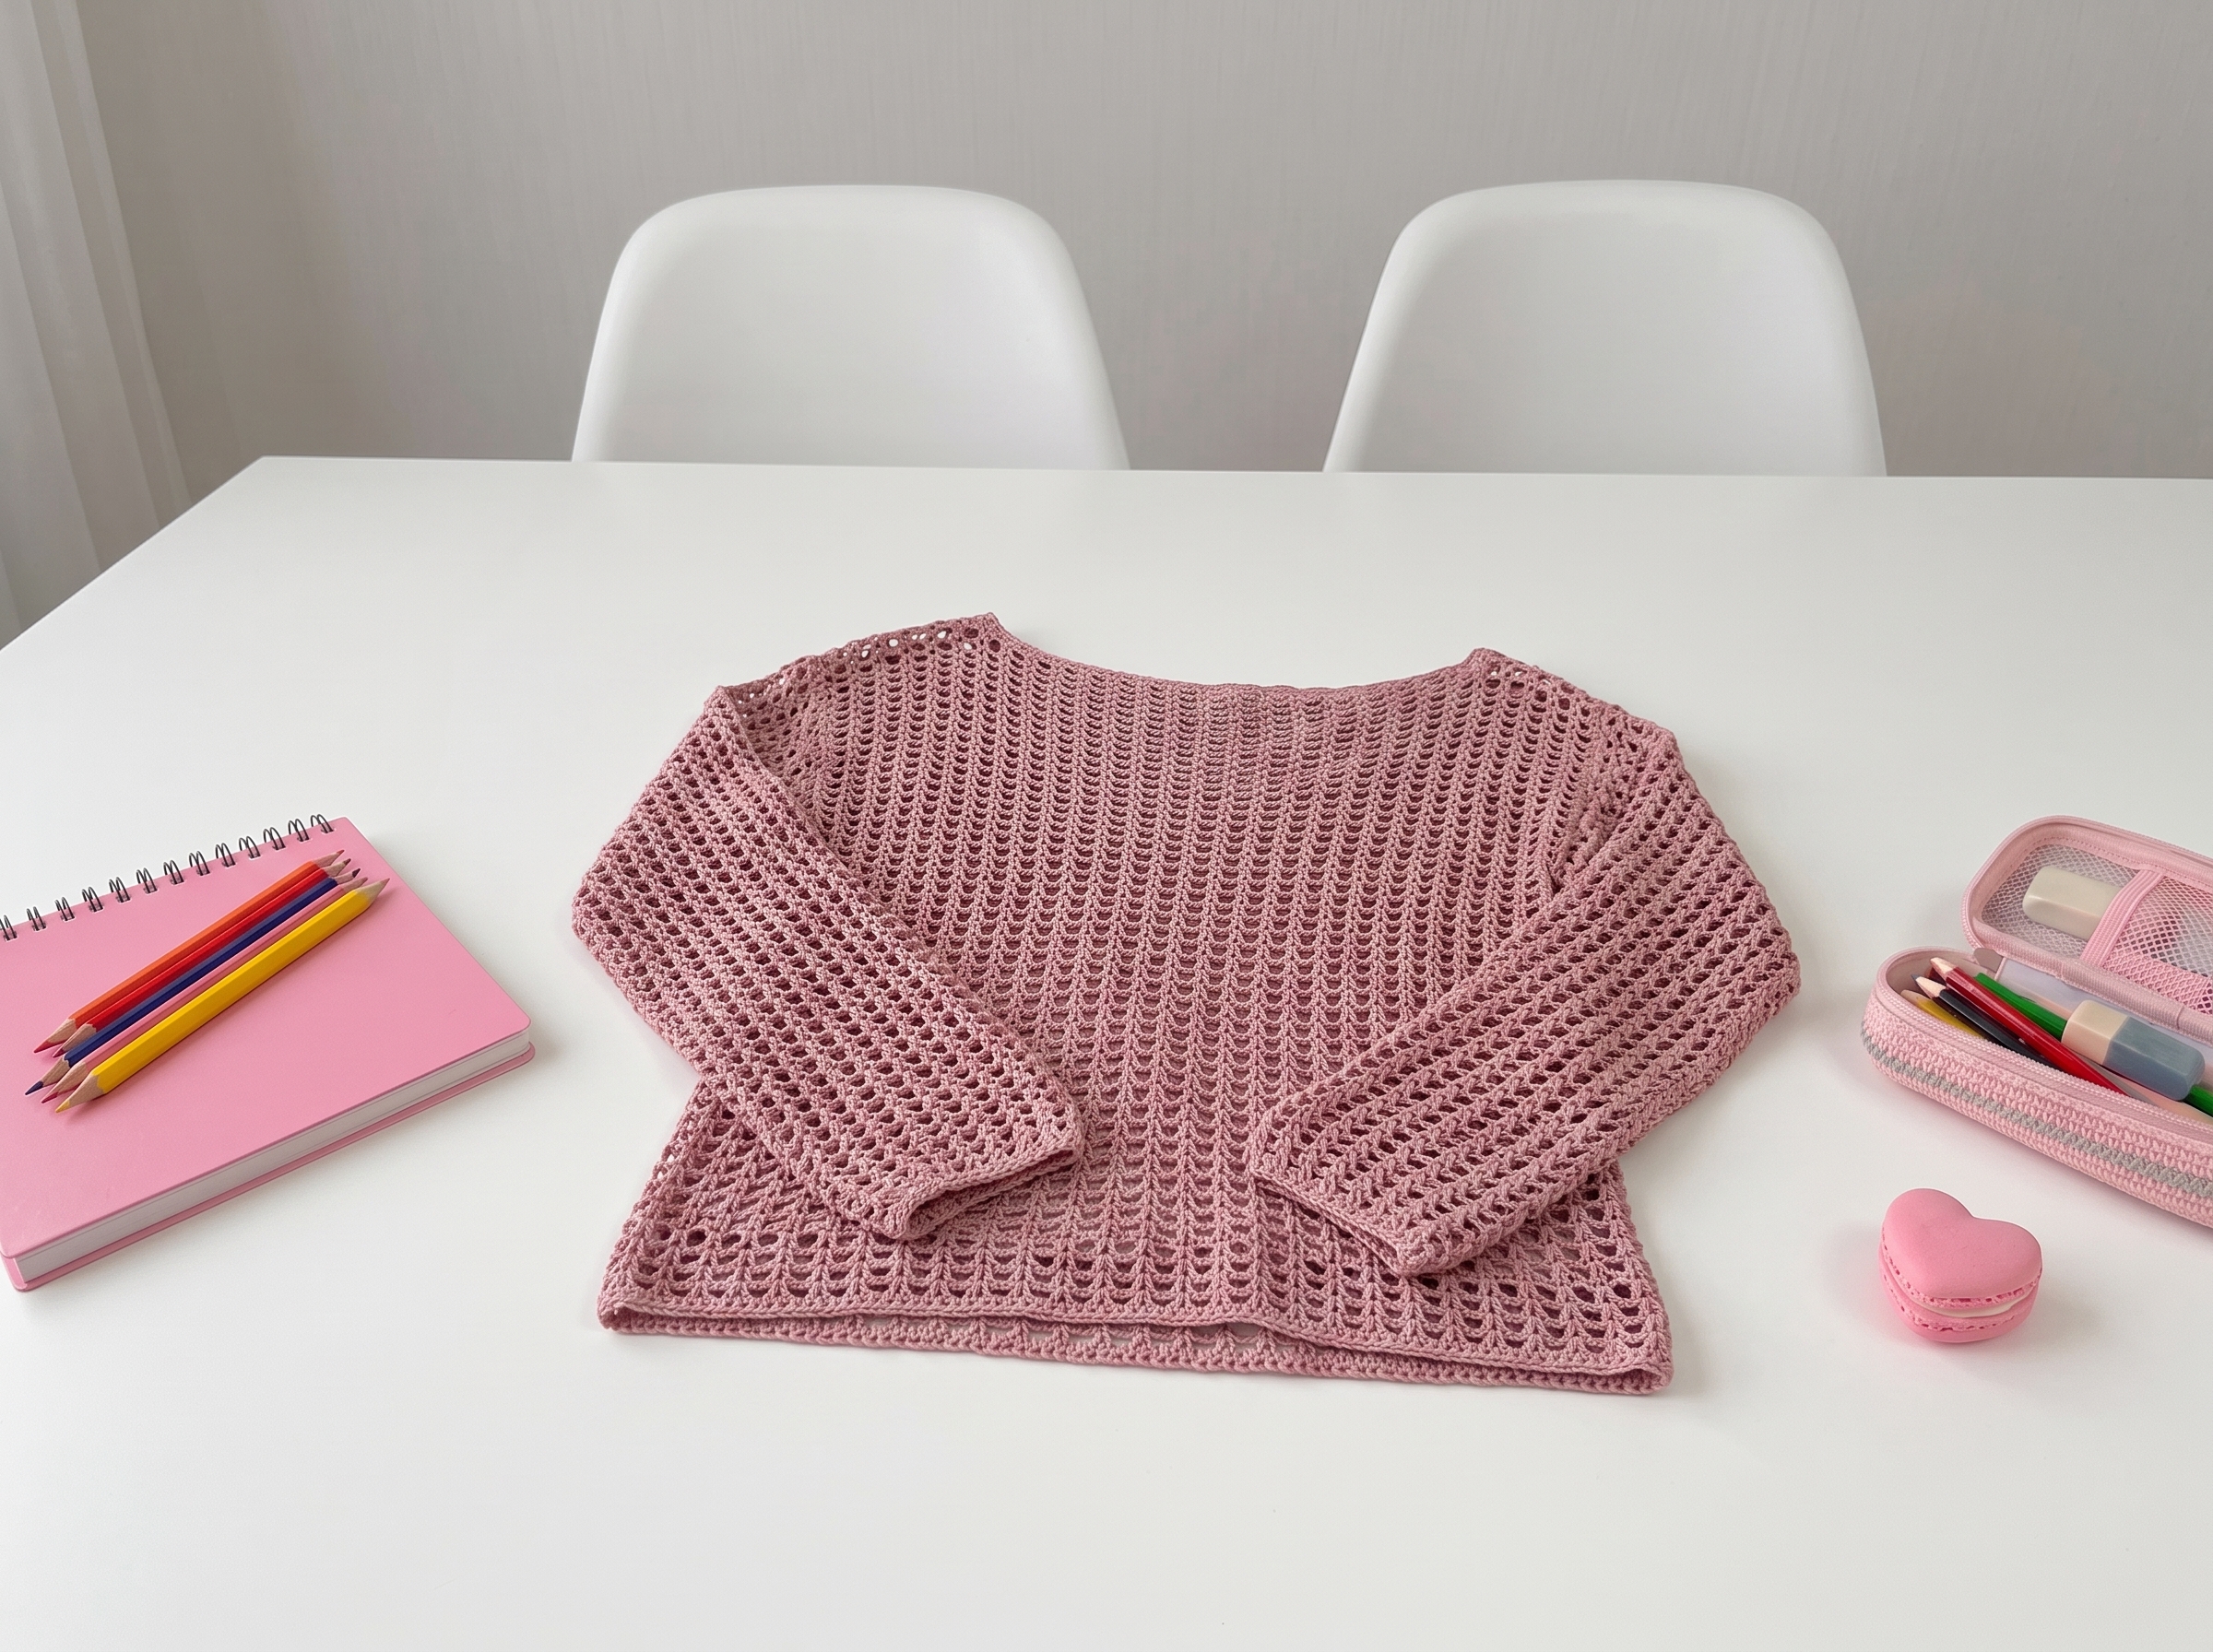
Off-the-Shoulder Crochet Sweater – Complete Step-by-Step Guide
1. Materials & Gauge
Let’s gather our supplies! Because this sweater is worked sideways, choosing a drapey, breathable yarn like a cotton-viscose blend will give it that perfect, effortless flow.
- Yarn: Cotton with viscose blend.
- Option 1: Pekhorka "Zhemchuzhnaya" (50% cotton, 50% viscose, 425m / 100g)
- Option 2: Semenowskaya "Irina" (66% cotton, 34% viscose, 334m / 100g)
- Yardage: Approx. 450g (S/M), 500g (L), 550g (XL), 650g (XXL).
- Hooks:
- 2.5 mm (for the foundation chain to keep it stretchy)
- 3.0 mm (for the main body and edging)
- Notions: Stitch markers, large-eye tapestry needle, measuring tape, scissors.
- Gauge: 25 stitches x 12 rows = 10 cm x 10 cm (4" x 4") in the main textured pattern, after blocking.
- Pattern Repeat: A multiple of 3 stitches + 1 additional stitch.
What you'll master: Calculating custom dimensions for sideways construction and achieving the perfect drape with blended yarns.
2. Abbreviations & Special Stitches
- ch: chain
- sc: single crochet
- dc: double crochet
- sl st: slip stitch
- rep: repeat
- RS/WS: Right Side / Wrong Side
- Main Pattern: Worked in rows. Odd rows (1, 3, 5...) are RS, even rows (2, 4, 6...) are WS. The pattern is a simple, elegant mesh-like texture that repeats every 3 stitches.
3. The Concept: Sideways Construction
Unlike traditional sweaters worked from the bottom up or top down, this sweater is worked sideways (transversely).
- The foundation chain determines the length of the sweater (from shoulder to hem).
- The rows determine the width of the sweater (across the chest and sleeves). This clever method allows you to try the garment on as you go and easily customize the length without worrying about complex hem shaping!
4. The Front Panel
We start at the bottom hem and work up to the shoulder, shaping the first shoulder slope, the straight neckline, and finally the second shoulder slope.
Foundation Chain:
- Using the 2.5 mm hook, chain the number of stitches corresponding to your desired sweater length (minus the shoulder slope).
- Size S (42): 112 ch
- Size M (44): 118 ch
- Size L (46): 124 ch
- Size XL (48): 130 ch
- Size XXL (50): 136 ch
First Shoulder Slope (Increases):
- Switch to the 3.0 mm hook. Begin the main pattern.
- For the first few rows, work 2 ch for turning (counts as the first dc).
- Starting from Row 5, begin adding increases at the top edge (the shoulder edge) to create a gentle slope. You will add 1 dc (or 1 ch space, depending on the specific row in the pattern chart) every 4th row (Rows 5, 9, 13, 17, etc.).
- Continue these increases until your shoulder slope reaches the desired width (e.g., 16 cm or 20 rows for Size S). Always end this section on a WS (even) row.
The Neckline (Straight Section):
- Once the first shoulder slope is complete, stop increasing. Work straight in the main pattern for the width of the neckline (e.g., 29 rows for Size S, which equals about 23 cm). No increases or decreases here!
Second Shoulder Slope (Decreases):
- Now, we mirror the first shoulder slope. Begin decreasing at the top edge every 4th row, exactly as you increased, but in reverse.
- Continue until you reach the original number of stitches from your foundation chain.
- Fasten off, leaving a long tail (30-35 cm) for sewing the shoulder seam.
What you'll master: Shaping fabric with strategic increases and decreases to create tailored, professional-looking shoulder slopes.
5. The Back Panel
The back panel is worked exactly like the front panel, with one crucial difference: to prevent the sweater from riding up in the back when you wear it, the back needs to be slightly longer.
- Foundation Chain: Add 3 to 4 full pattern motifs (9 to 12 stitches) to your front panel's foundation chain count.
- Size S: 112 + 9 = 121 ch
- Size M: 118 + 9 = 127 ch
- Size L: 124 + 9 = 133 ch
- Size XL: 130 + 12 = 142 ch
- Size XXL: 136 + 12 = 148 ch
- Follow the exact same increase, straight, and decrease steps as the front panel.
6. The Sleeves
The sleeves are worked straight across, with no shaping, making them incredibly easy to customize.
- Foundation Chain: Calculate the chain based on your desired sleeve length minus the width of the shoulder slope you already crocheted.
- Example for Size S: 58 cm (total sleeve) - 16 cm (shoulder) = 42 cm. 42 cm × 2.5 sts/cm = 105 sts. Adjust to a multiple of 3 + 1 = 106 ch.
- Body: Work straight in the main pattern until the sleeve reaches your desired width (e.g., 38 cm or 47 rows for Size S).
- Tip: Always end on an RS (odd) row so the seam lines up perfectly. Make two identical sleeves.
7. Assembly & Finishing
Now for the magic moment where all the pieces come together!
- Blocking: Before sewing, lightly wet-block all your pieces. Pin the shoulder slopes upward to set their shape and let them dry completely.
- Shoulder Seams: Place the front and back panels right sides together. Using your tapestry needle and the long tails you left, sew the shoulder seams using a neat mattress stitch or whip stitch.
- Side & Sleeve Seams: Fold the sweater in half. Sew the side seams and the underarm sleeve seams in one continuous, smooth line.
- Setting in Sleeves: Find the center of the sleeve and align it with the shoulder seam (offsetting it 1-2 cm toward the back for a more natural drape). Pin and sew the sleeve into the armhole.
- Neckline & Hem Edging: Using the 3.0 mm hook, work a round of neat single crochets (or a decorative pattern of your choice) around the entire wide neckline and the bottom hem to give it a polished, stable finish.
- Sleeve Cuffs: You can finish the sleeves with a simple round of sc, or for a cozy "balloon" sleeve effect, work a few rows of crocheted ribbing (slip stitches in the back loop only) using a 2.5 mm hook.
What you'll master: Professional seaming techniques, setting in sleeves smoothly, and adding polished, stable edgings.
Final Section: Where to Go from Here
Congratulations! By completing this off-the-shoulder sweater, you’ve conquered a unique sideways construction method, custom shaping, and professional assembly. This pattern is incredibly forgiving and easy to adapt.
From here, try experimenting with different yarn weights—a lightweight linen for a breezy summer beach cover-up, or a soft merino-silk blend for a cozy, elegant winter layer. You can even skip the sleeves entirely to create a chic, sleeveless vest! Happy crocheting, and enjoy your beautiful new handmade wardrobe staple!